Soundproofing My Nissan Z – Let's See What Happens!

Bamafanatic

Member
First Name
Steve
Joined
Apr 5, 2025
Threads
2
Messages
11
Reaction score
7
Location
Bremen, AL
Car(s)
2024 Nismo Z, 2011 Ford F 250, 2019 Harley Davidson Streetglide CVO
Occupation
retired
Still in a holding pattern waiting for a wiring harness, I just didnt want to cut the Bose wiring to the new amplified sub. I bought the Cerwin Vega spare tire sub. It’s not hooked up yet due to that delayed harness. I’m not replacing anything else, but elsewhere on this forum some others have installed this same sub or a similar spare tire sub and have some pretty good reviews of it.
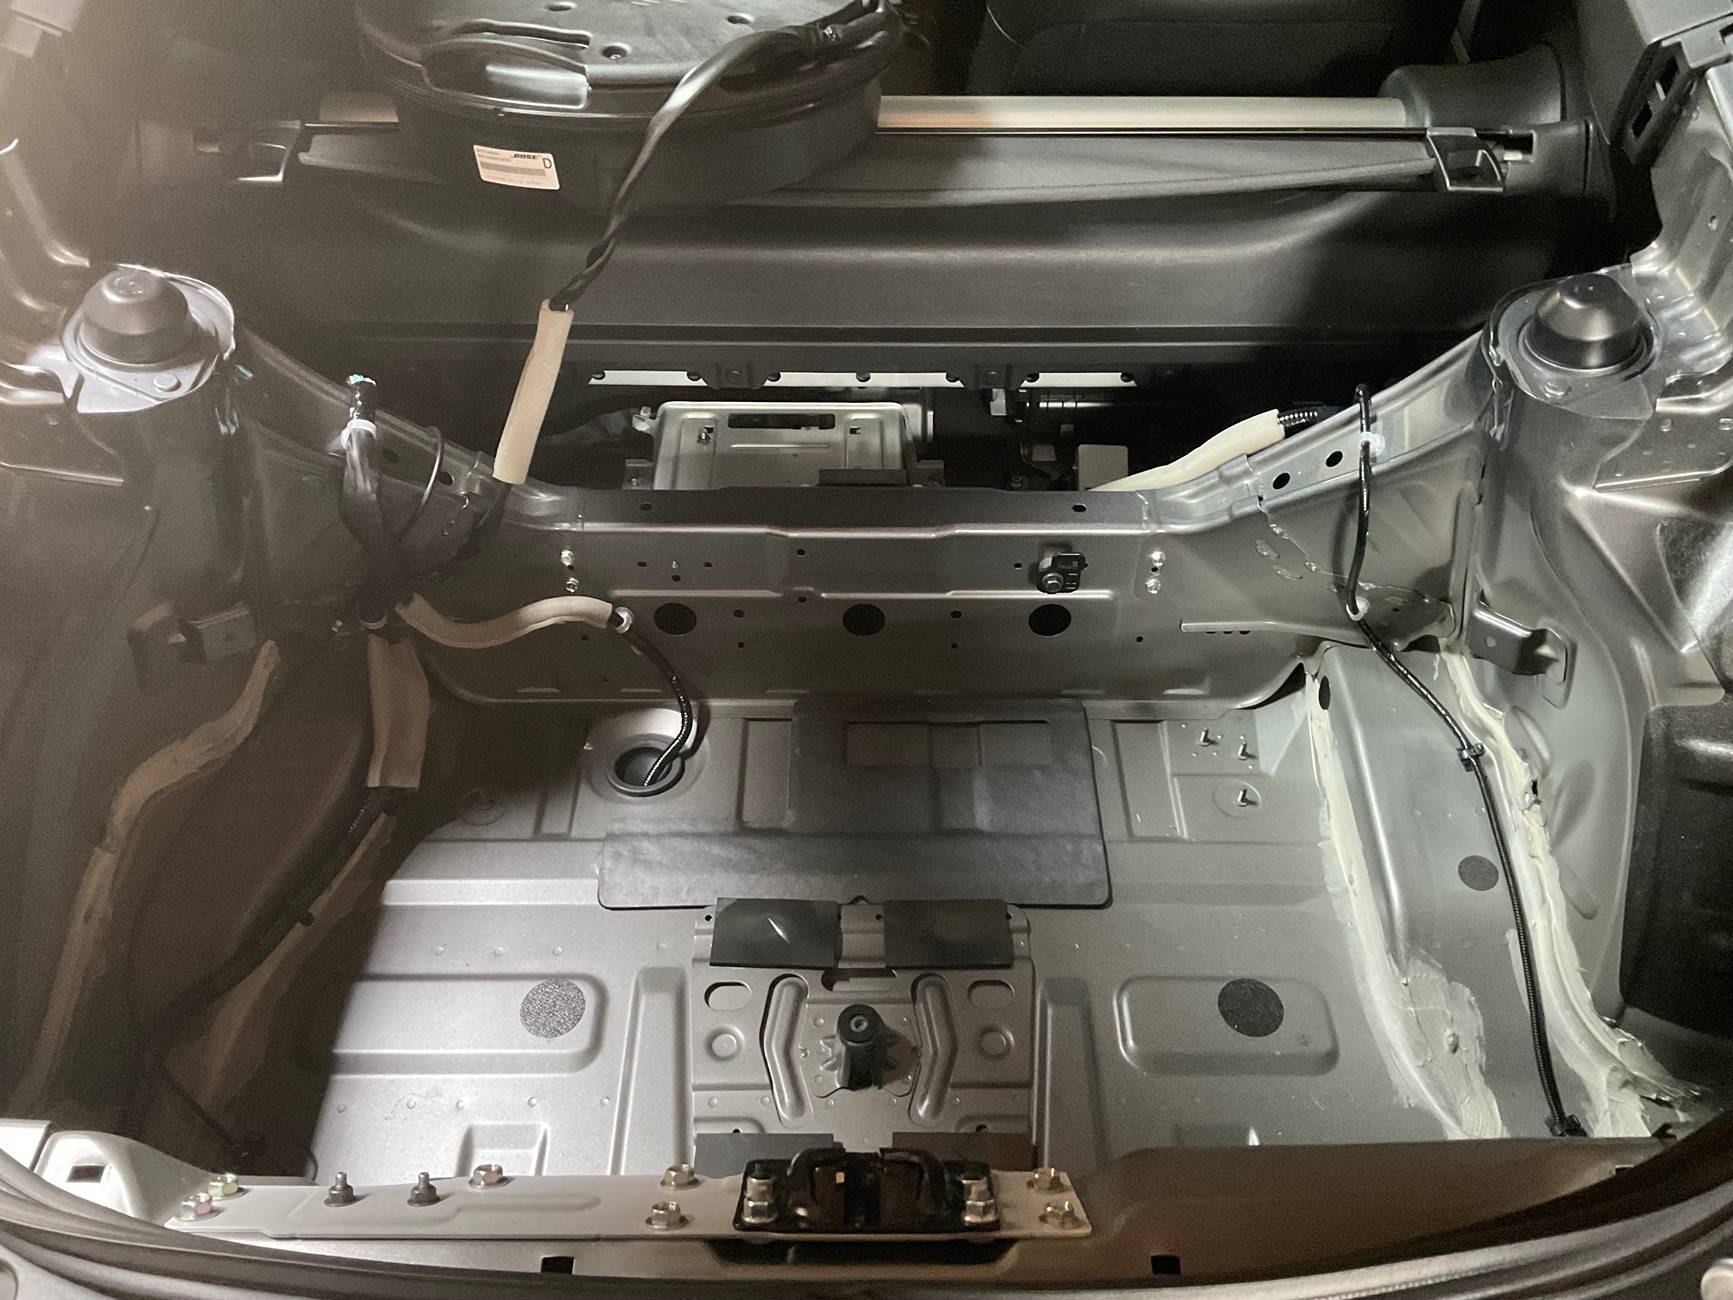
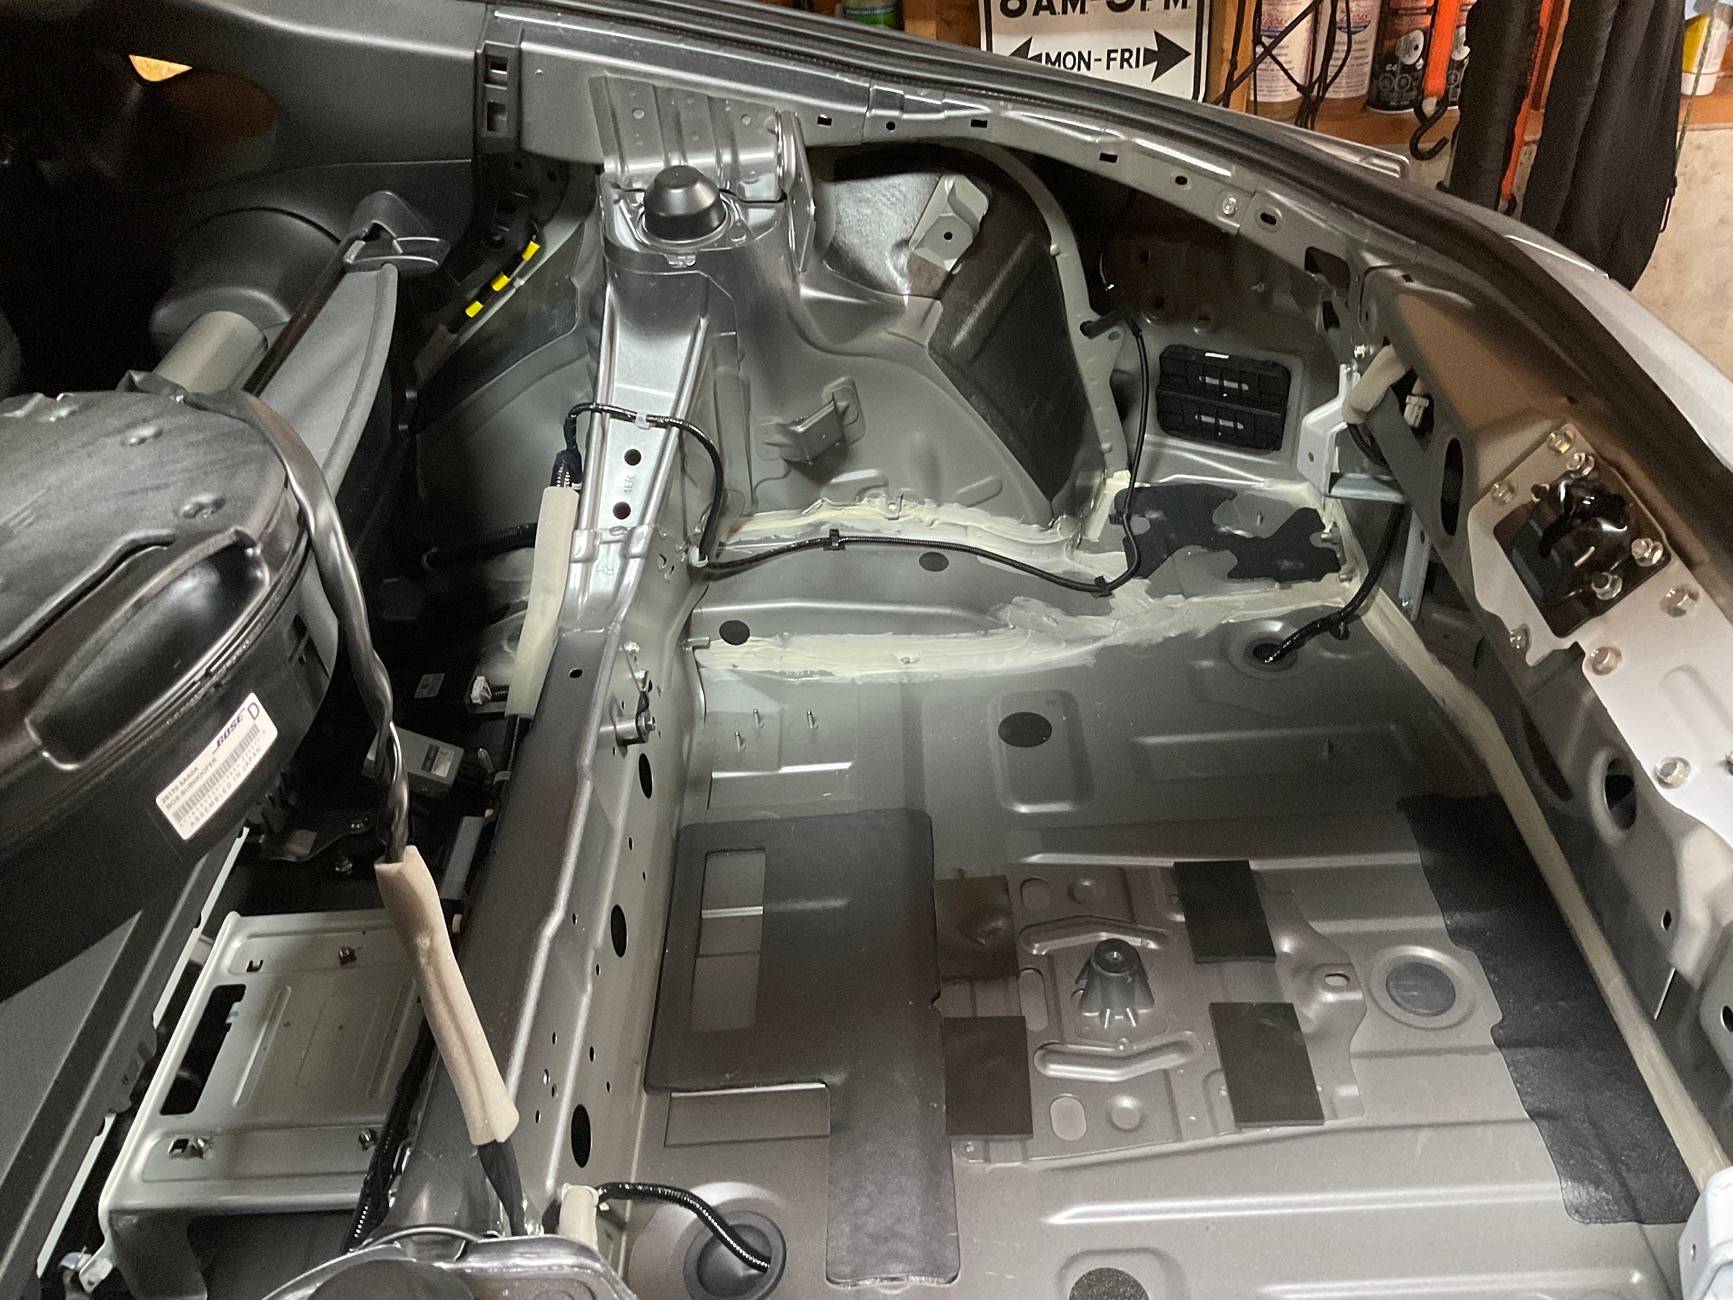
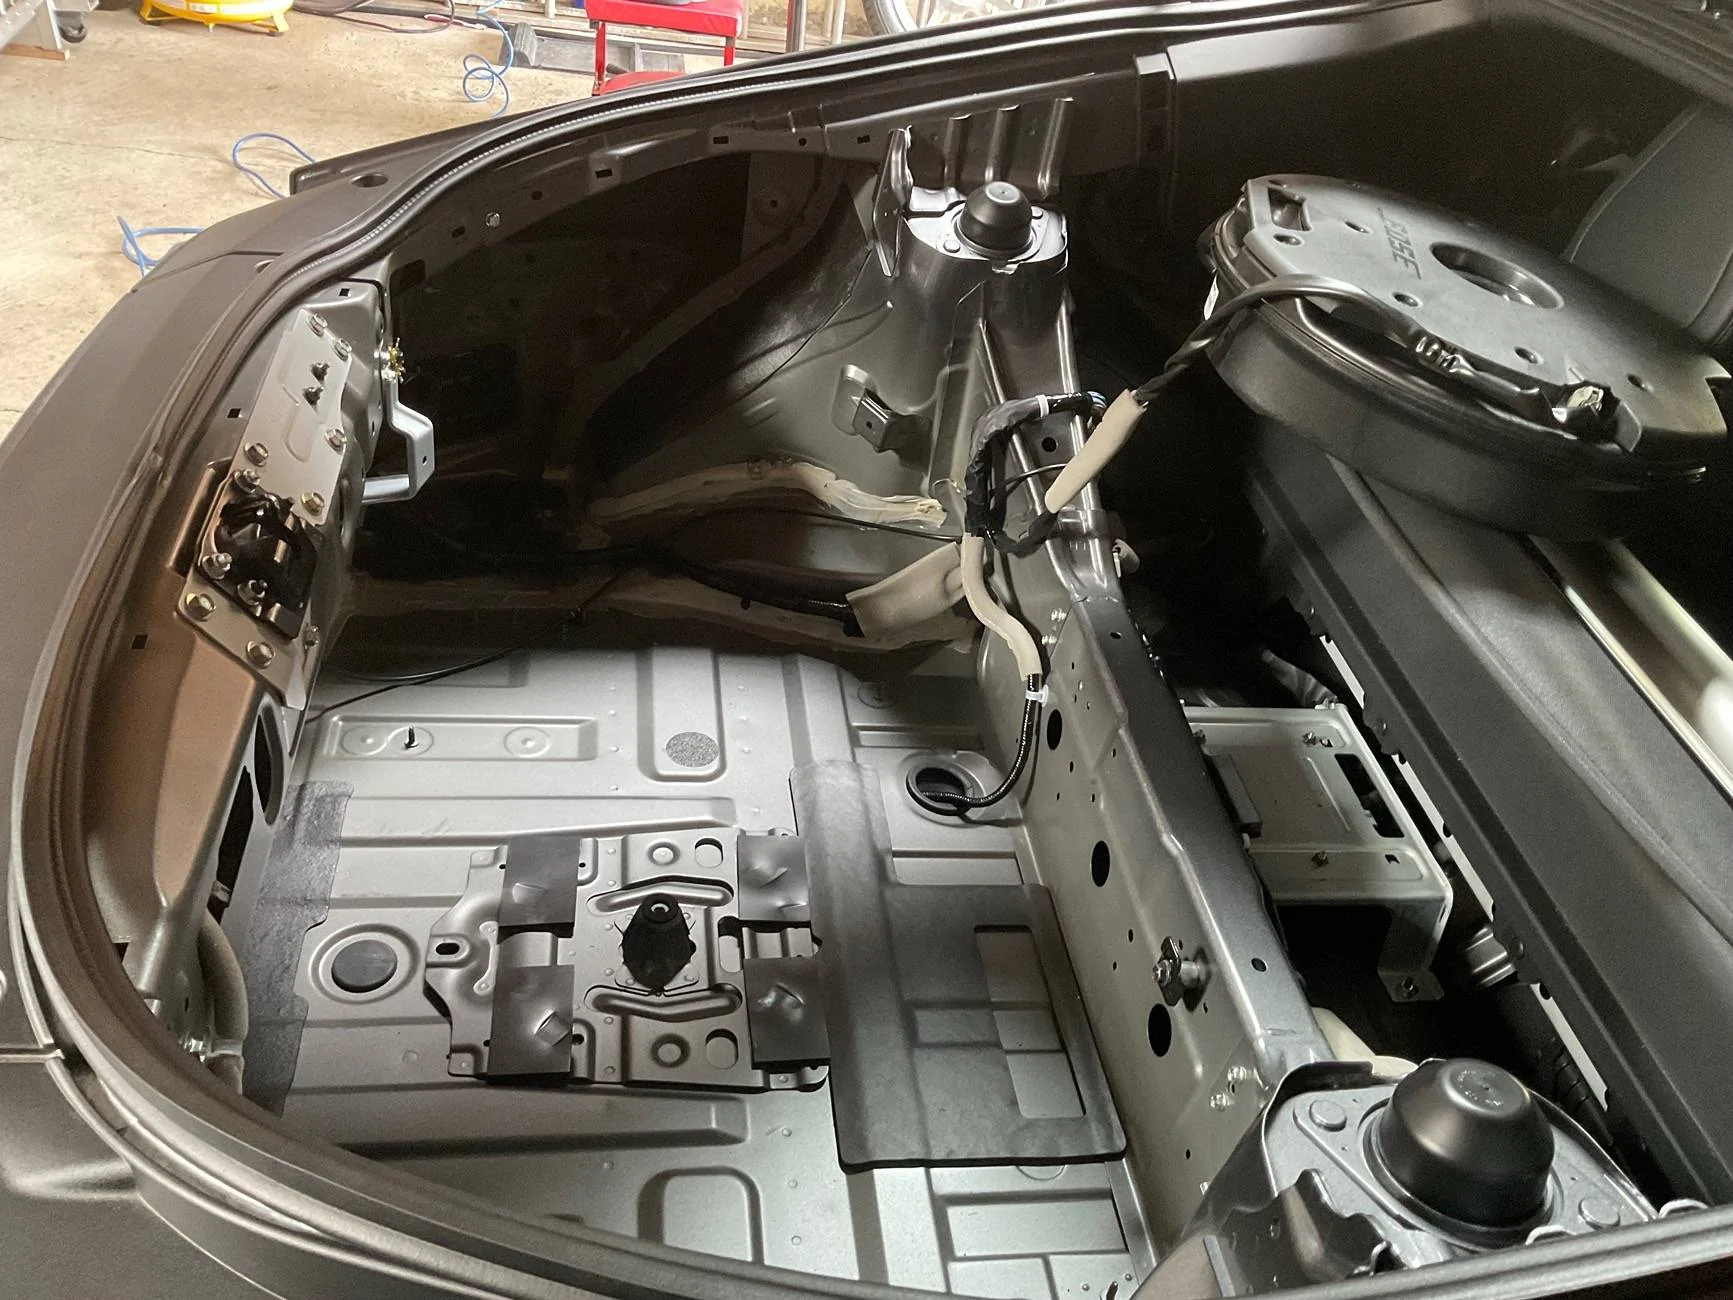
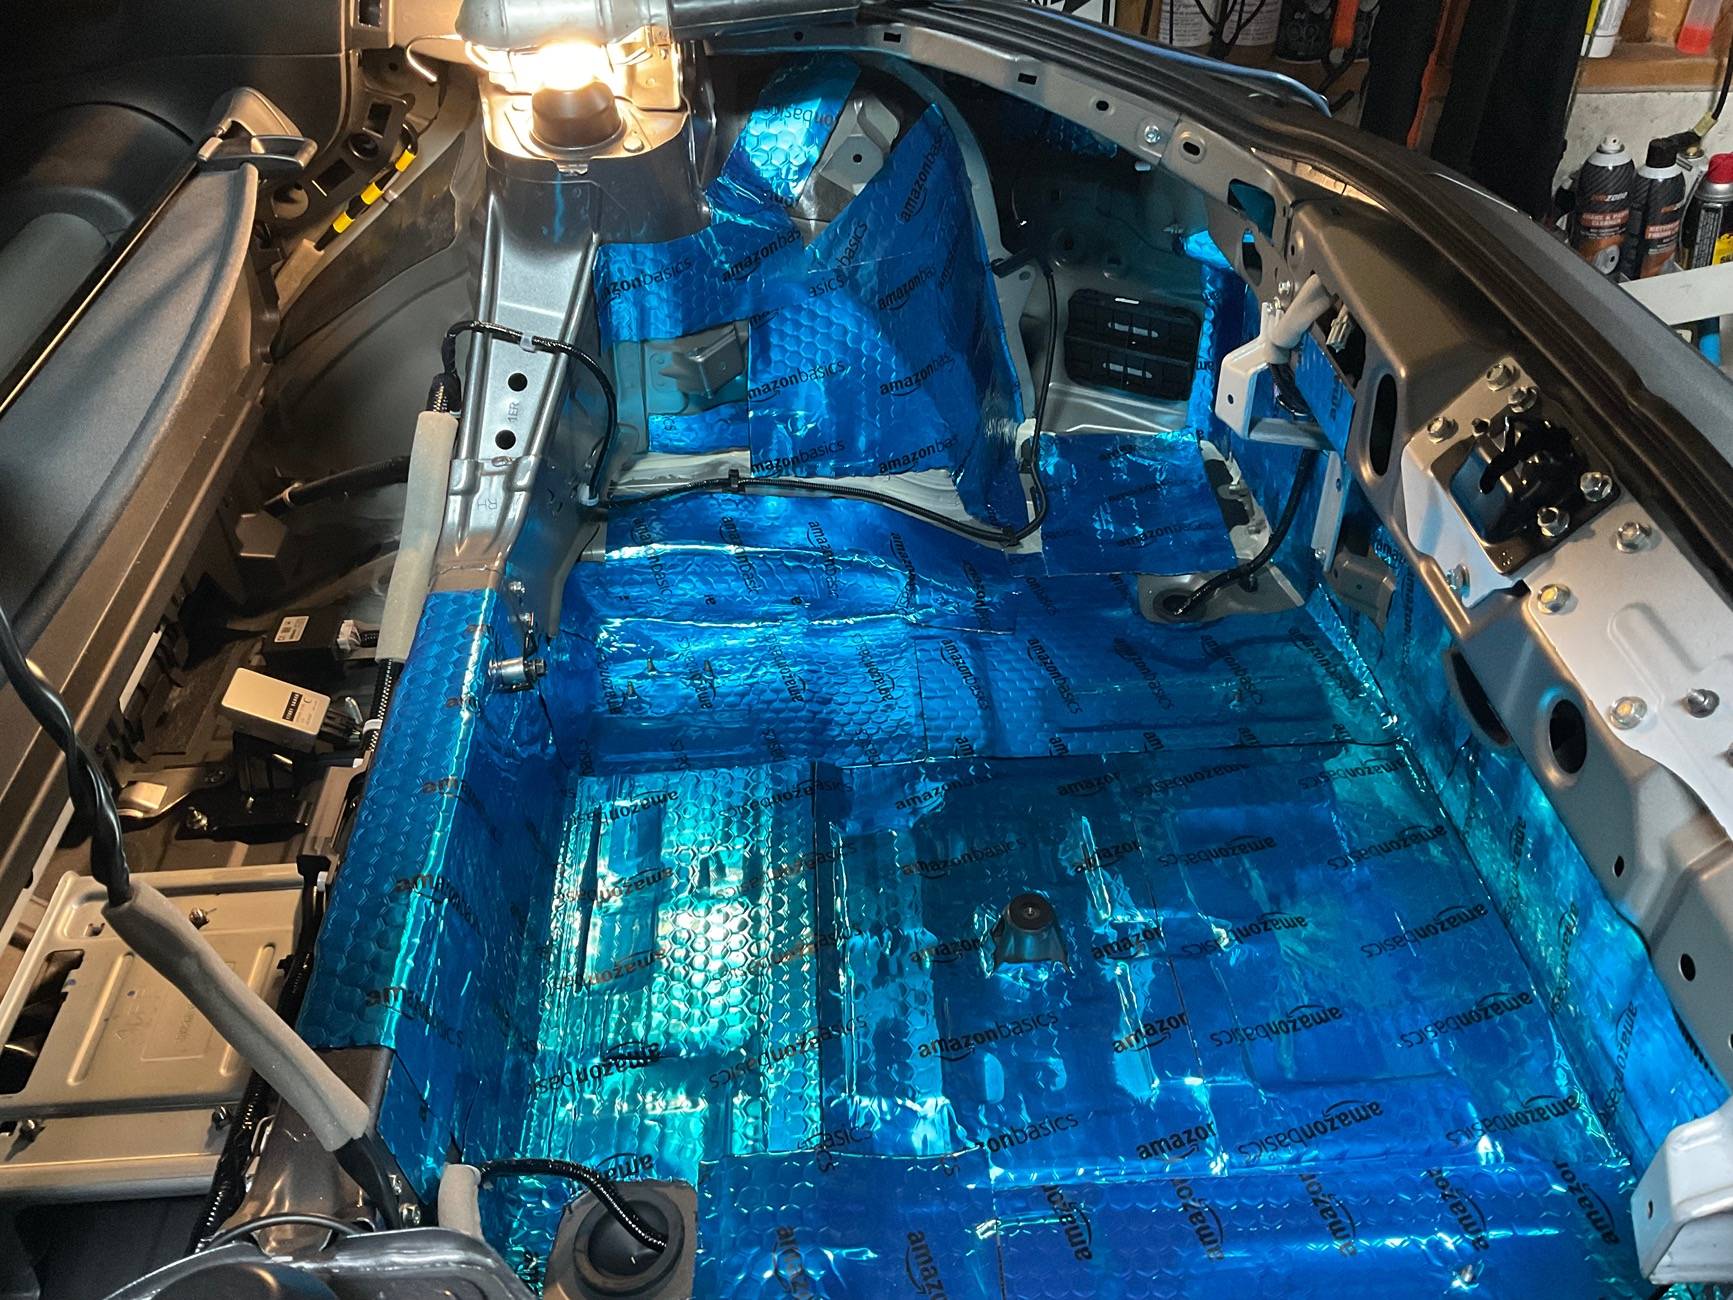
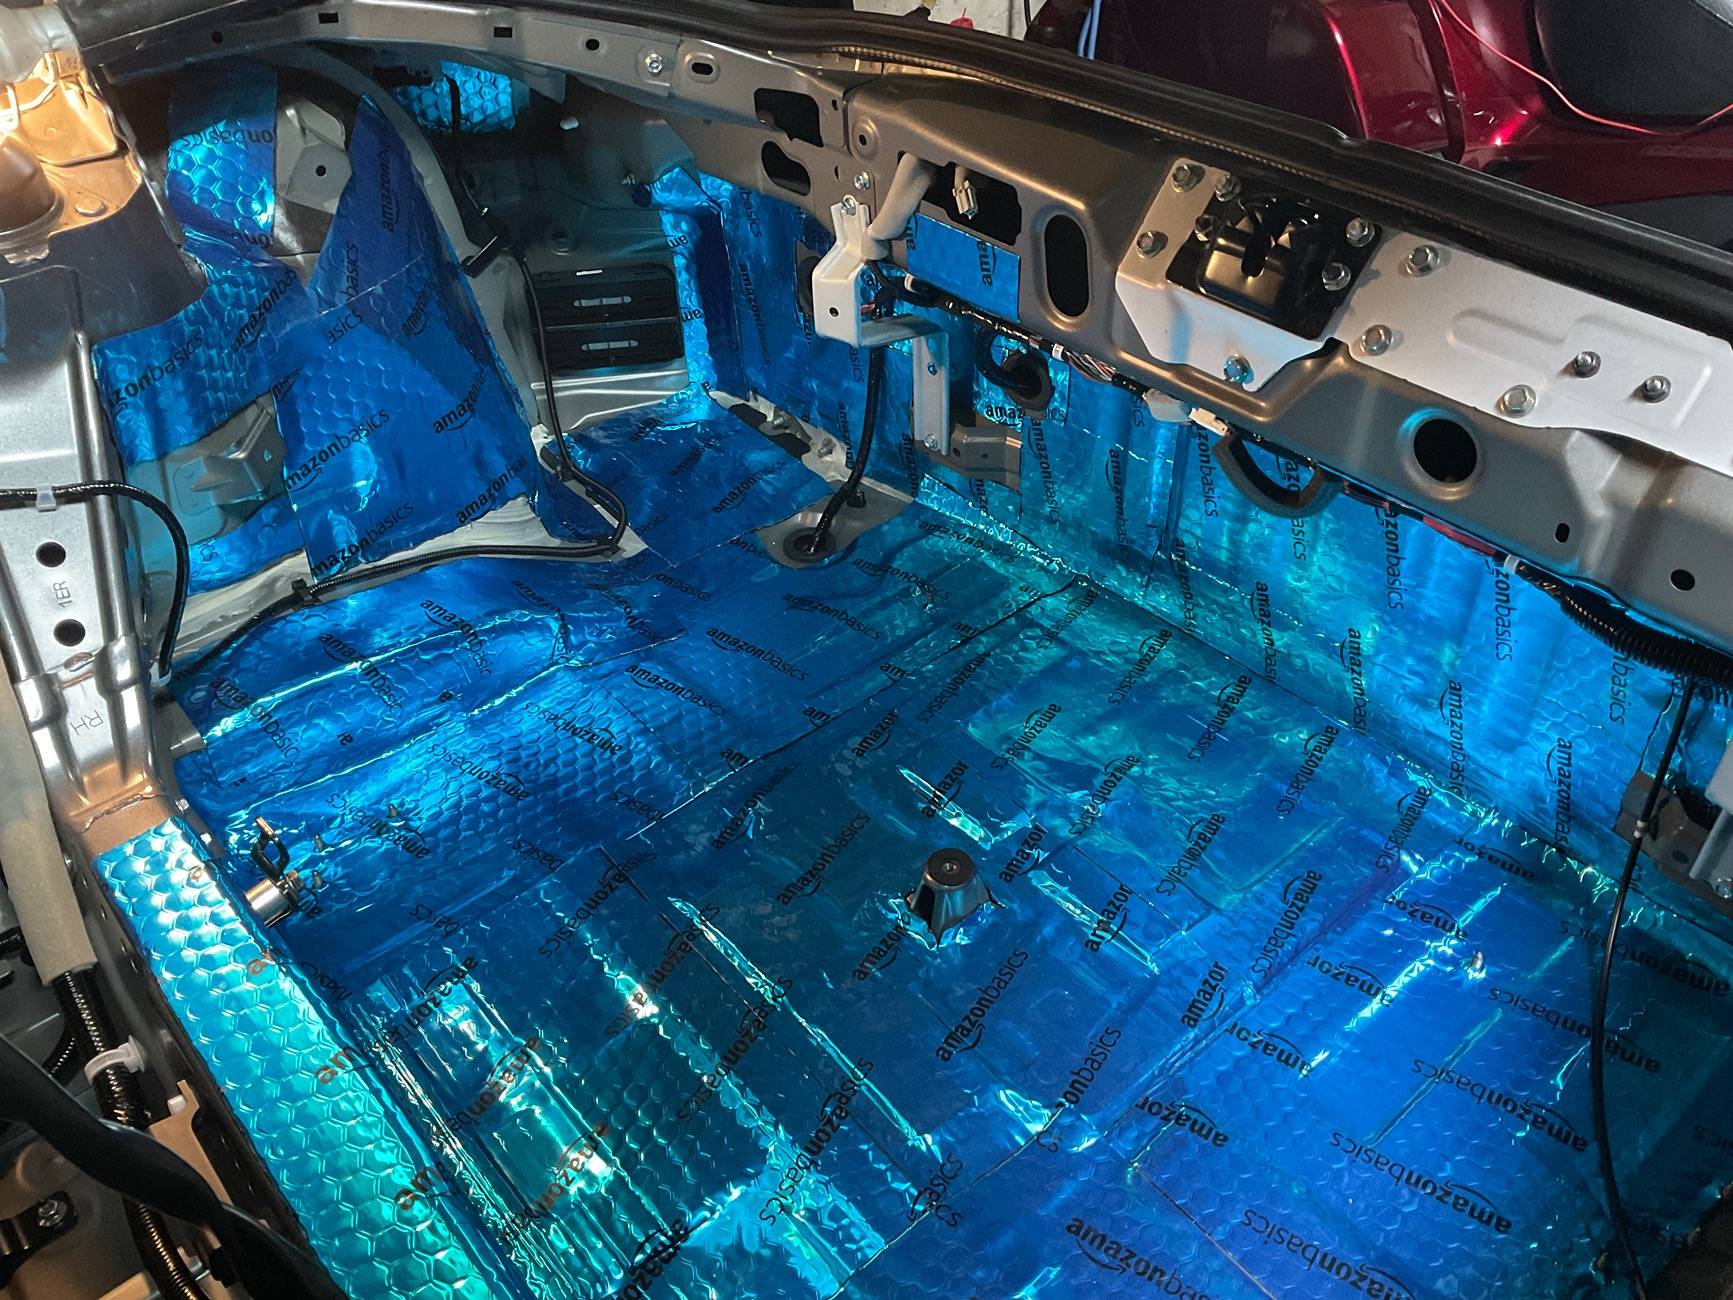
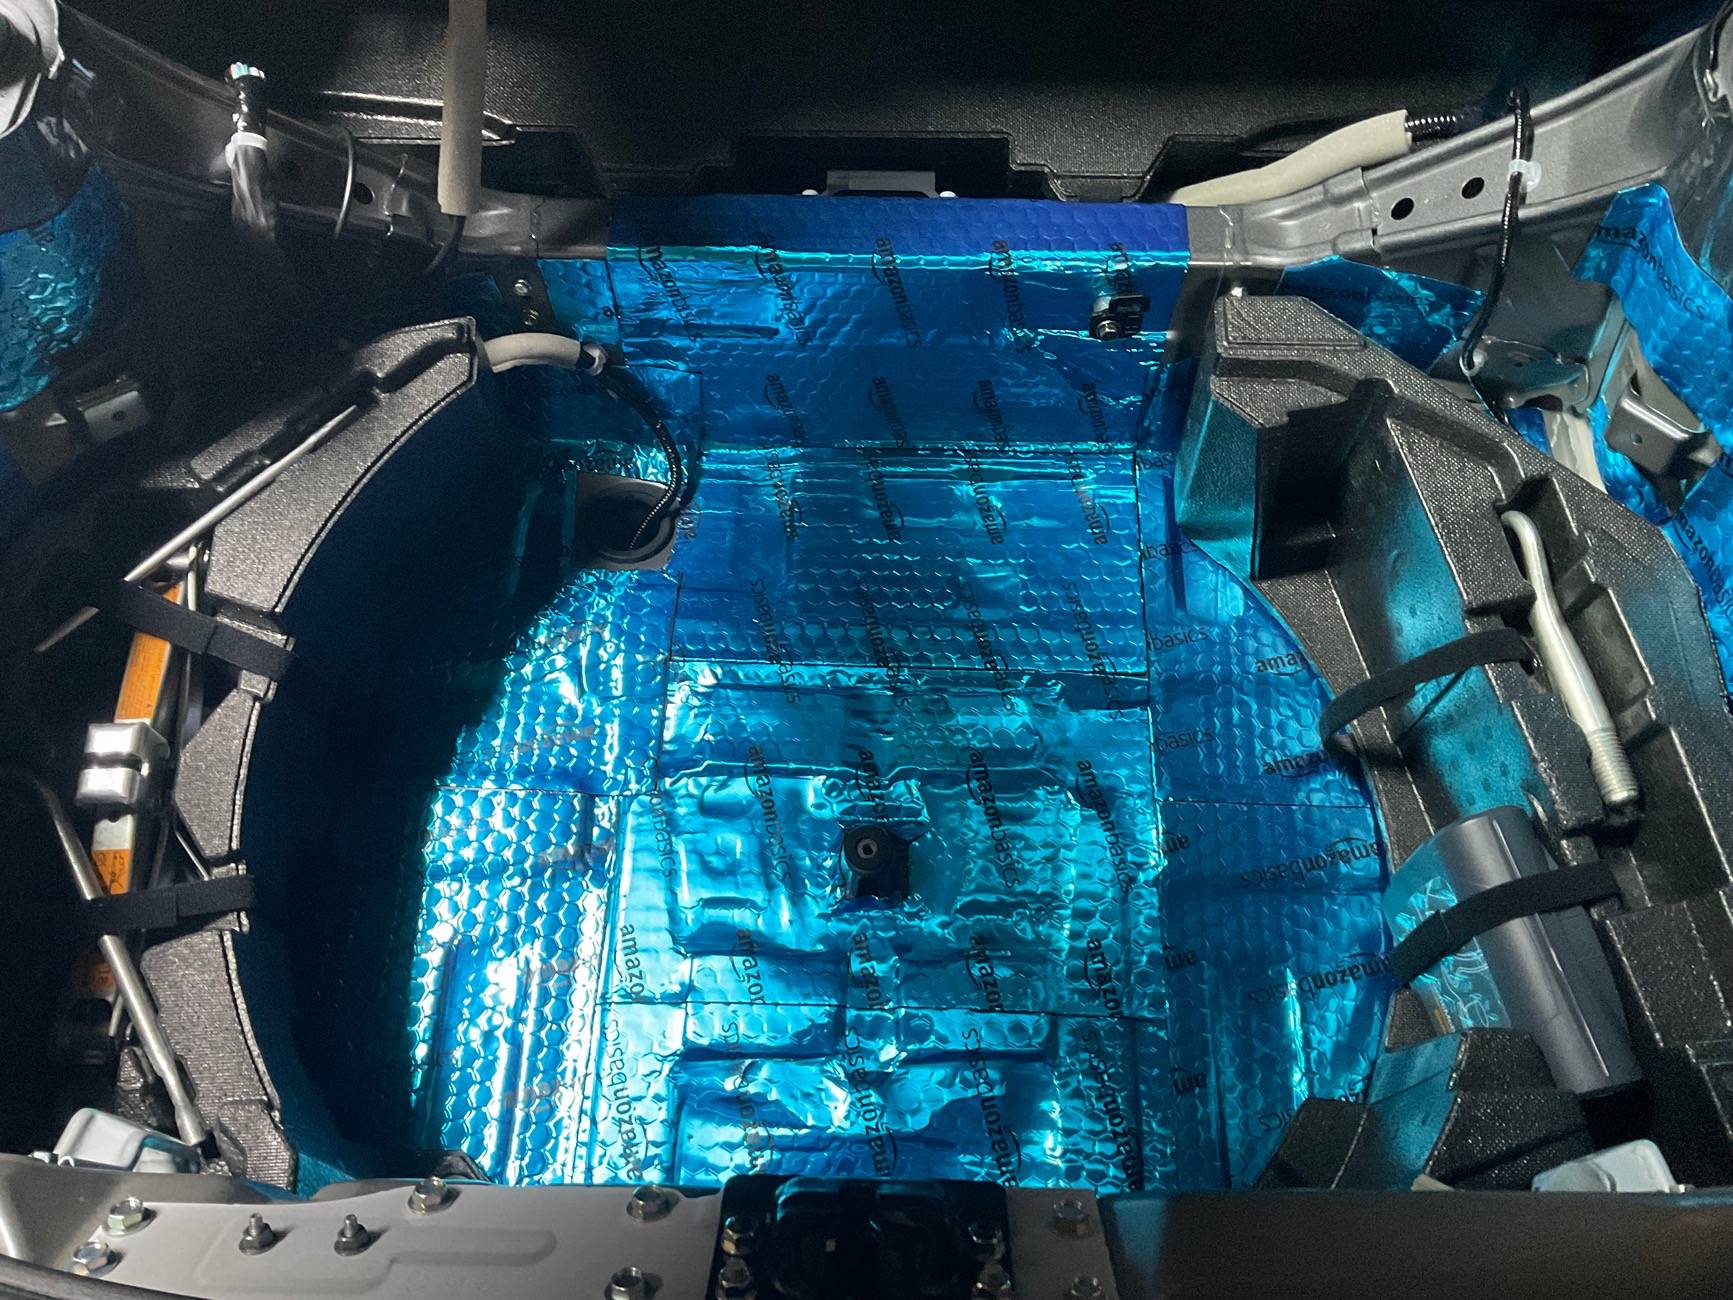
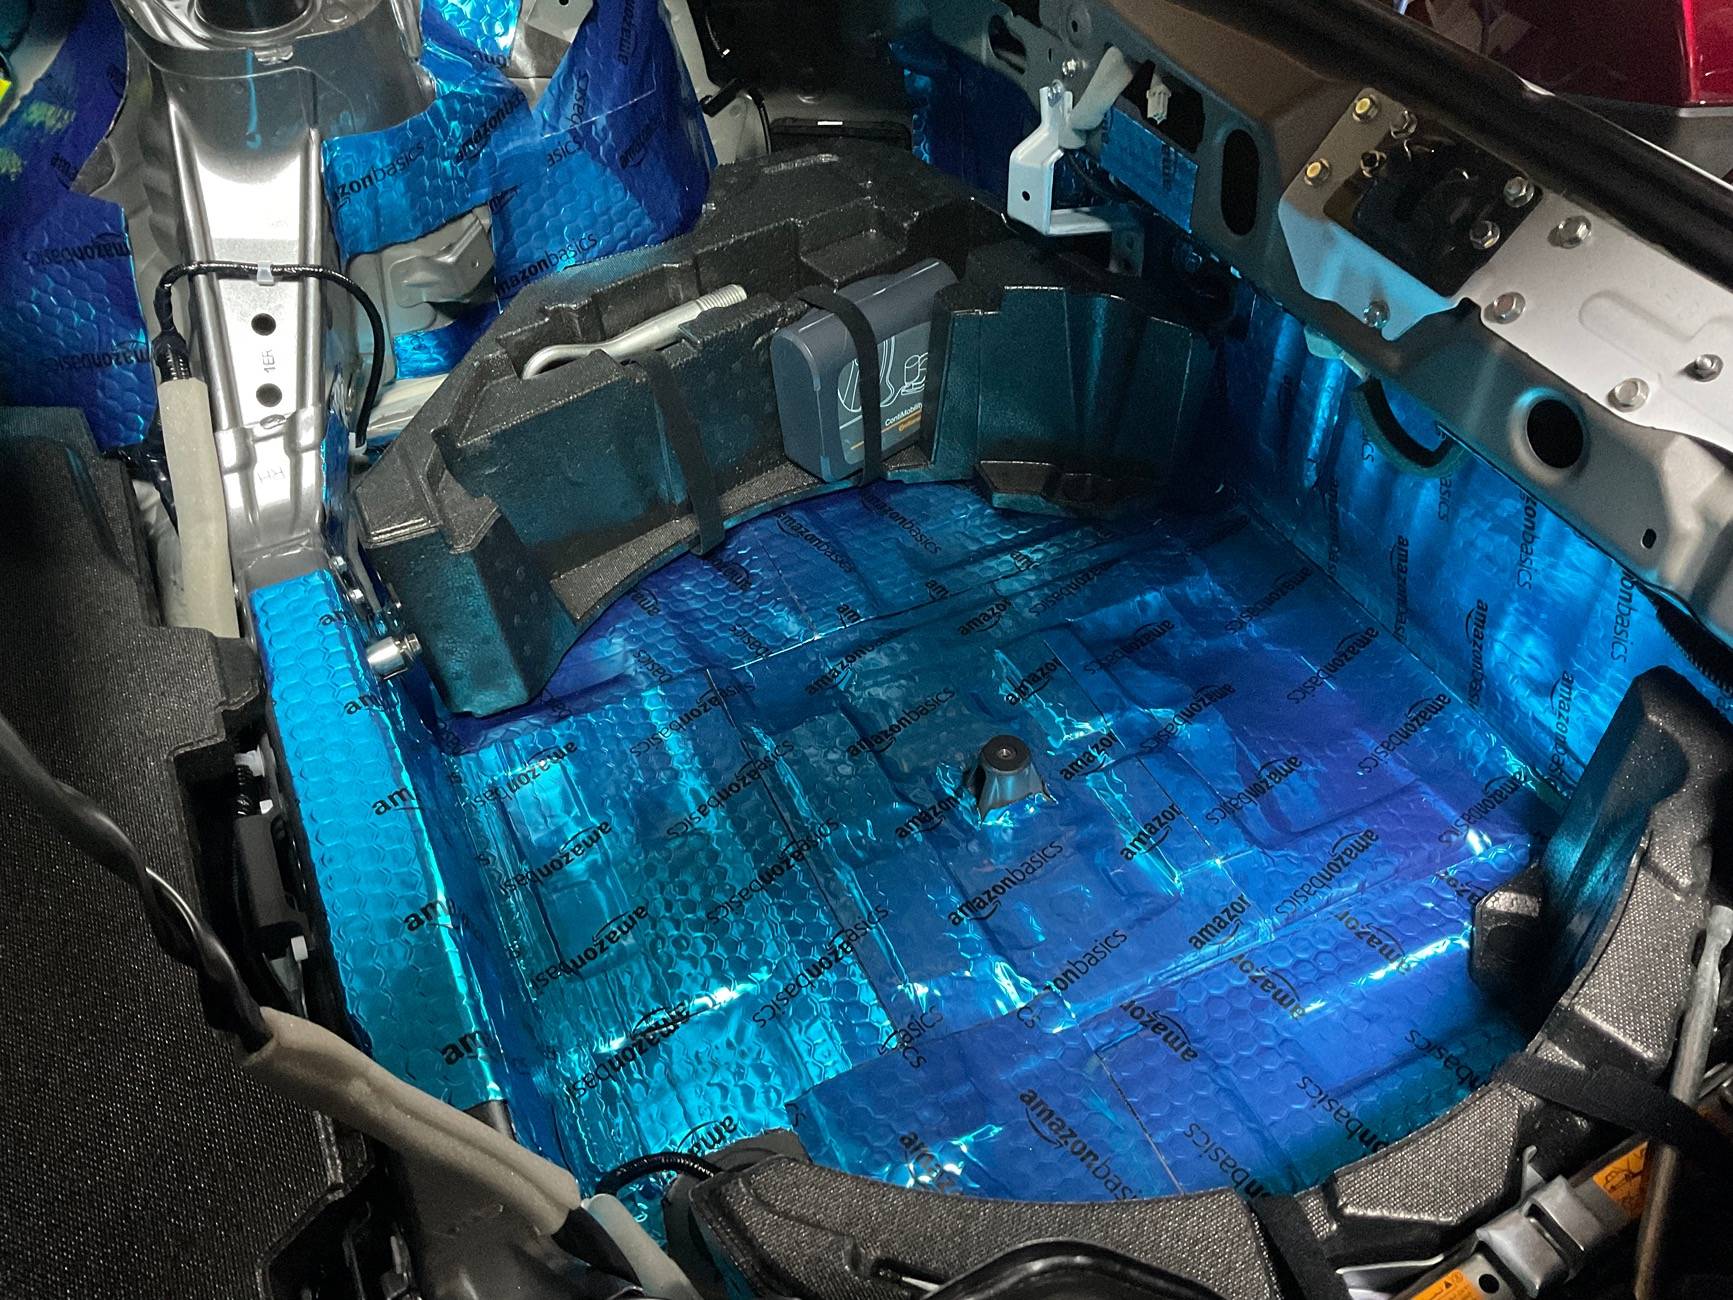
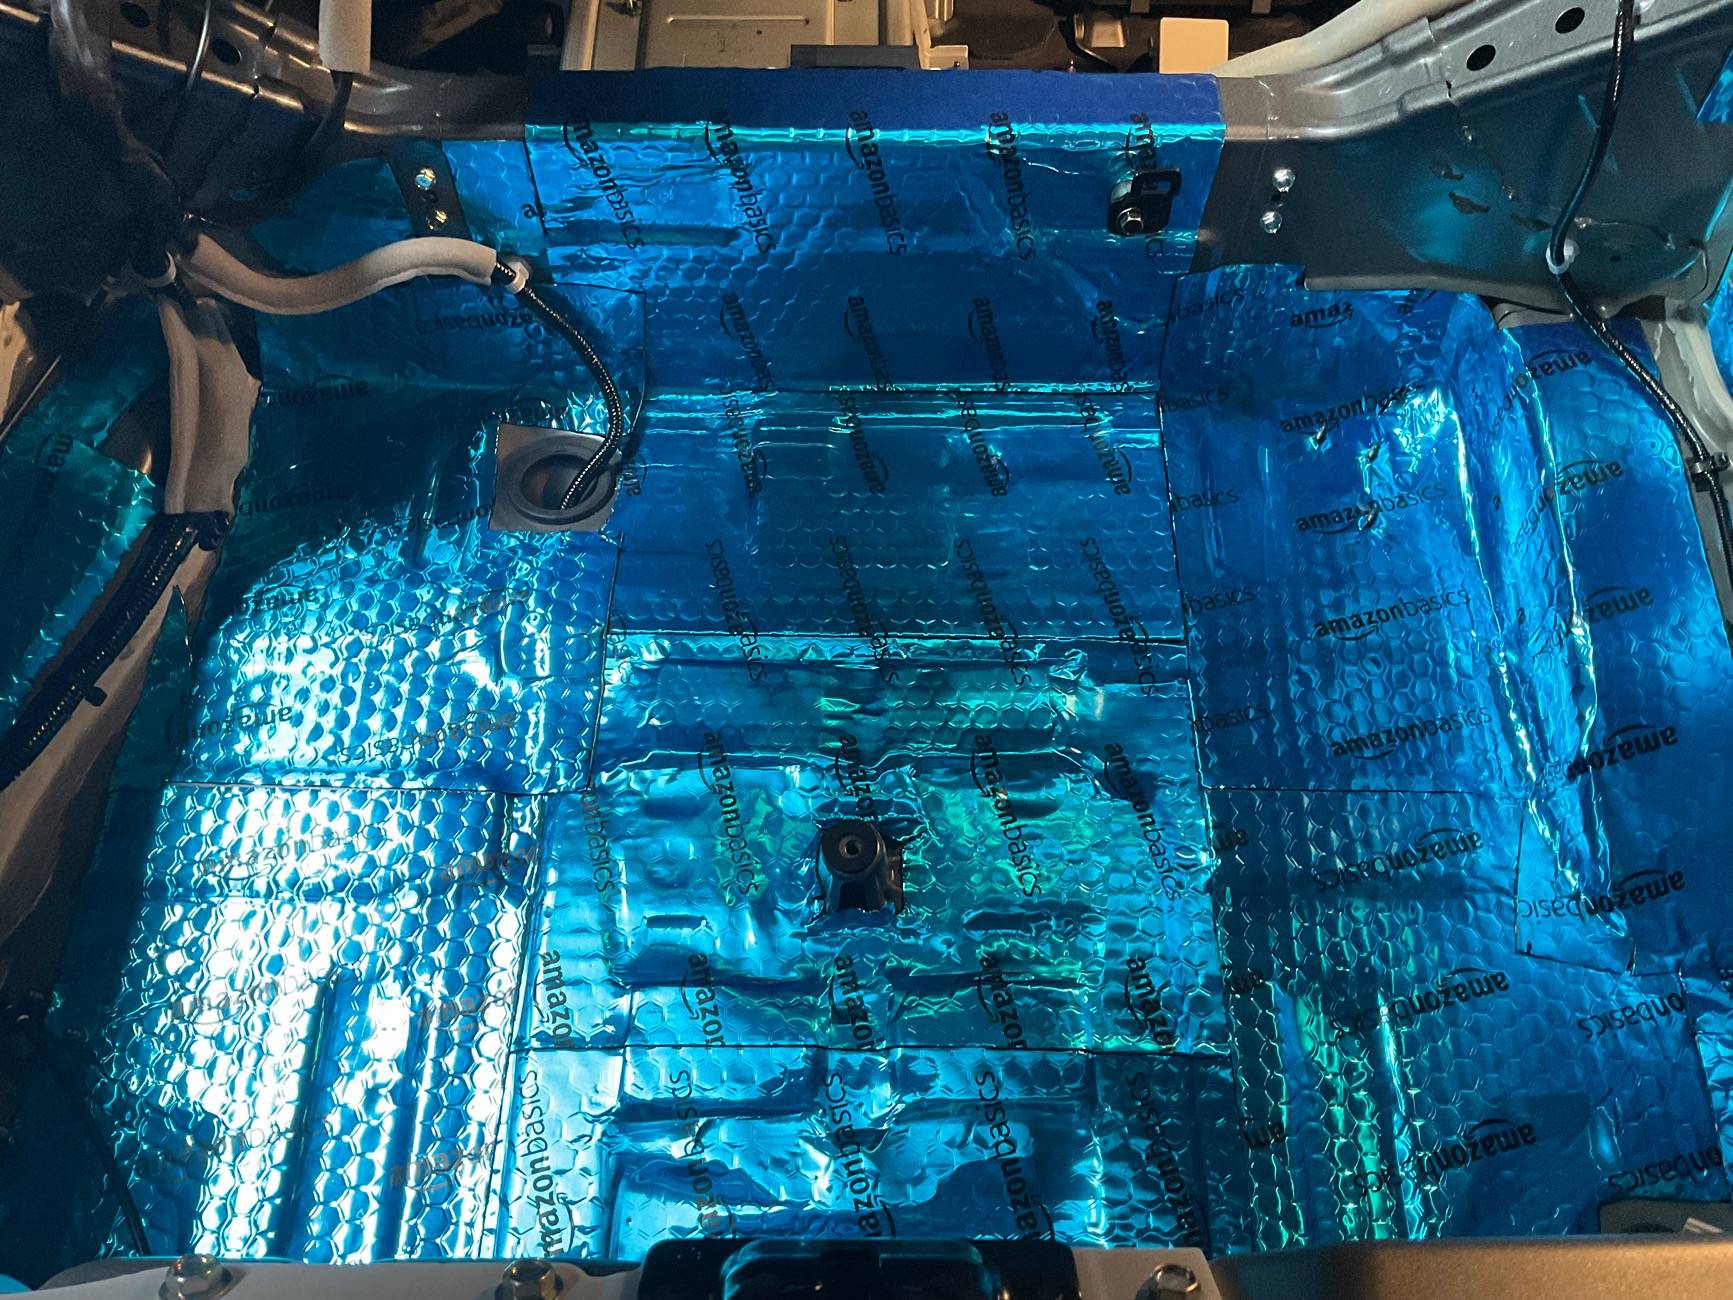
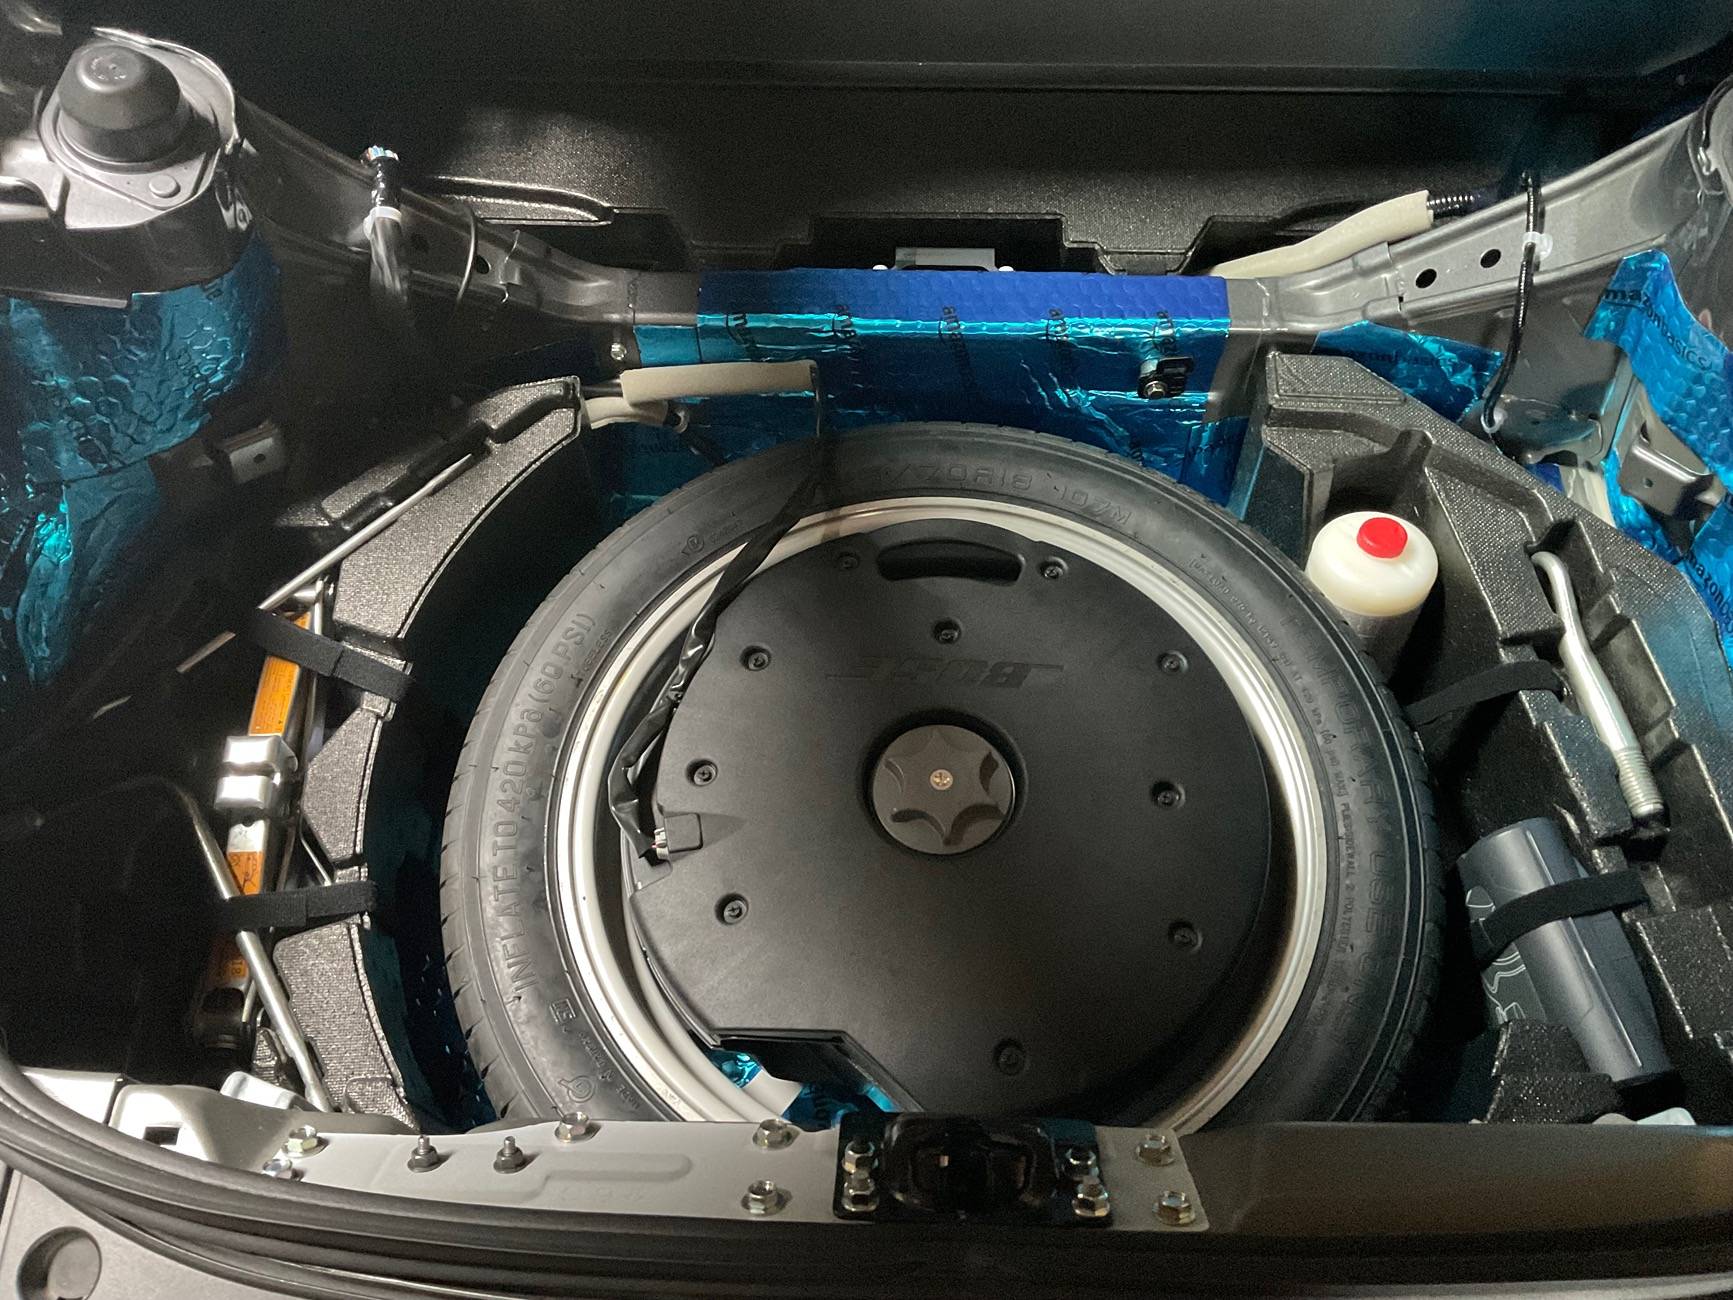
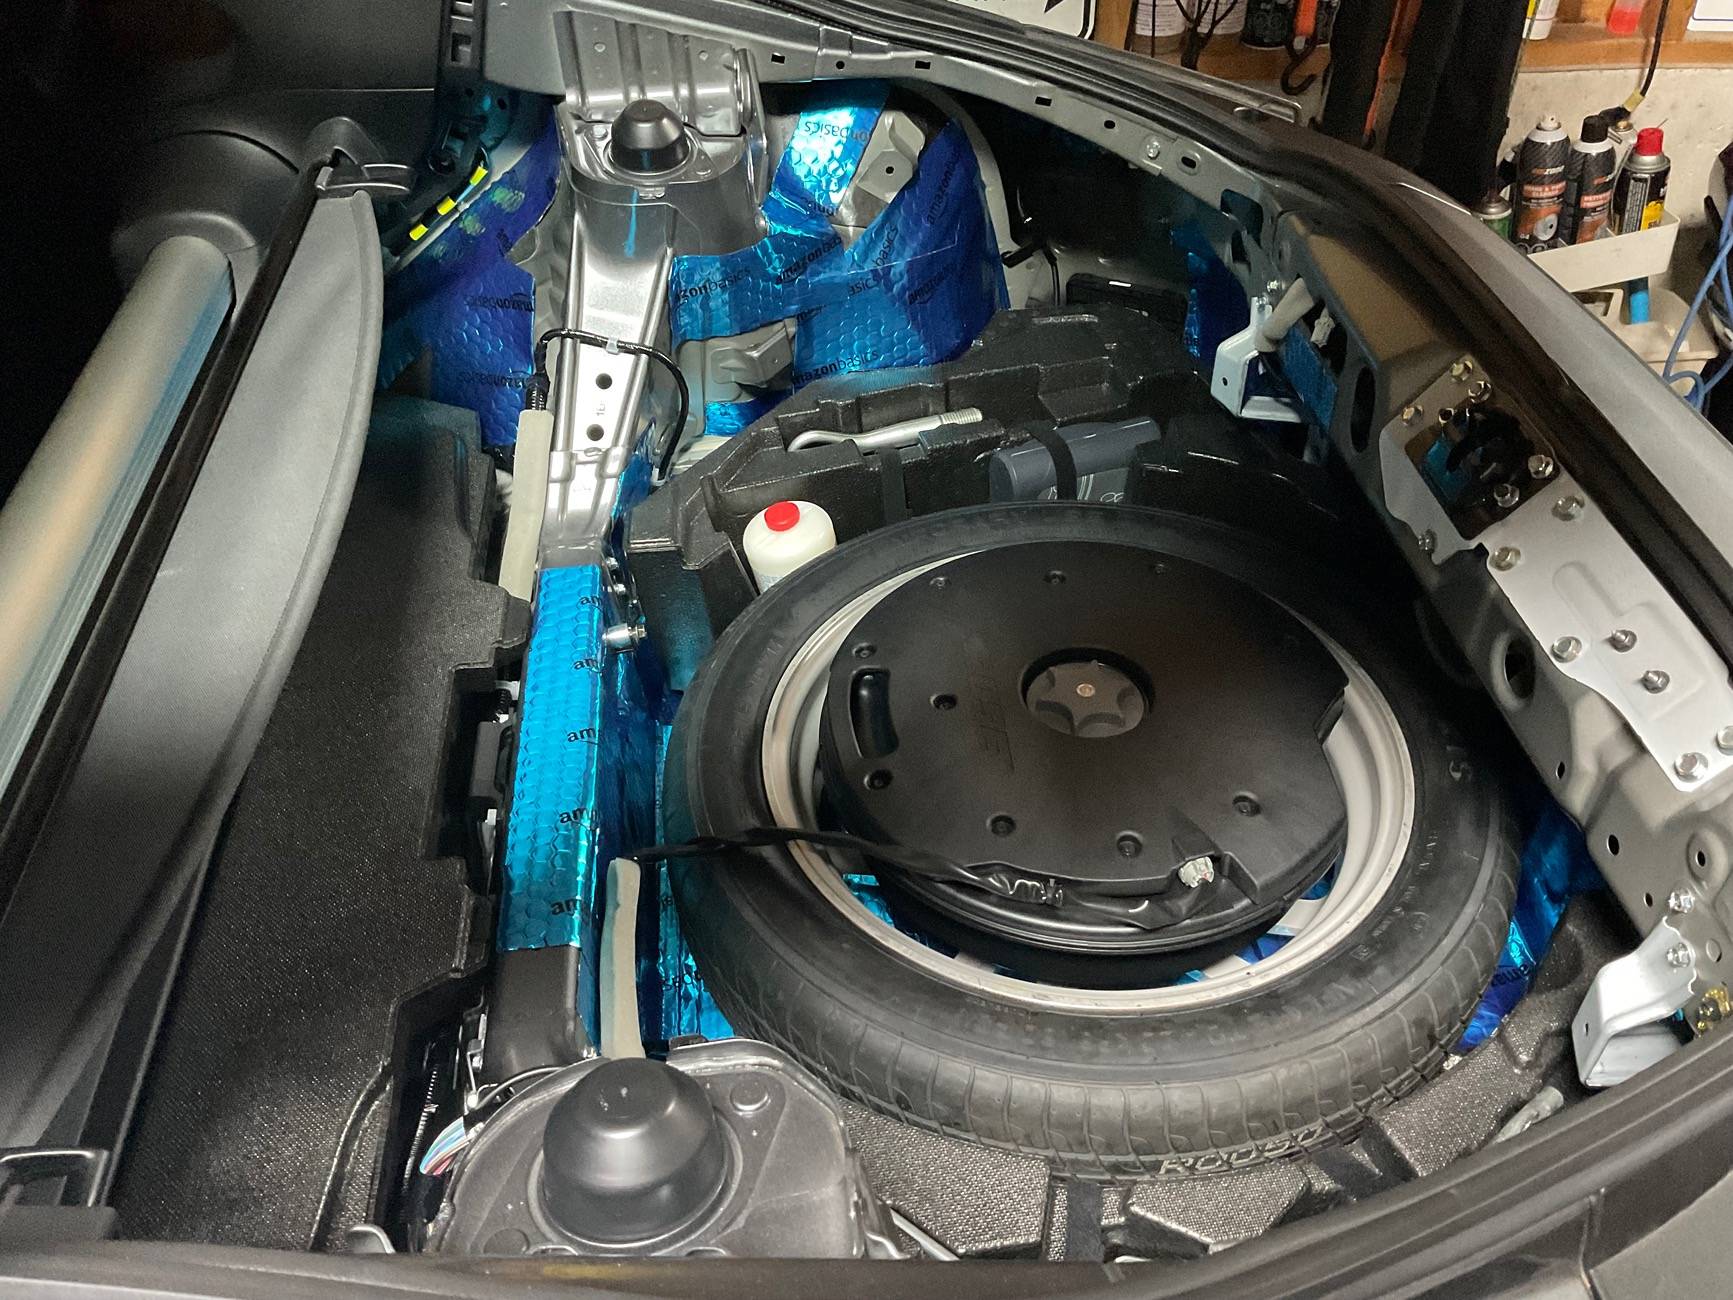
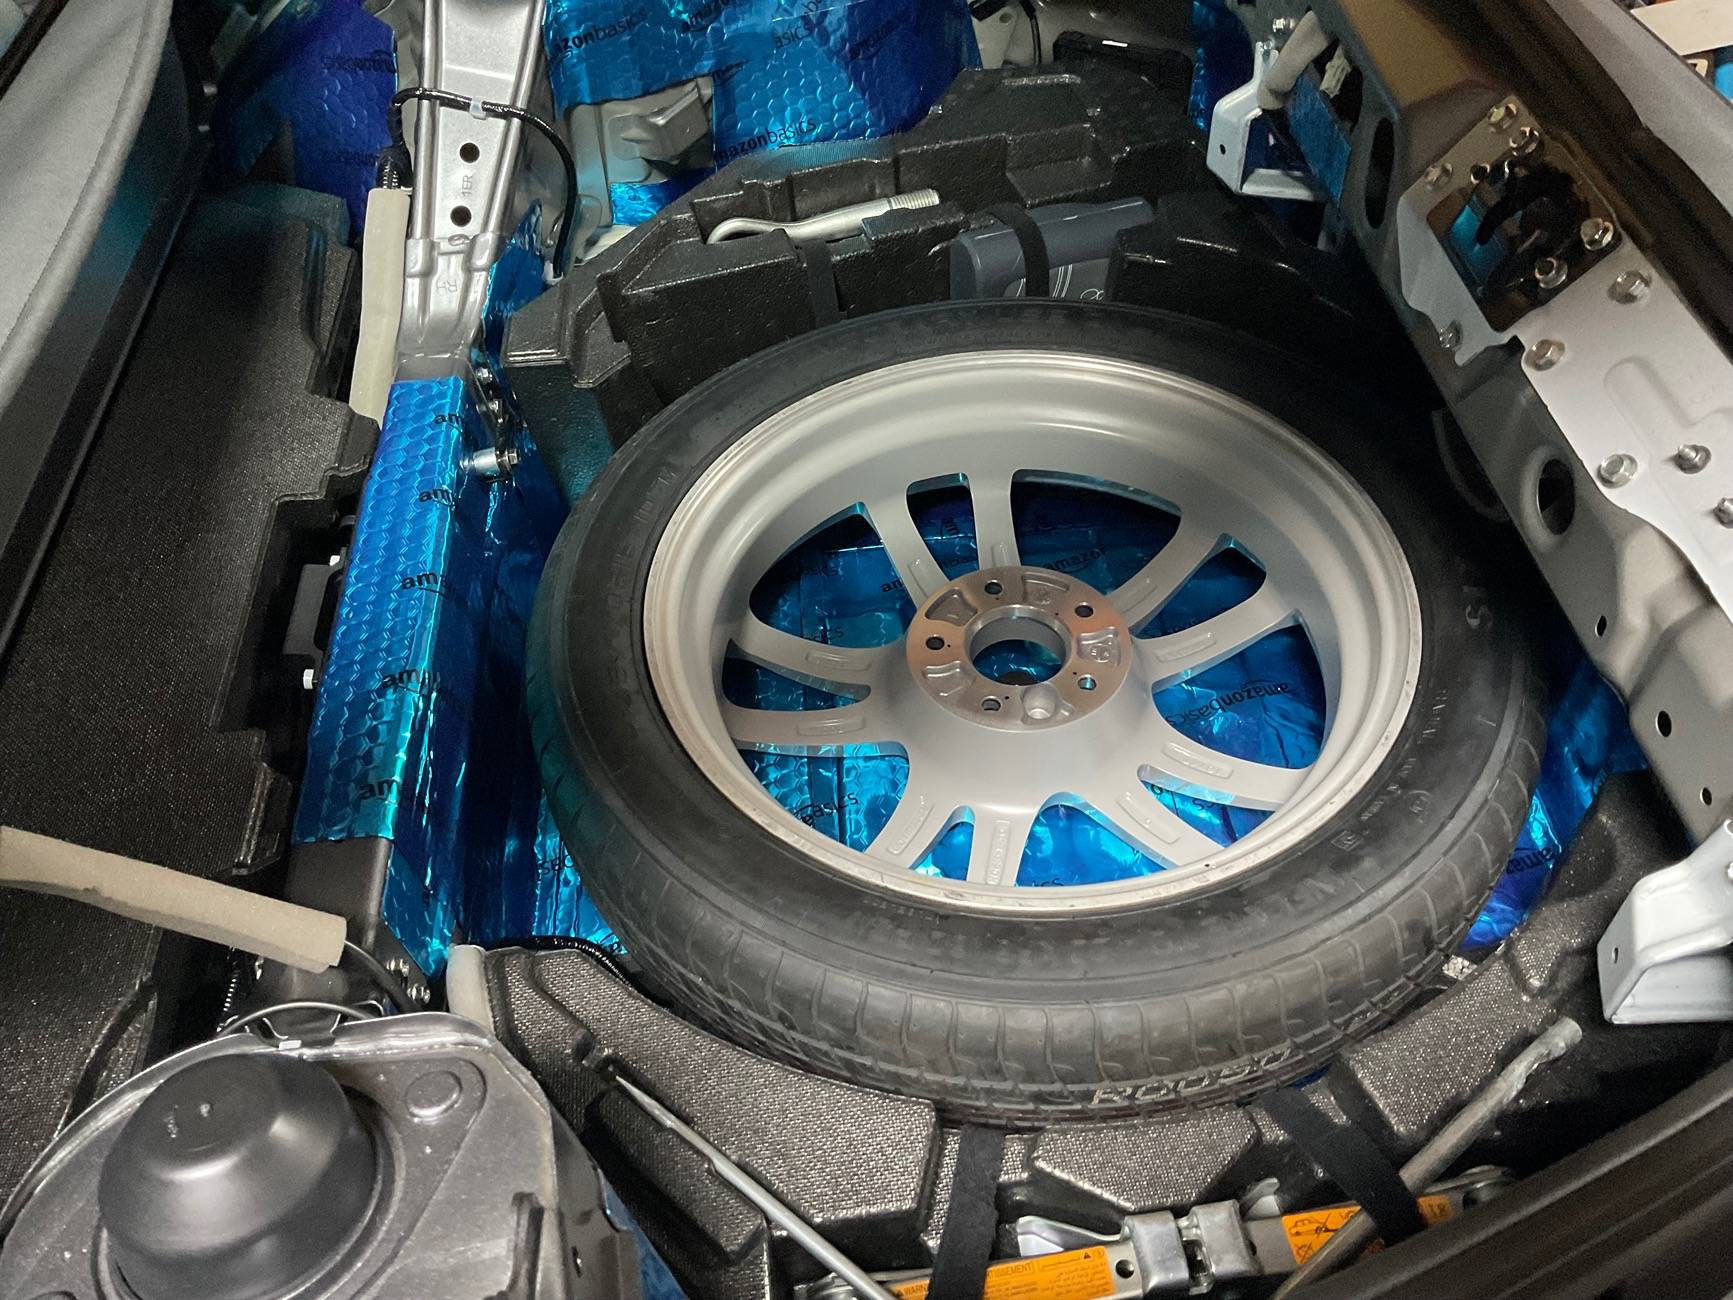
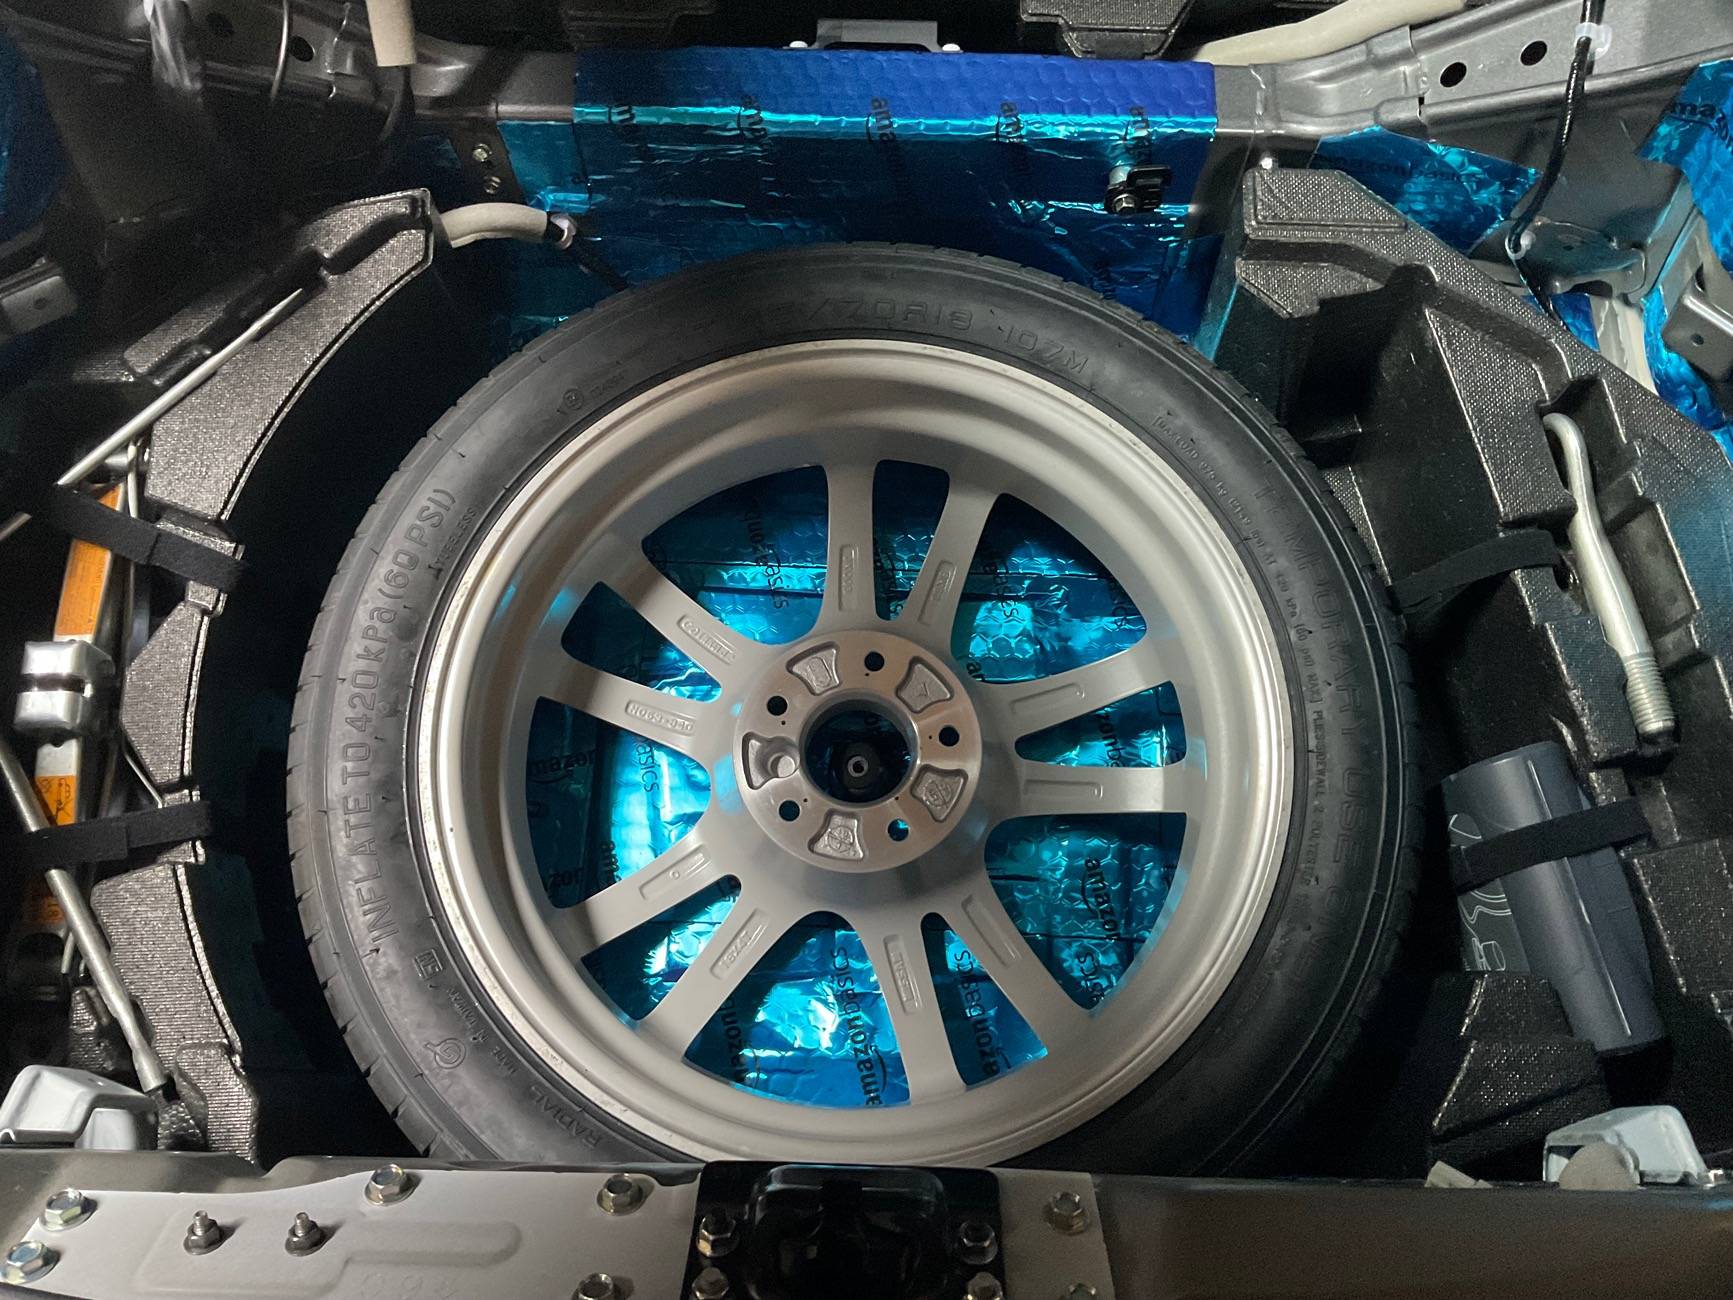
Im going to upgrade the sub with an amplified one and replace the main amp. Im waiting on the wiring harness also. I haven't completely decided on which sub I want to use yet.
 
OP
OP
FirstZ

FirstZ

Member
First Name
Anthony
Joined
Apr 21, 2025
Threads
1
Messages
12
Reaction score
8
Location
New York
Car(s)
Nissan Z performance
Guys, I just got the car back—it’s pretty amazing!


The noise level dropped by 2–3 dB, but the biggest difference is that the echo is completely gone.


They soundproofed the trunk with 3 layers, the entire floor with 2 layers, and the panels with 1 layer. Totally worth it!

You can actually hear the exhaust even more now, which was a nice surprise + music !

It also cut certain frequencies of noise, so I’m really happy with the result.

I’ll post pictures as soon as I get them!

It cost me $3,000—not cheap, but since I’m not handy at all, it was worth it.

If you can do it yourself, go for it—it’ll save you a lot!
I just wish I could also do the ceiling and the area above the wheel wells (not sure how to say it exactly).
 

weissk93

Well-Known Member
Joined
Jun 30, 2024
Threads
3
Messages
71
Reaction score
21
Location
Detroit, MI
Car(s)
Nissan Z Performance
Guys, I just got the car back—it’s pretty amazing!


The noise level dropped by 2–3 dB, but the biggest difference is that the echo is completely gone.


They soundproofed the trunk with 3 layers, the entire floor with 2 layers, and the panels with 1 layer. Totally worth it!

You can actually hear the exhaust even more now, which was a nice surprise + music !

It also cut certain frequencies of noise, so I’m really happy with the result.

I’ll post pictures as soon as I get them!

It cost me $3,000—not cheap, but since I’m not handy at all, it was worth it.

If you can do it yourself, go for it—it’ll save you a lot!
I just wish I could also do the ceiling and the area above the wheel wells (not sure how to say it exactly).
I am happy for you but $3,000 seems insane. Even for someone else to do it.
 
OP
OP
FirstZ

FirstZ

Member
First Name
Anthony
Joined
Apr 21, 2025
Threads
1
Messages
12
Reaction score
8
Location
New York
Car(s)
Nissan Z performance
I am happy for you but $3,000 seems insane. Even for someone else to do it.
I completely agree—materials probably cost no more than $500 total. They had to strip the entire interior, the car was fully naked inside. At least I got an invoice LOOOL
 

CPerdomo

Well-Known Member
First Name
Carlos
Joined
Jun 7, 2024
Threads
7
Messages
194
Reaction score
123
Location
Florida
Car(s)
Nissan Z Performance Package, 2016 Frontier Pro4X
Occupation
Congregational Leader
Guys, I just got the car back—it’s pretty amazing!


The noise level dropped by 2–3 dB, but the biggest difference is that the echo is completely gone.


They soundproofed the trunk with 3 layers, the entire floor with 2 layers, and the panels with 1 layer. Totally worth it!

You can actually hear the exhaust even more now, which was a nice surprise + music !

It also cut certain frequencies of noise, so I’m really happy with the result.

I’ll post pictures as soon as I get them!

It cost me $3,000—not cheap, but since I’m not handy at all, it was worth it.

If you can do it yourself, go for it—it’ll save you a lot!
I just wish I could also do the ceiling and the area above the wheel wells (not sure how to say it exactly).
Wow! that's a lot of soundproofing. No wonder why it cost so much. But if you're satisfied with the results, that's what matters.
 

GtownZEDD

Member
First Name
Allan
Joined
Jul 13, 2024
Threads
1
Messages
8
Reaction score
11
Location
Georgetown Ontario
Car(s)
2023 Z Performance
Occupation
Retired
I also added some sound deadener to the trunk area only. I removed all the trunk trim pieces and foam inserts then placed the deadener to the floor, back wall, and side fenders. Attached are before and after pics. I also took a couple of pics of the rear and side trim pieces that show where the trim clips are located…for those who want to remove them also to apply the maximum amount of deadener in the trunk. Removing the trim was easy albeit a little nerve racking as I didn’t want to break any trim clips. The clips are attached firmly and do take quite a bit of effort to release.

The noise level was noticeably reduced. It was well worth the cost and effort. I used the Amazon Basics sound deadener and it was easy to apply. I ordered the 34 pack of 10x13” sheets which turned out to be more than I needed. I used about 23 sheets in total. I’ll use the rest for either the seat floor area or the doors at a later time. Total cost about $100 Cdn dollars.

Hope this helps those who are considering this project.

IMG_0453.jpeg


IMG_0454.jpeg


IMG_0455.jpeg


IMG_0459.jpeg


IMG_0460.jpeg


IMG_0461.jpeg


IMG_0462.jpeg


IMG_0463.jpeg


IMG_0458.jpeg


IMG_0468.jpeg


IMG_0469.jpeg


IMG_0467.jpeg


IMG_0466.jpeg


IMG_0471.jpeg


IMG_0470.jpeg
 
Last edited:

CPerdomo

Well-Known Member
First Name
Carlos
Joined
Jun 7, 2024
Threads
7
Messages
194
Reaction score
123
Location
Florida
Car(s)
Nissan Z Performance Package, 2016 Frontier Pro4X
Occupation
Congregational Leader
I also added some sound deadener to the trunk area only. I removed all the trunk trim pieces and foam inserts then placed the deadener to the floor, back wall, and side fenders. Attached are before and after pics. I also took a couple of pics of the rear and side trim pieces that show where the trim clips are located…for those who want to remove them also to apply the maximum amount of deadener in the trunk. Removing the trim was easy albeit a little nerve racking as I didn’t want to break any trim clips. The clips are attached firmly and do take quite a bit of effort to release.

The noise level was noticeably reduced. It was well worth the cost and effort. I used the Amazon Basics sound deadener and it was easy to apply. I ordered the 34 pack of 10x13” sheets which turned out to be more than I needed. I used about 23 sheets in total. I’ll use the rest for either the seat floor area or the doors at a later time. Total cost about $100 Cdn dollars.

Hope this helps those who are considering this project.

IMG_0453.jpeg


IMG_0454.jpeg


IMG_0455.jpeg


IMG_0459.jpeg


IMG_0460.jpeg


IMG_0461.jpeg


IMG_0462.jpeg


IMG_0463.jpeg


IMG_0458.jpeg


IMG_0468.jpeg


IMG_0469.jpeg


IMG_0467.jpeg


IMG_0466.jpeg


IMG_0471.jpeg


IMG_0470.jpeg
Great Job!
I see that you decided not to cover those vents at the corners of the rear fenders. They are completely open to the outside; those the reason I covered them.
I want to get the same spare tire set up that you have. How did you go about it?

Thanks.
 

GtownZEDD

Member
First Name
Allan
Joined
Jul 13, 2024
Threads
1
Messages
8
Reaction score
11
Location
Georgetown Ontario
Car(s)
2023 Z Performance
Occupation
Retired
Great Job!
I see that you decided not to cover those vents at the corners of the rear fenders. They are completely open to the outside; those the reason I covered them.
I want to get the same spare tire set up that you have. How did you go about it?

Thanks.
Regarding the “vents”, are you referring to the small square boxes on the left and right rear corners? Frankly, I didn’t know that that’s what they were, so I left them uncovered.

The spare tire idea was taken from another thread in this forum. I really don’t like the goop repair solution that the Z came with. I rather have an actual spare tire. I managed to find a brand new and unused spare tire/wheel off of Facebook Marketplace. It was from a 370z Nismo. (Fitment was exact) As I have a Performance model, it was important to get the 18” spare as opposed to the 17”. I also picked up the scissor jack, lug nut wrench, etc from an auto wrecker. Much cheaper than buying them from the dealer, by far.

To fit the spare tire in the trunk, you simply have to remove the center foam piece. The sub woofer fits inside the spare tire, as it did with the previous generation 370.
 

CPerdomo

Well-Known Member
First Name
Carlos
Joined
Jun 7, 2024
Threads
7
Messages
194
Reaction score
123
Location
Florida
Car(s)
Nissan Z Performance Package, 2016 Frontier Pro4X
Occupation
Congregational Leader
Regarding the “vents”, are you referring to the small square boxes on the left and right rear corners? Frankly, I didn’t know that that’s what they were, so I left them uncovered.

The spare tire idea was taken from another thread in this forum. I really don’t like the goop repair solution that the Z came with. I rather have an actual spare tire. I managed to find a brand new and unused spare tire/wheel off of Facebook Marketplace. It was from a 370z Nismo. (Fitment was exact) As I have a Performance model, it was important to get the 18” spare as opposed to the 17”. I also picked up the scissor jack, lug nut wrench, etc from an auto wrecker. Much cheaper than buying them from the dealer, by far.

To fit the spare tire in the trunk, you simply have to remove the center foam piece. The sub woofer fits inside the spare tire, as it did with the previous generation 370.
Thanks for the input. I'll try to get the same set up. I need to put some weight in the rear since I took the muffler off.
Yea, I was referring to those vents. I went under the car and realized that they are open to the outside. Don't really understand the purpose of them so I covered them with the sound proof material as well.


Top