ohmyfairladyz
Active Member
- First Name
- Mike
- Joined
- Oct 17, 2023
- Threads
- 2
- Messages
- 33
- Reaction score
- 33
- Location
- San Marcos CA
- Car(s)
- 2023 Nissan Z
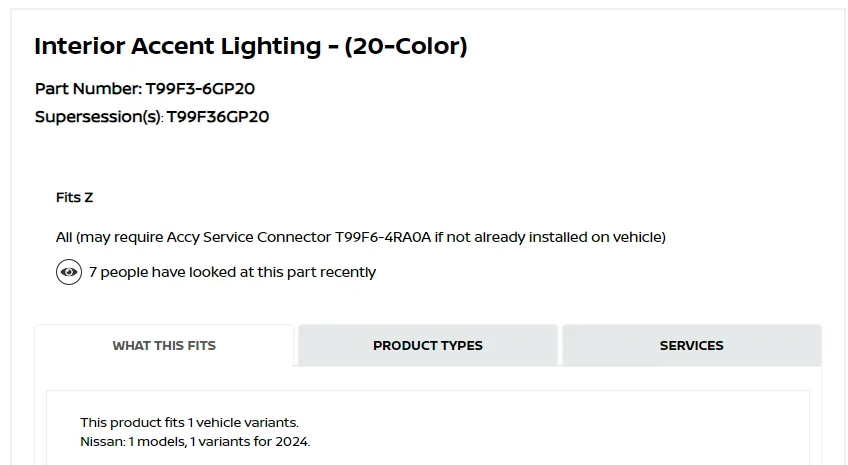
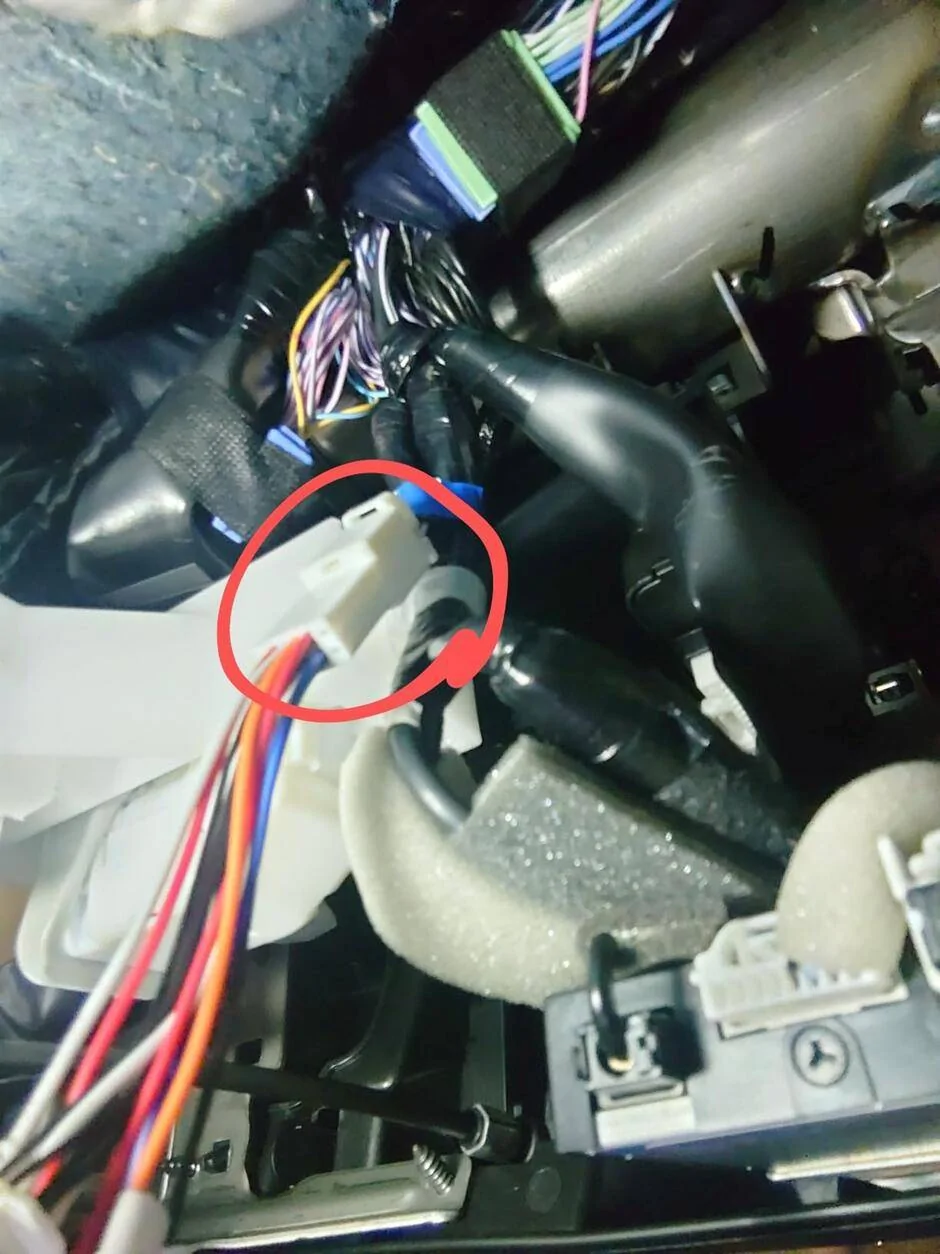
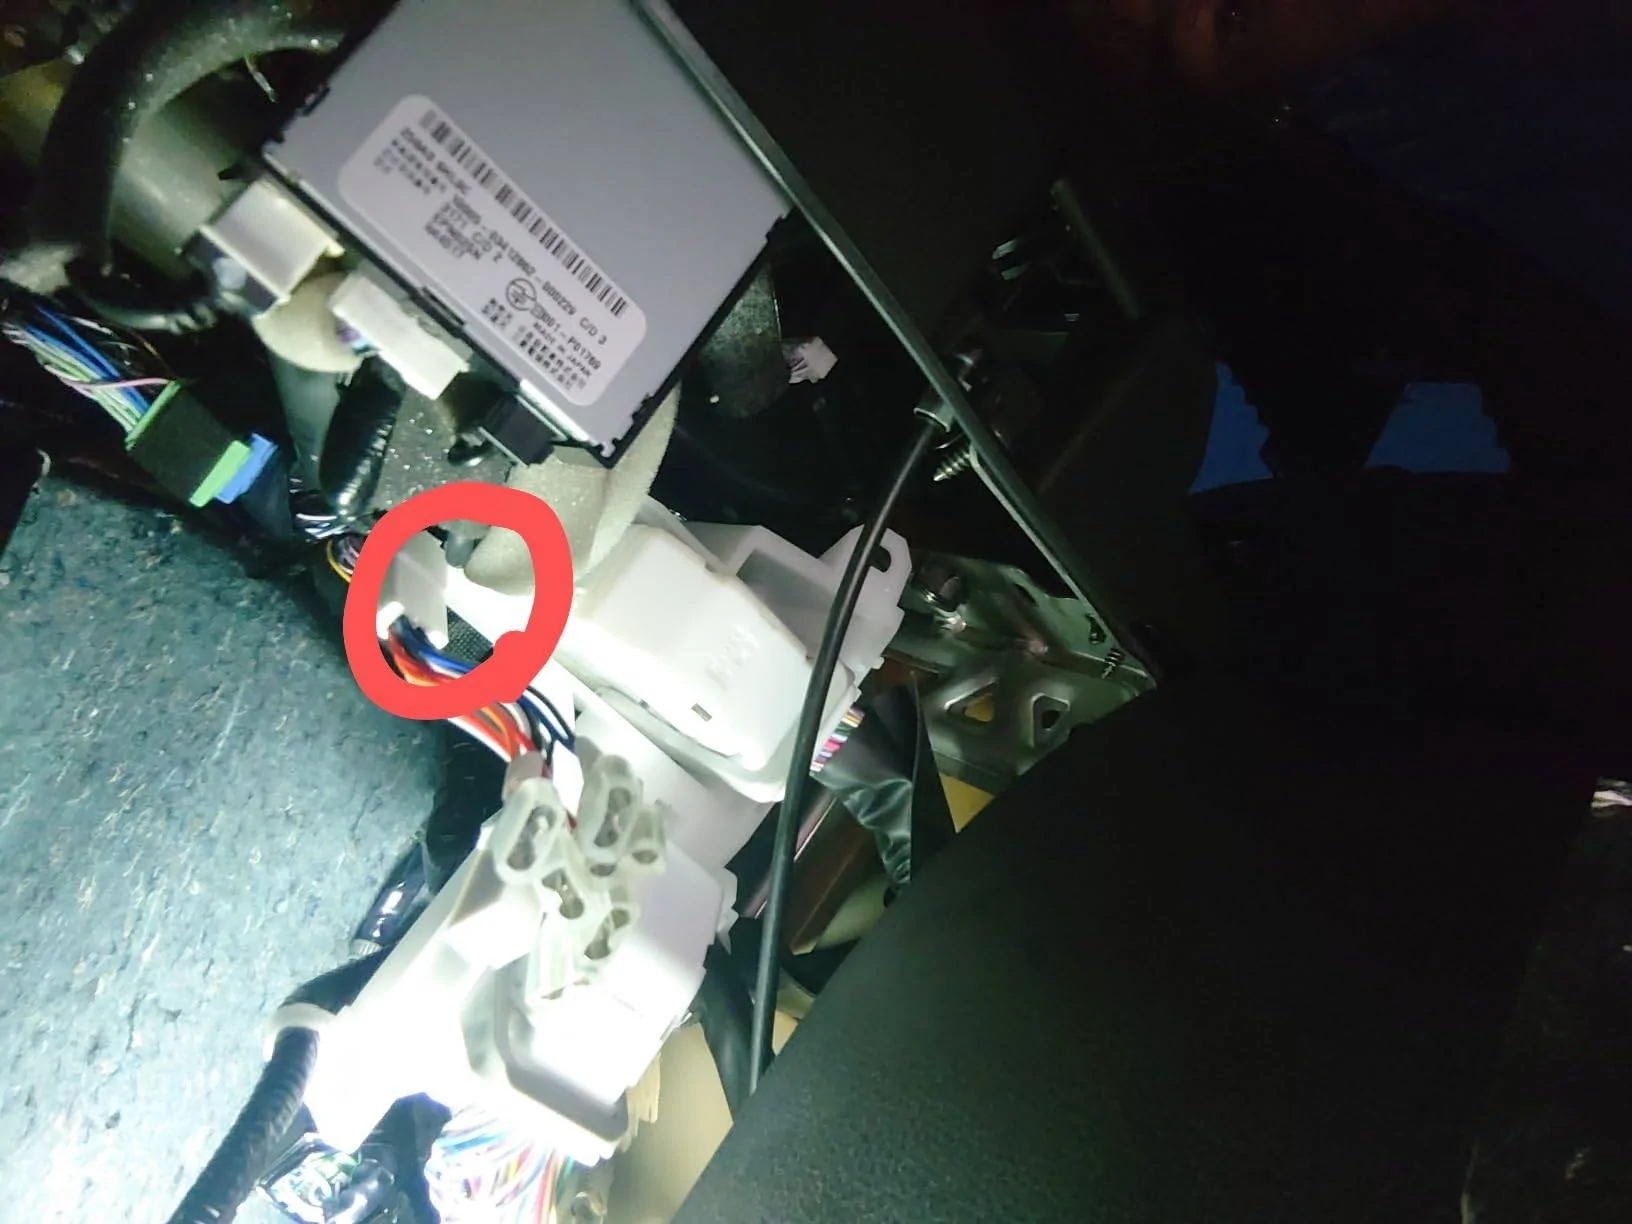
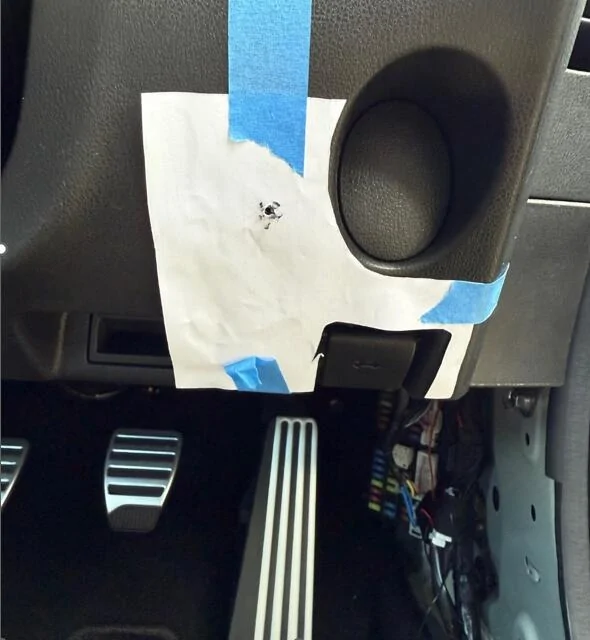
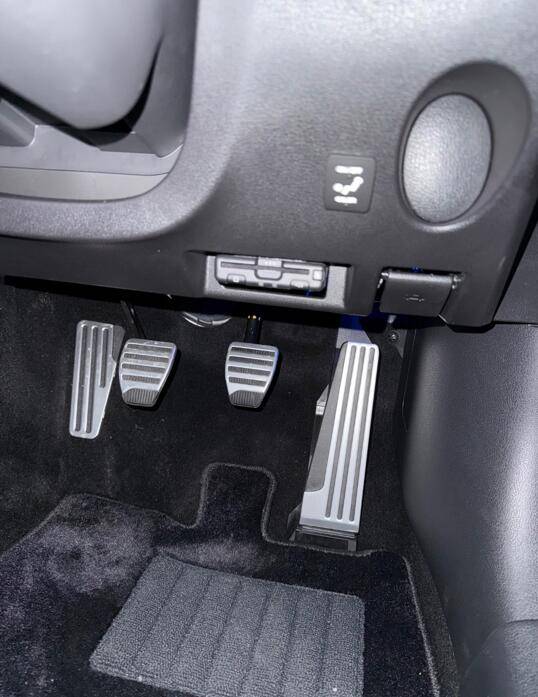
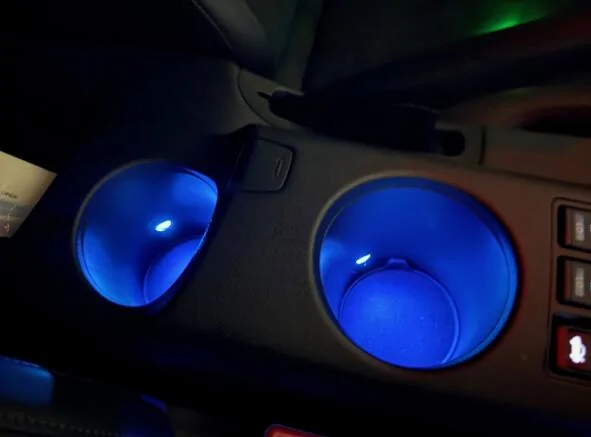
It used to be a place to put the key of the car in to hold it instead of leaving it in your pocket or in a cup holderWhat's that big oval on the left?