OP
OP
Exquisite_Red
Well-Known Member
- First Name
- Donnie
- Joined
- Feb 24, 2025
- Threads
- 2
- Messages
- 97
- Reaction score
- 152
- Location
- Nashville, TN
- Car(s)
- '24 Nissan Z 6MT
- Occupation
- NNA-S Project Manager
- Thread starter
- #16
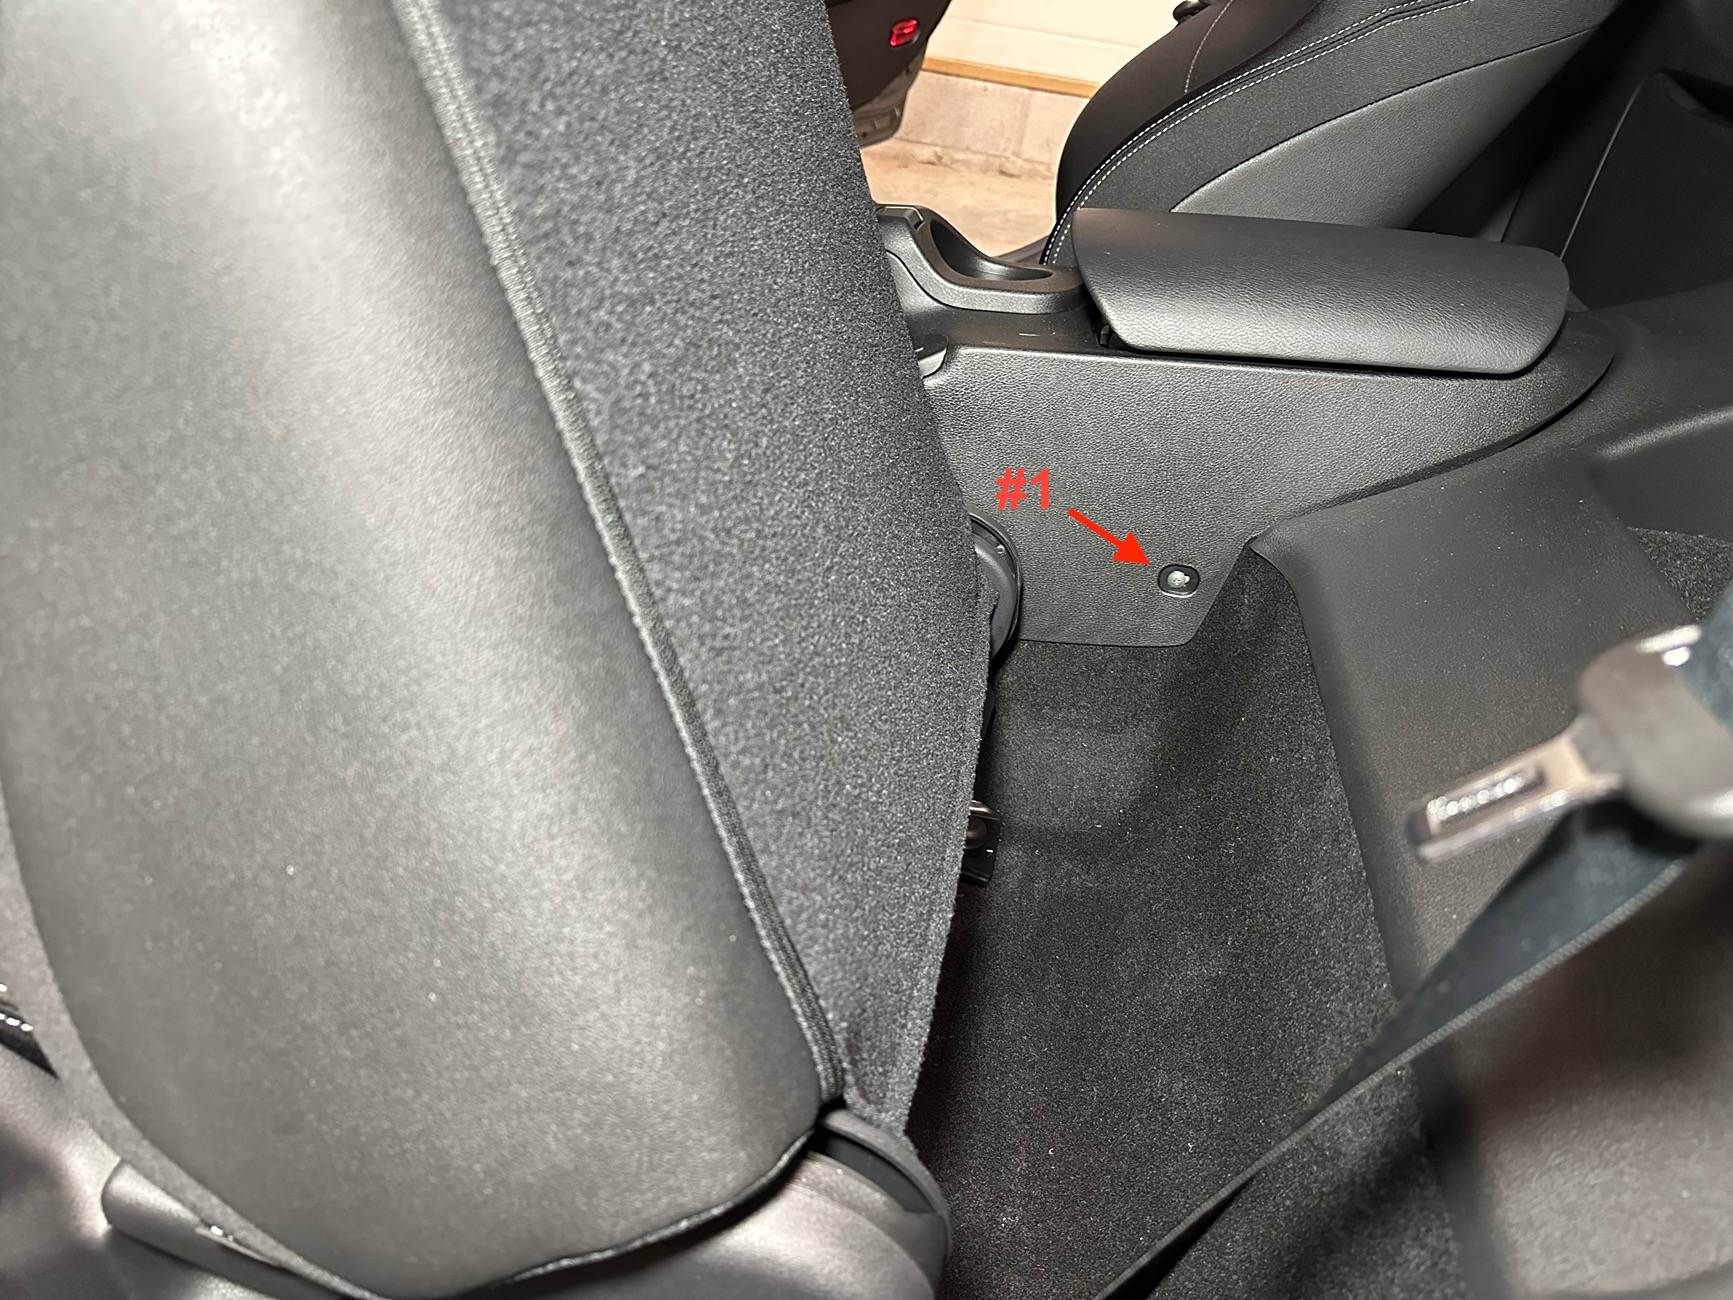
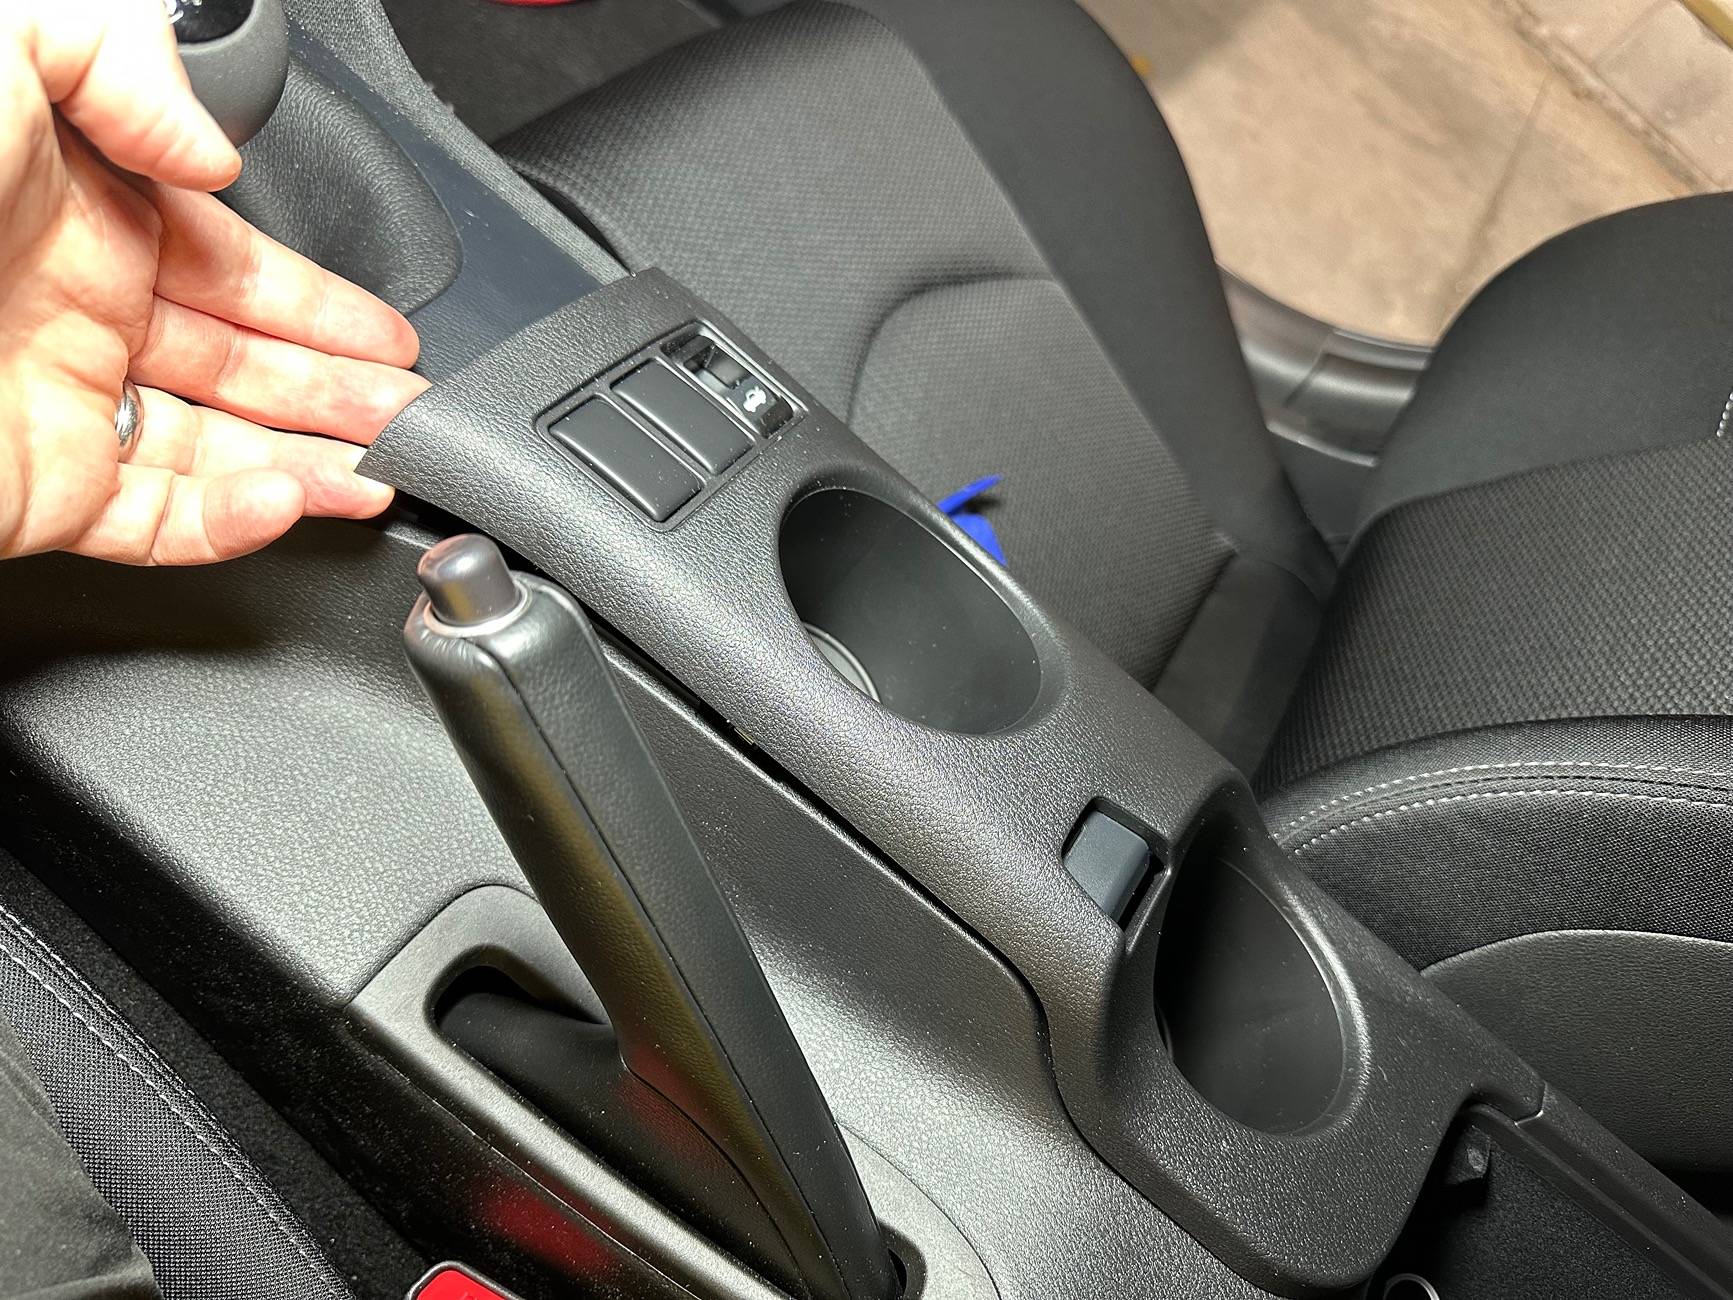
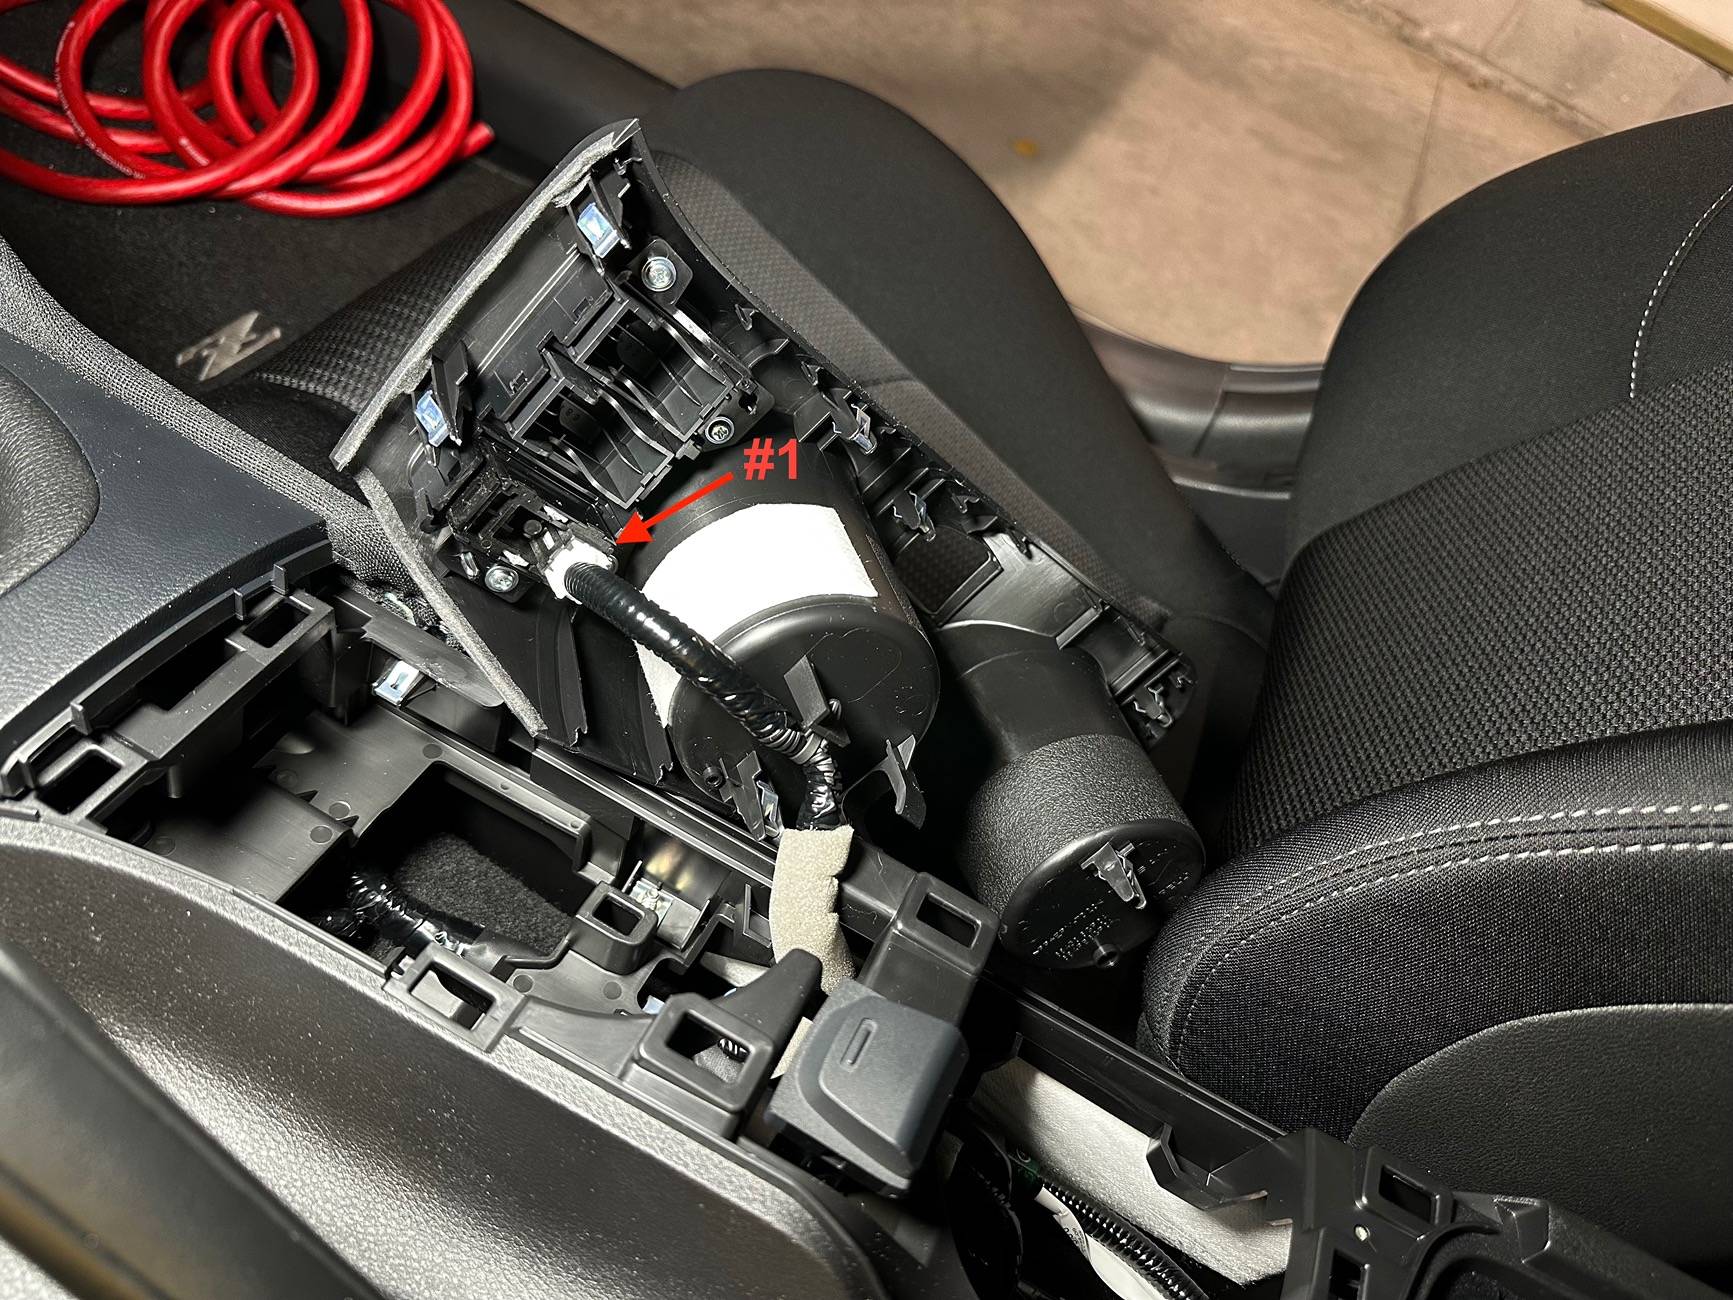
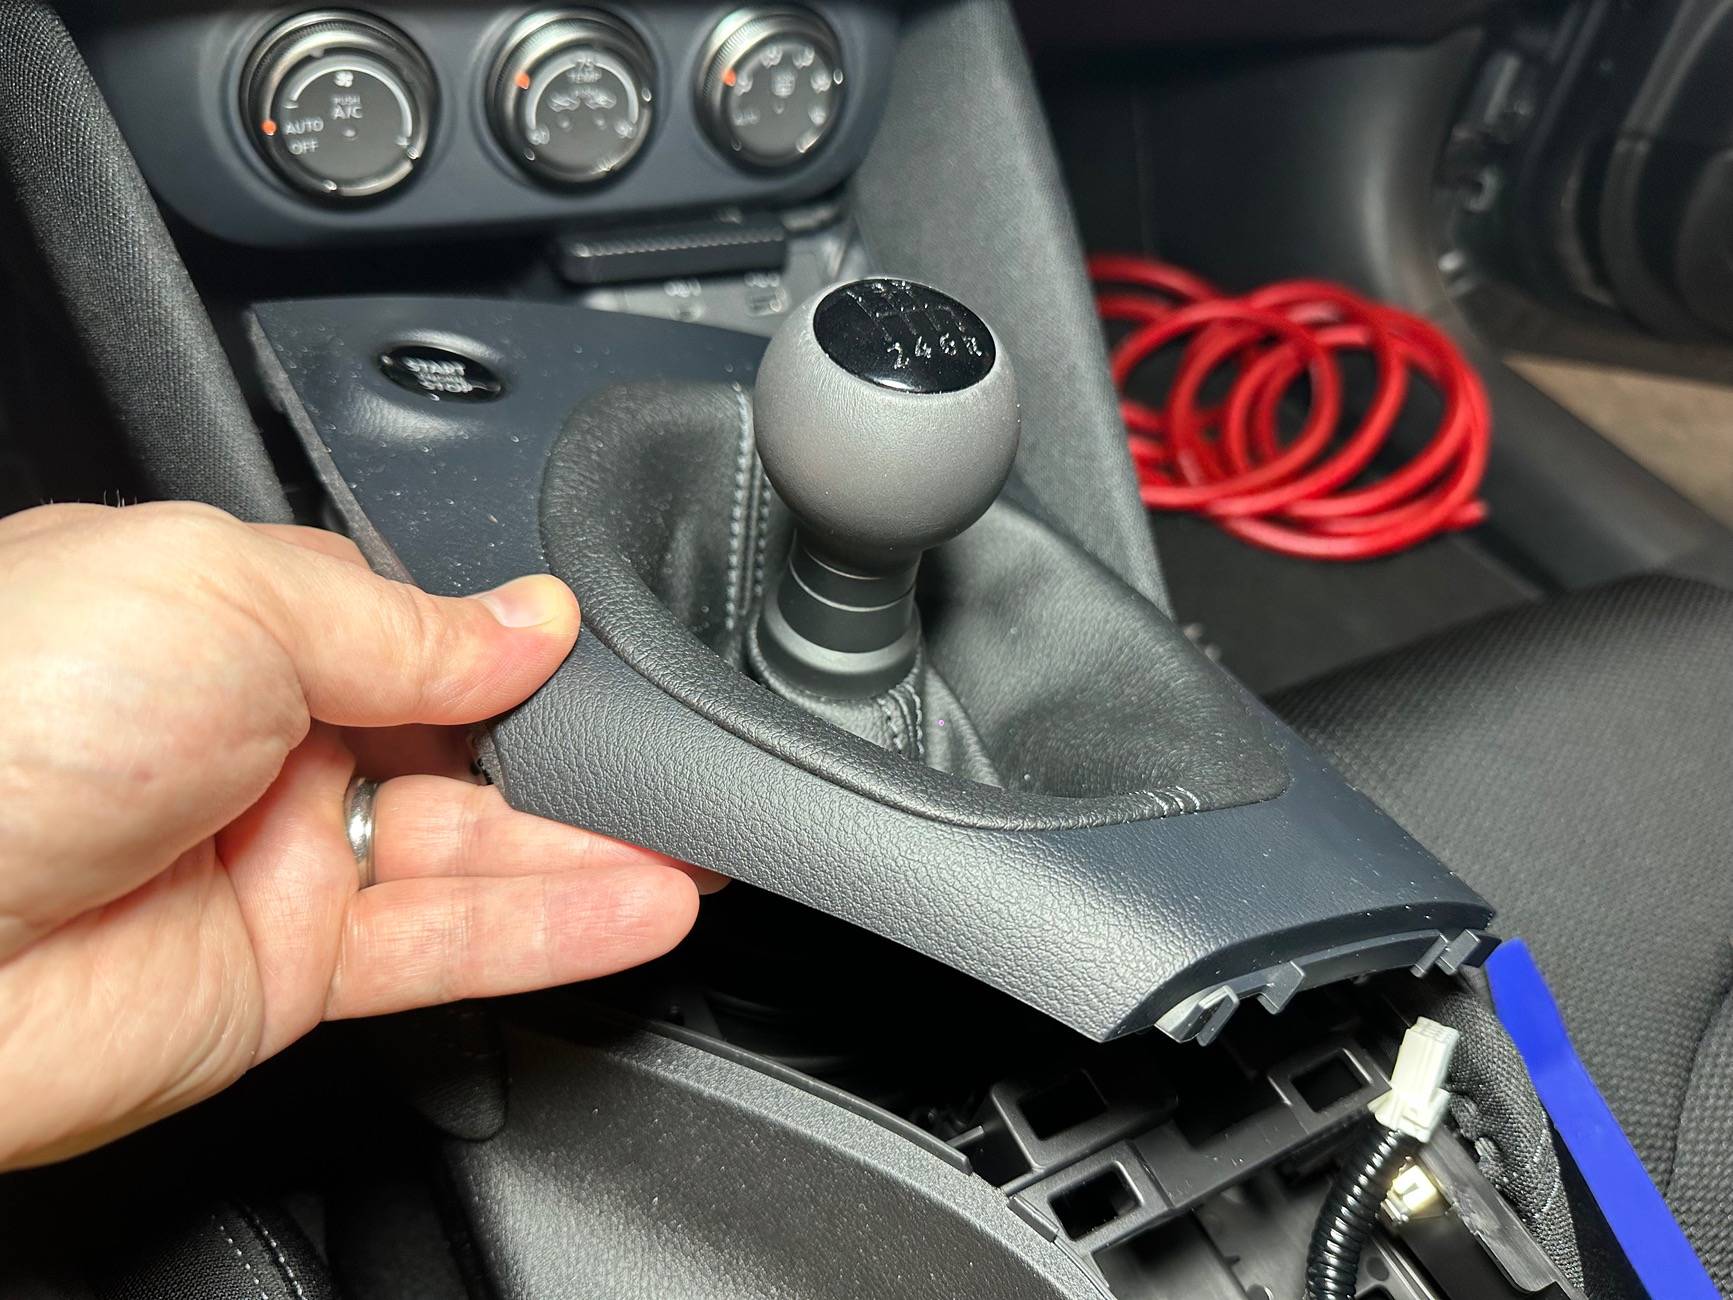
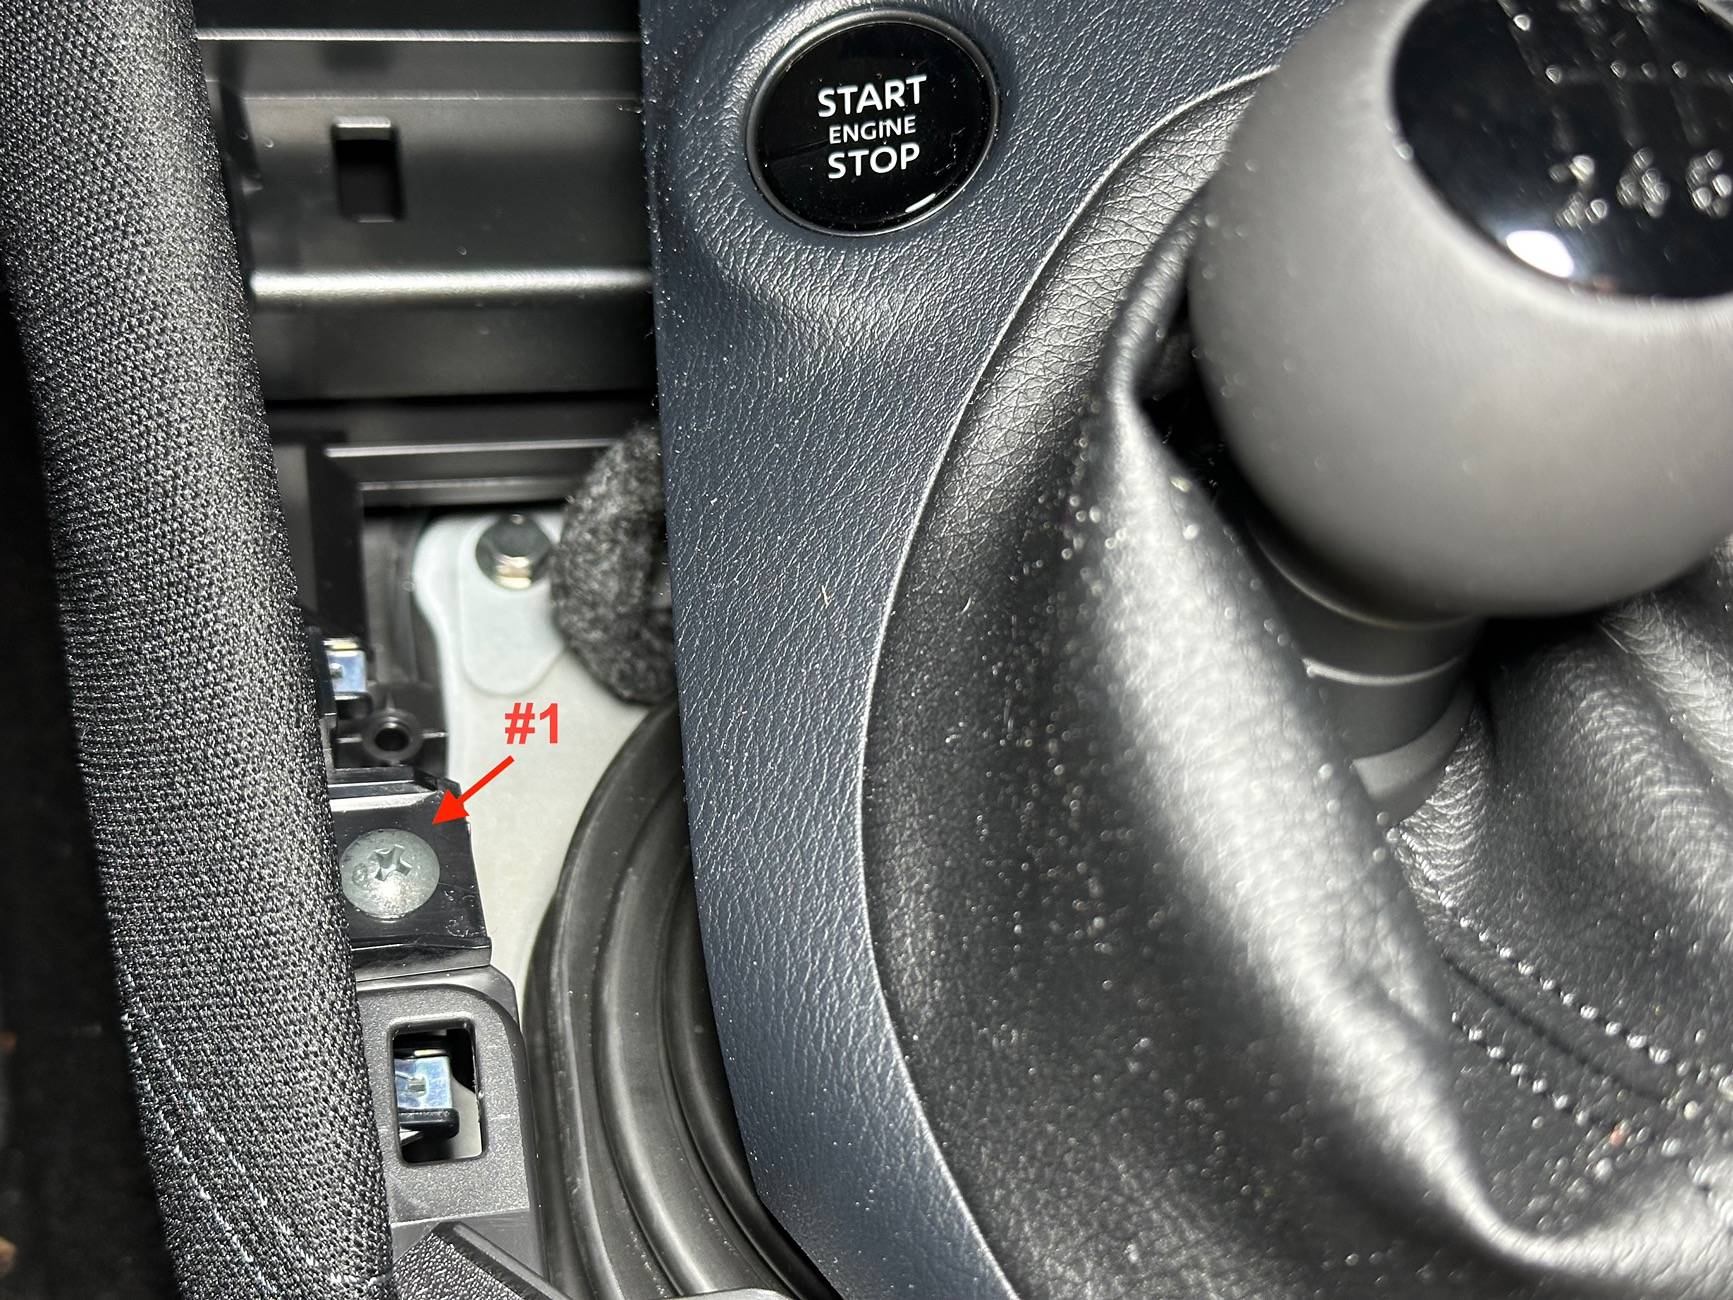
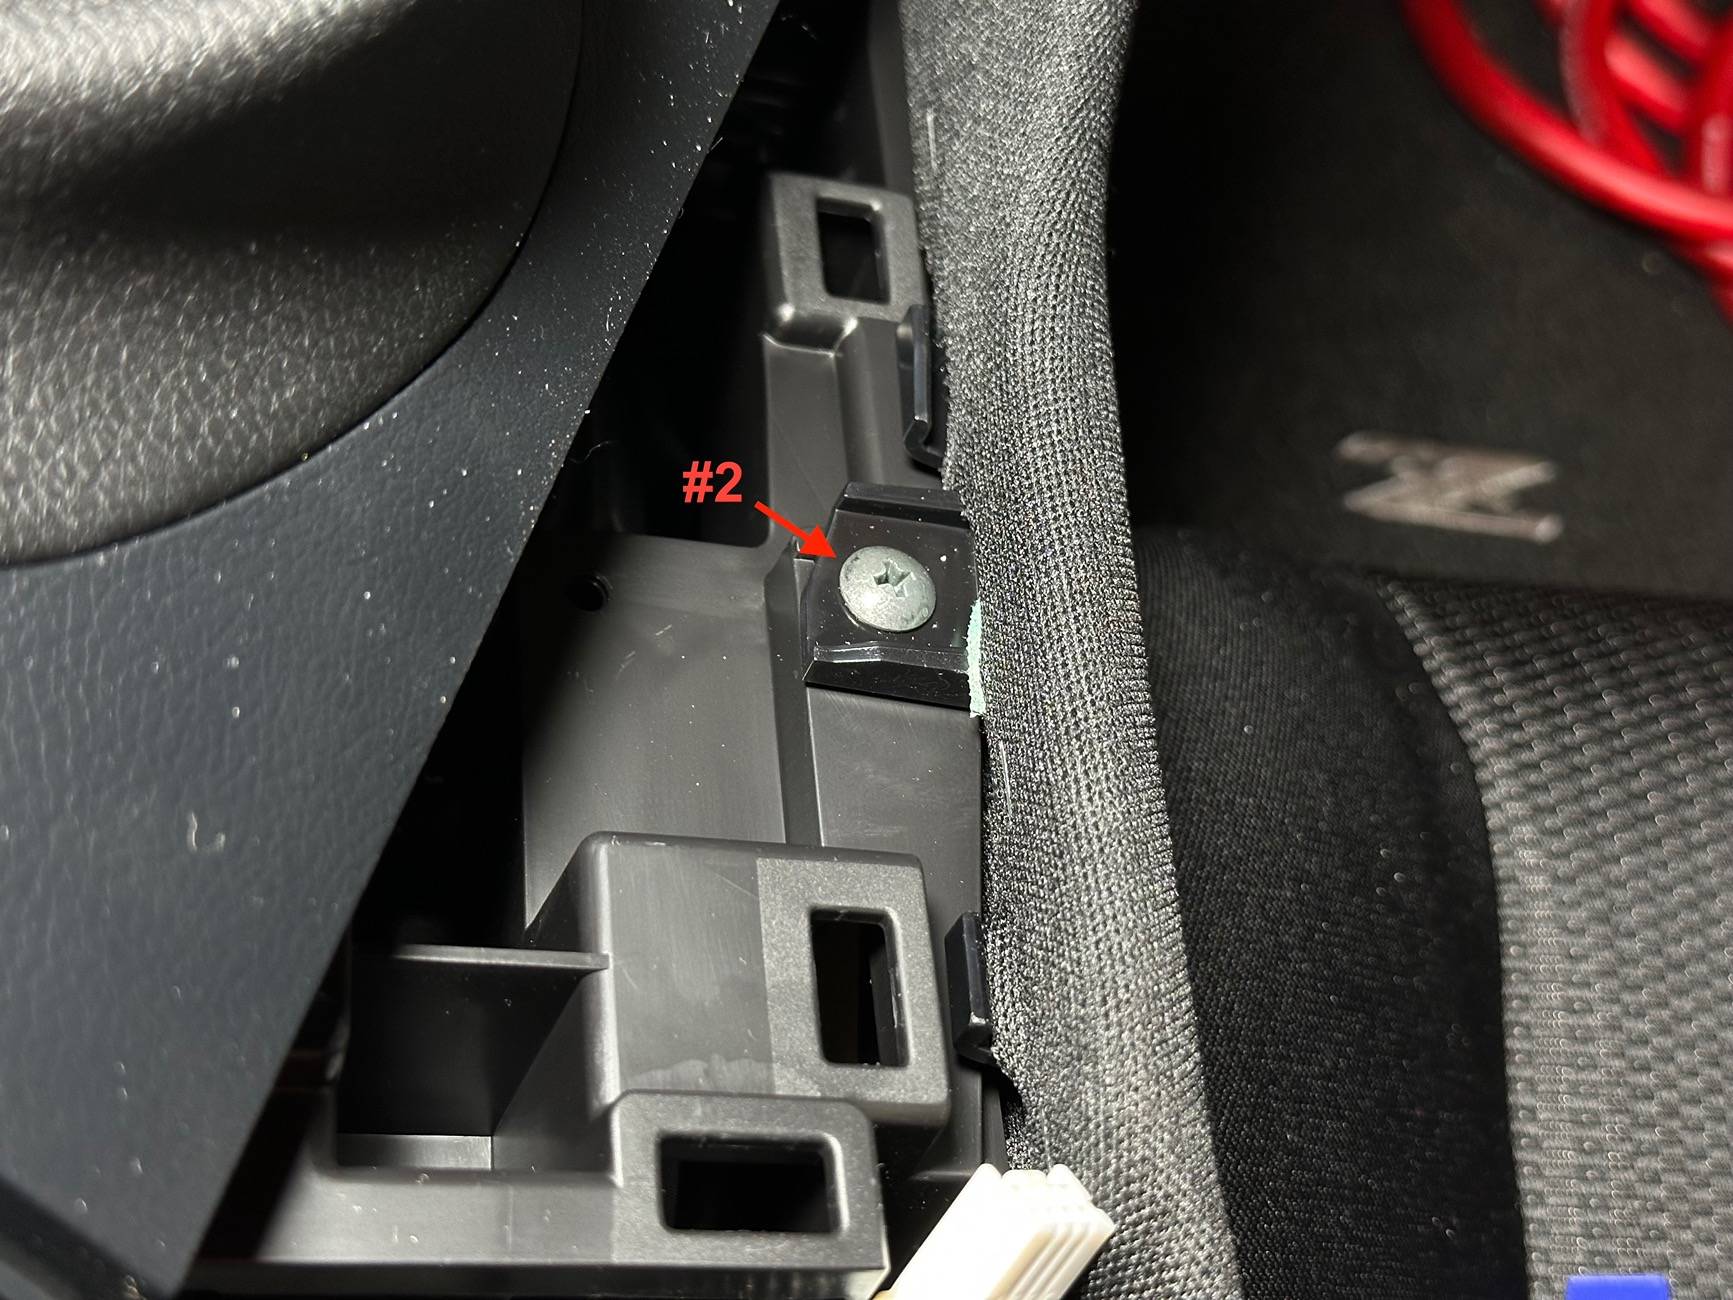
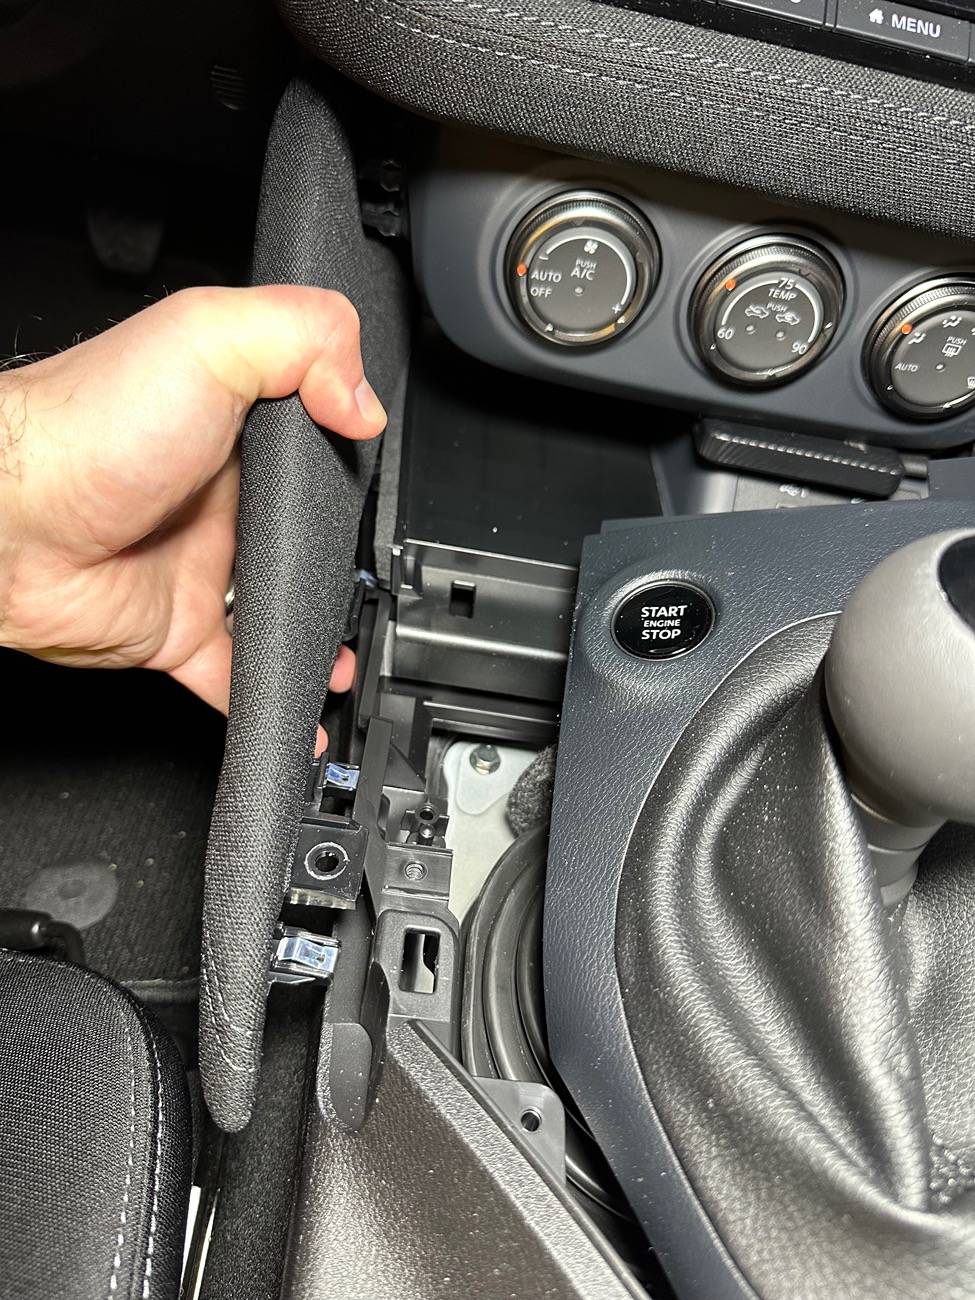
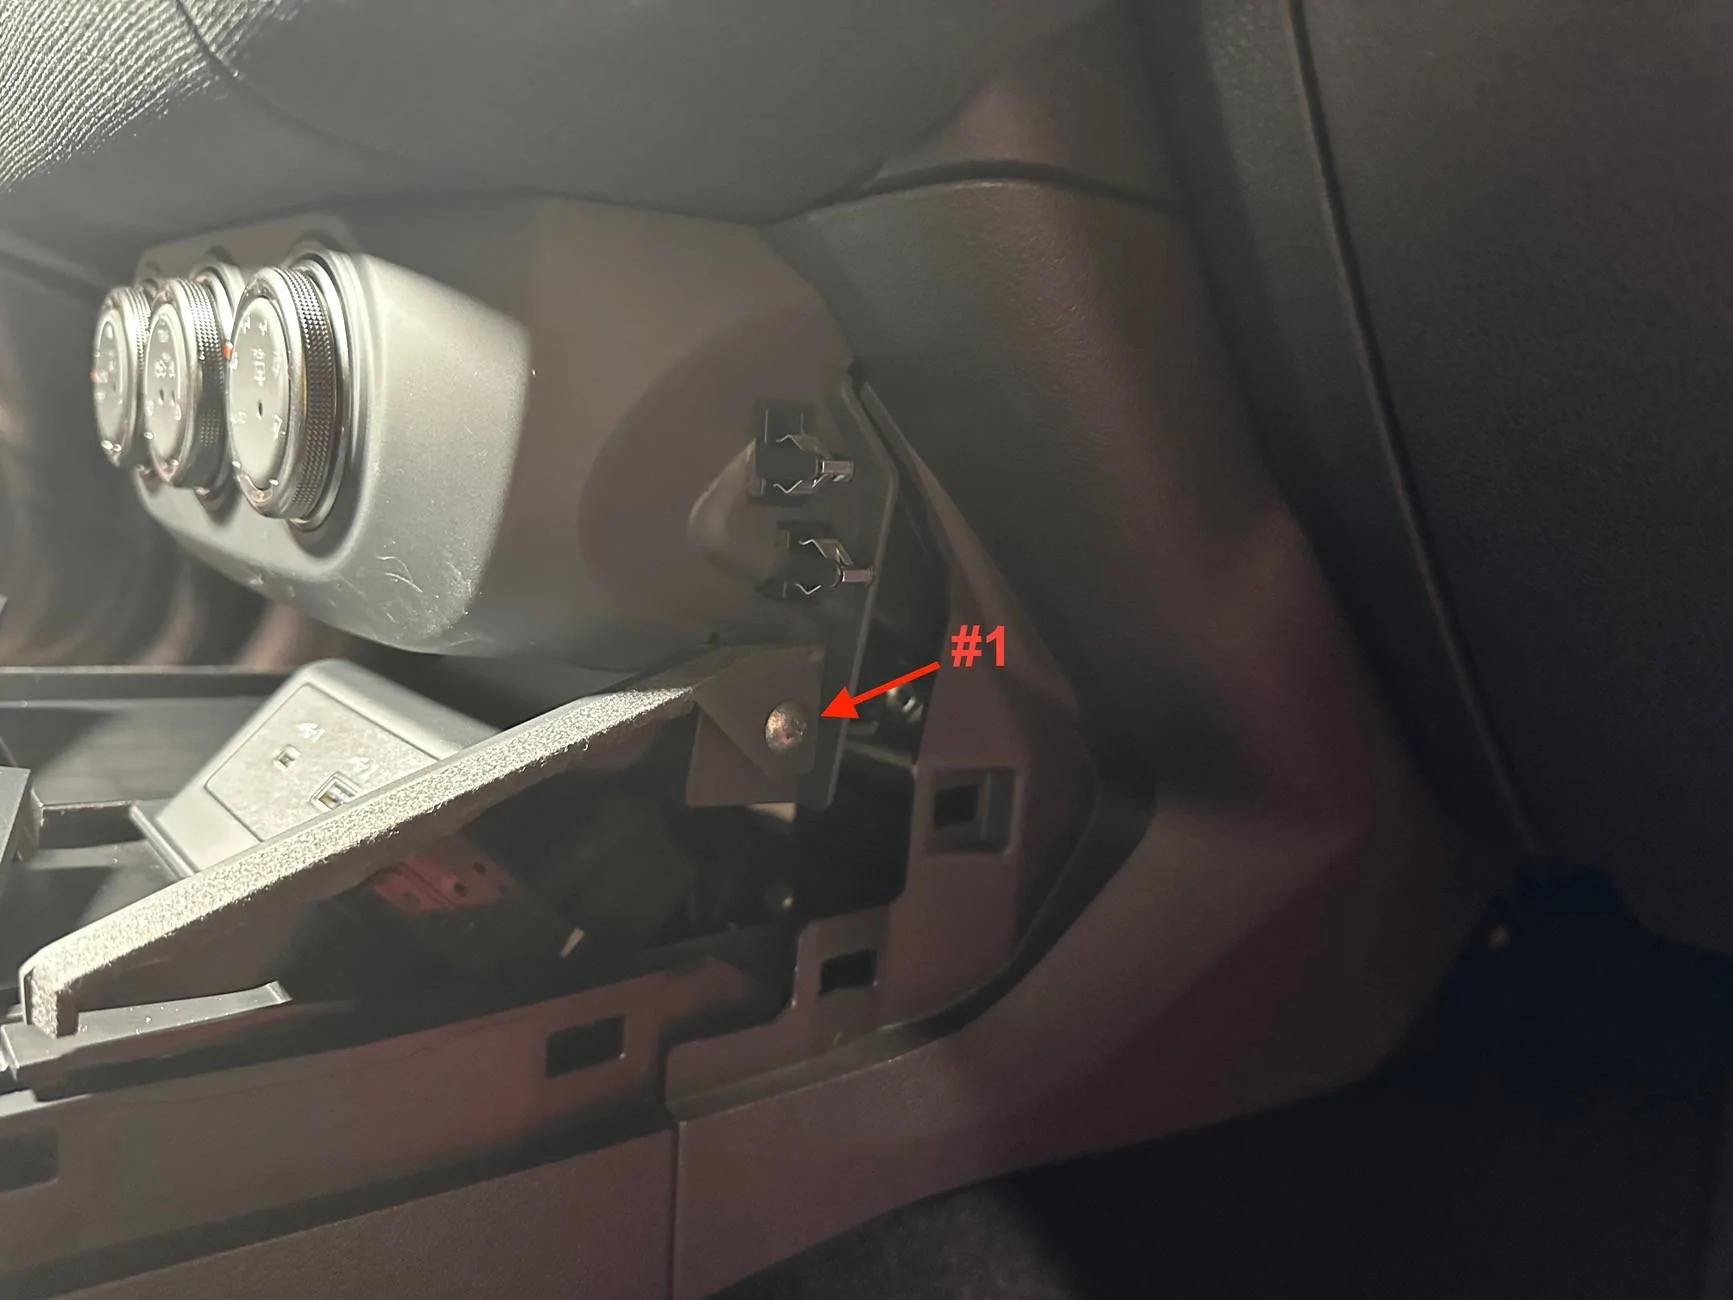
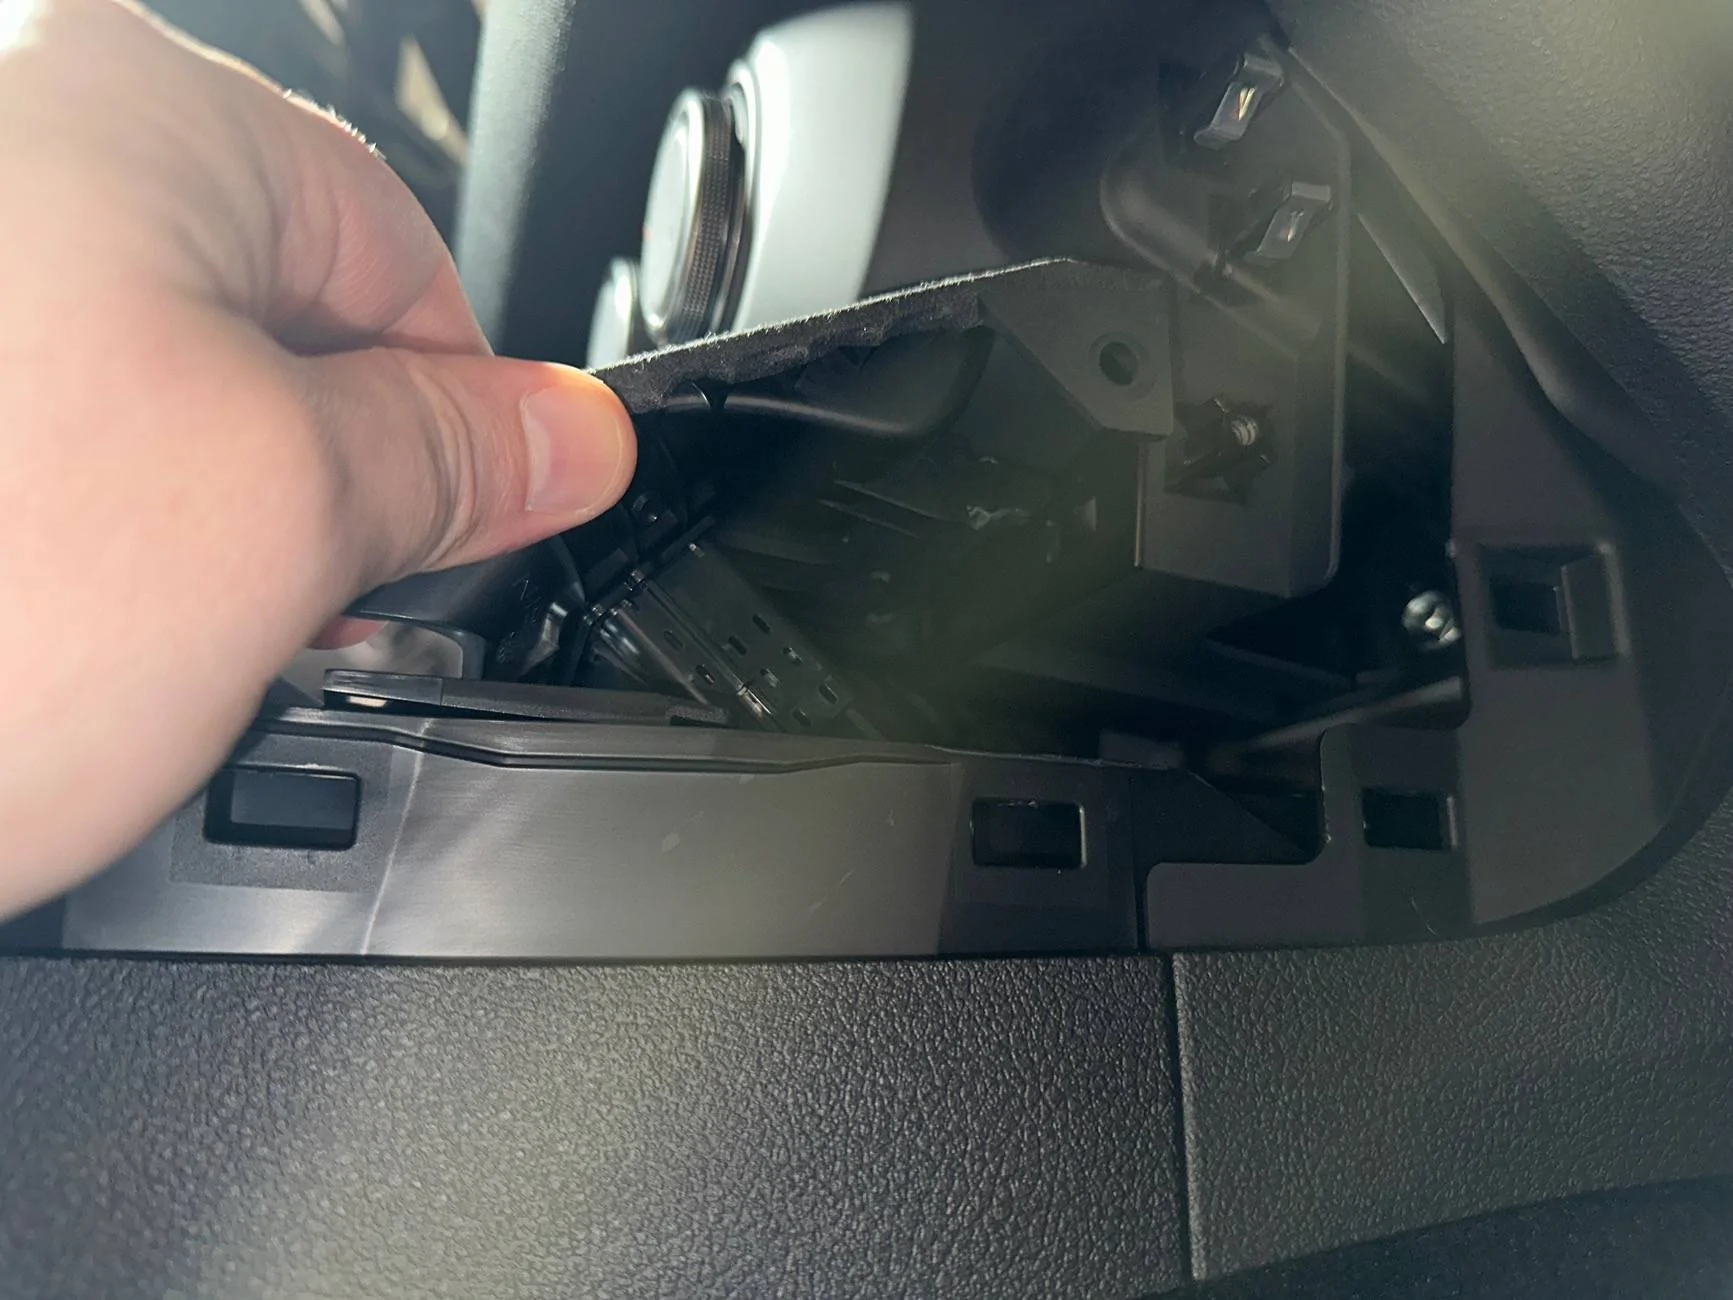
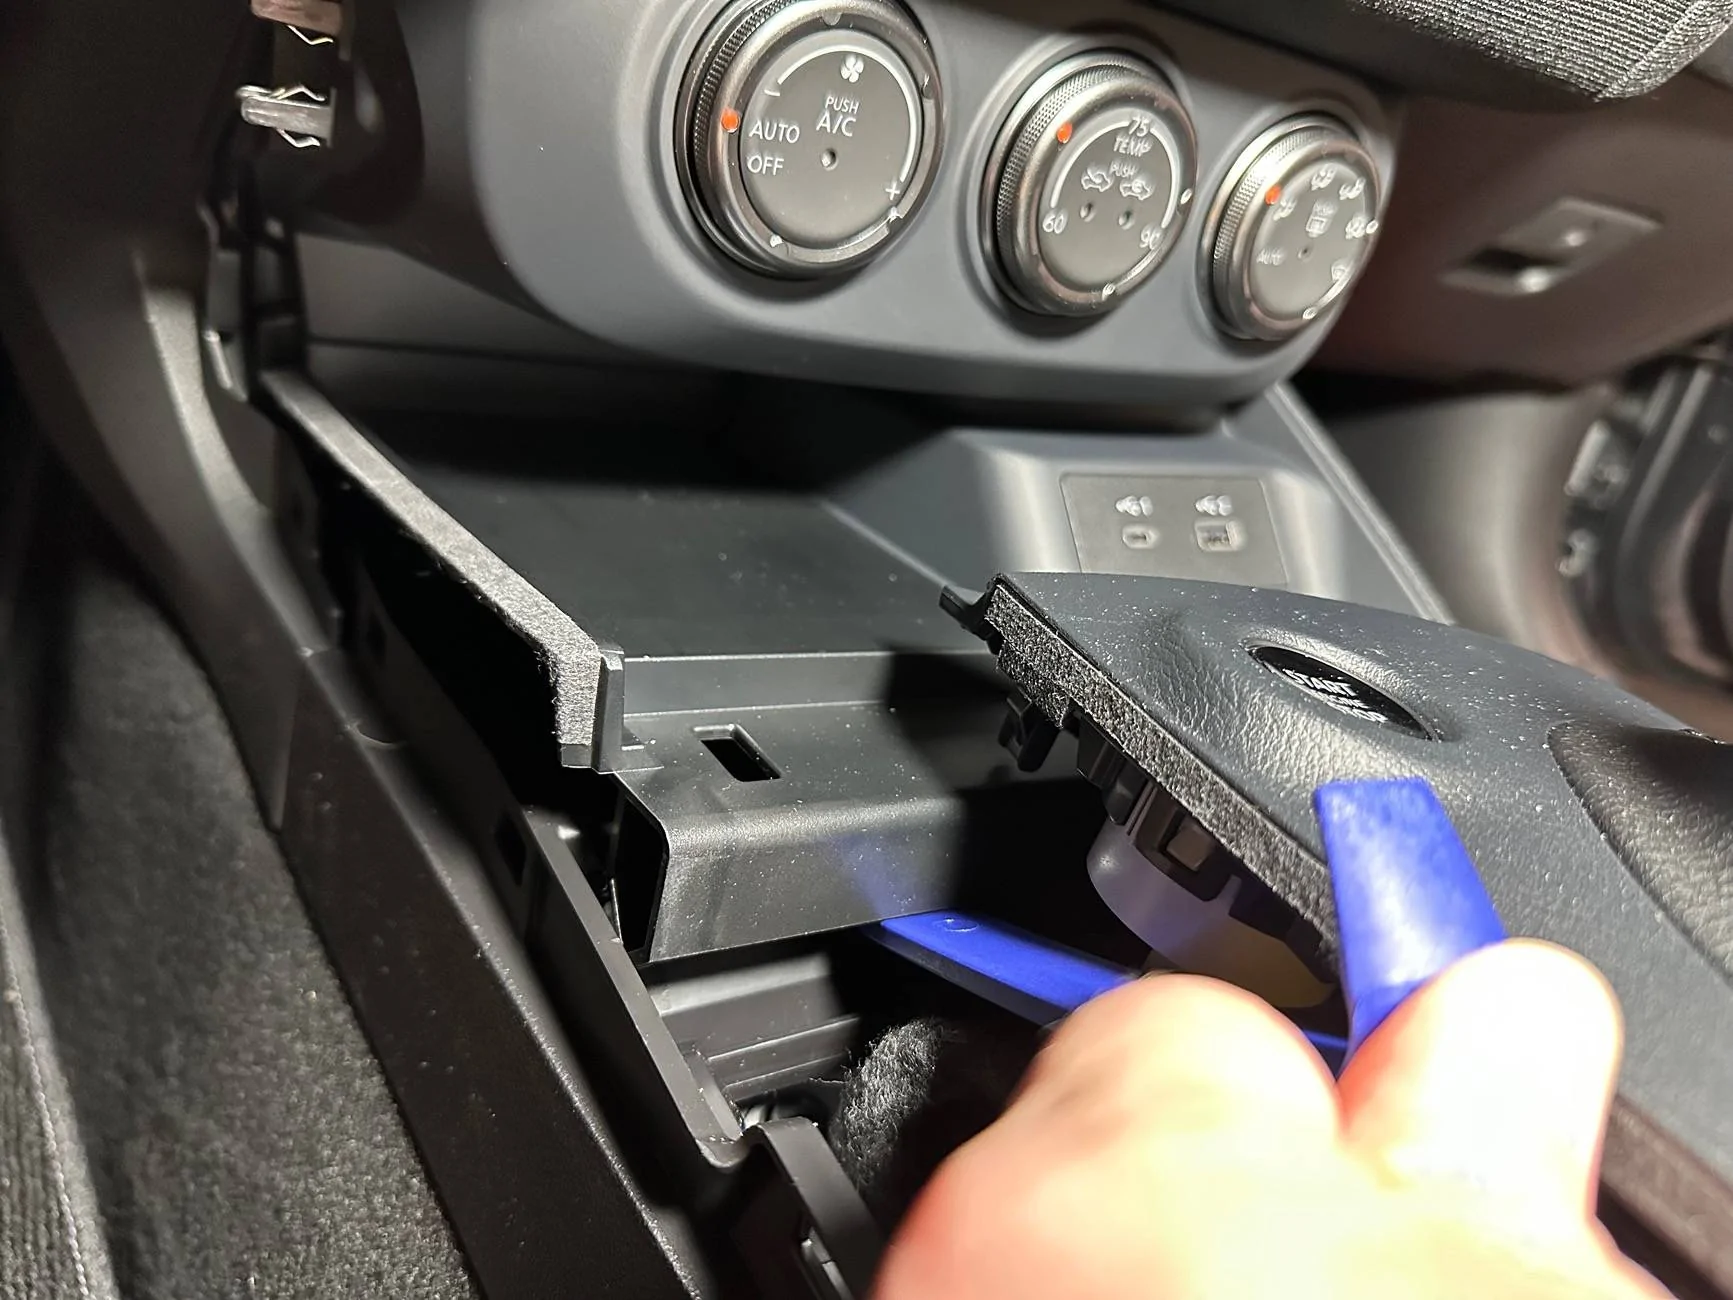
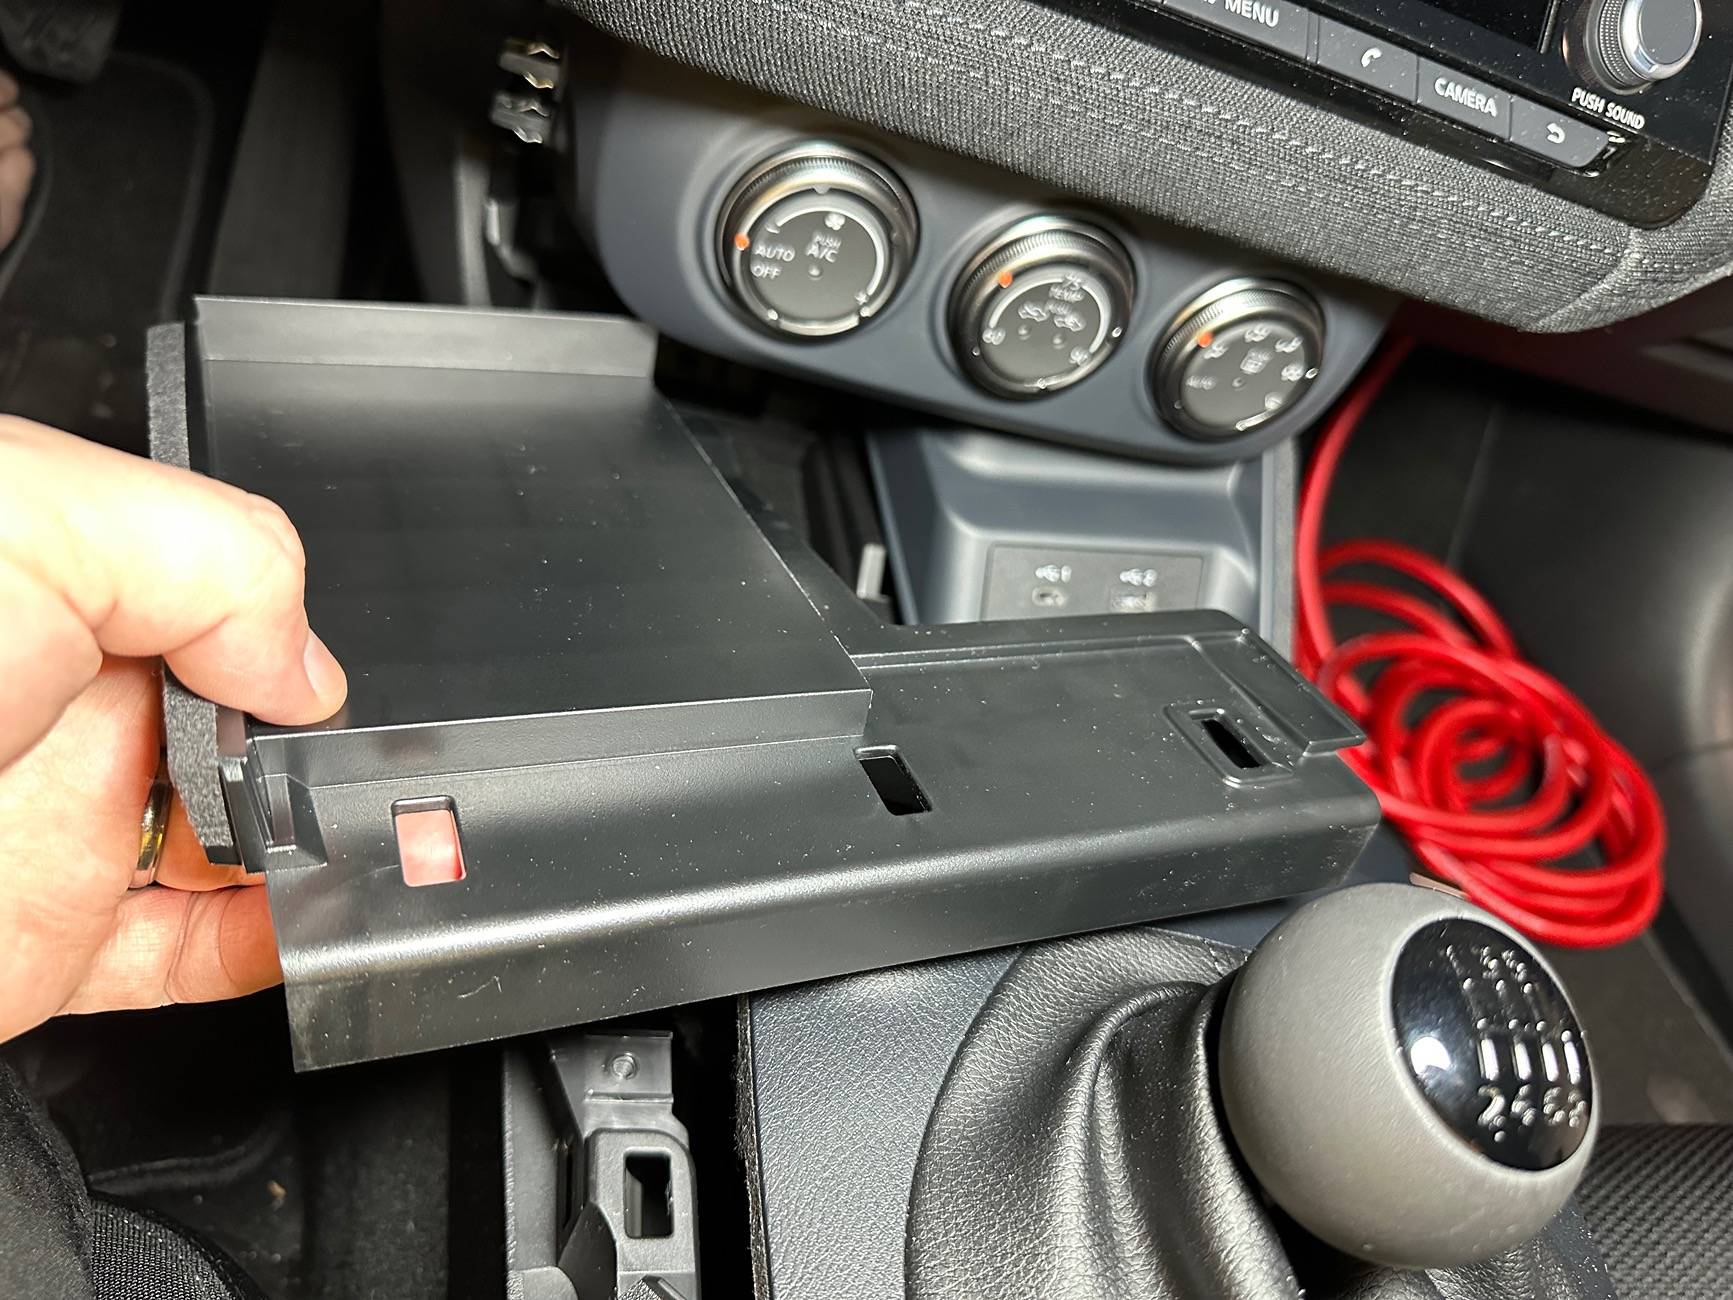
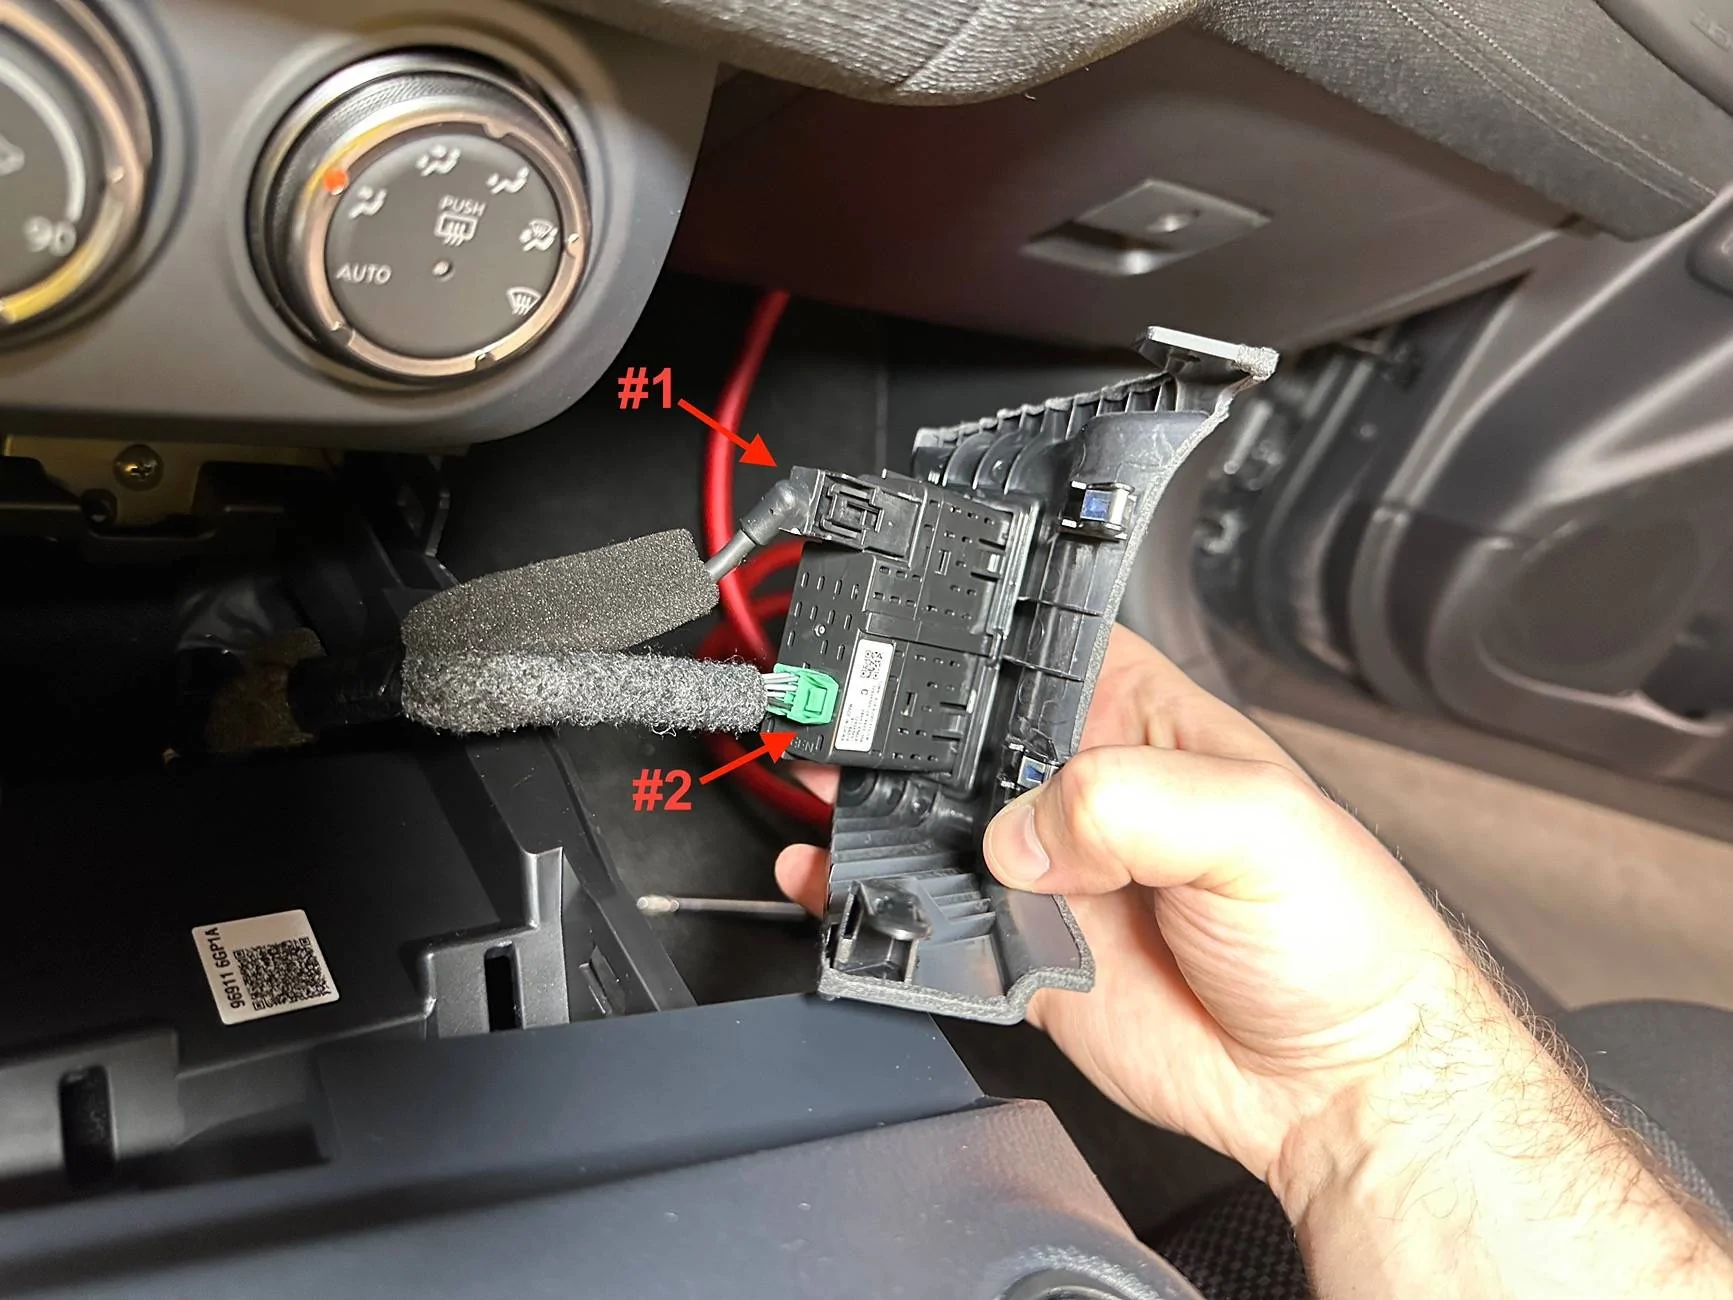
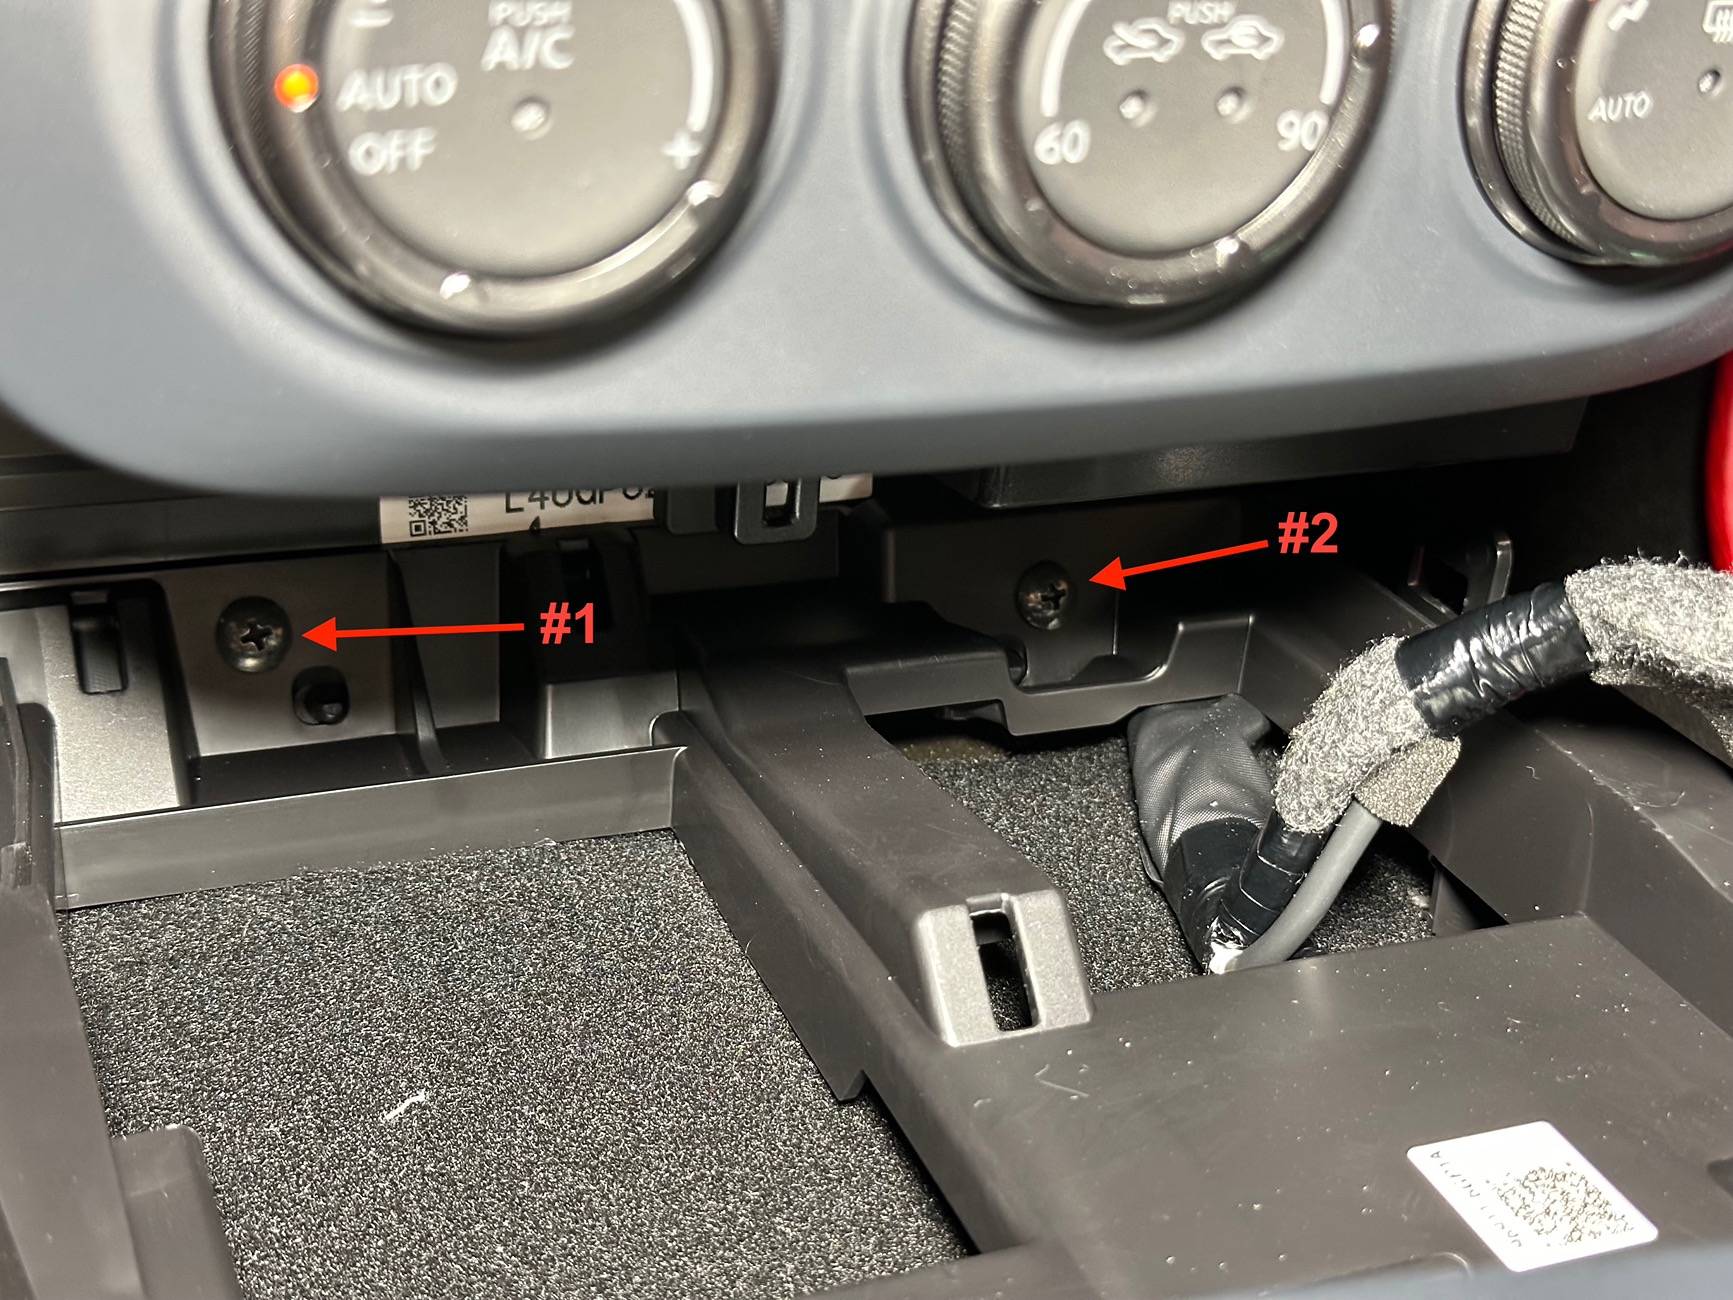
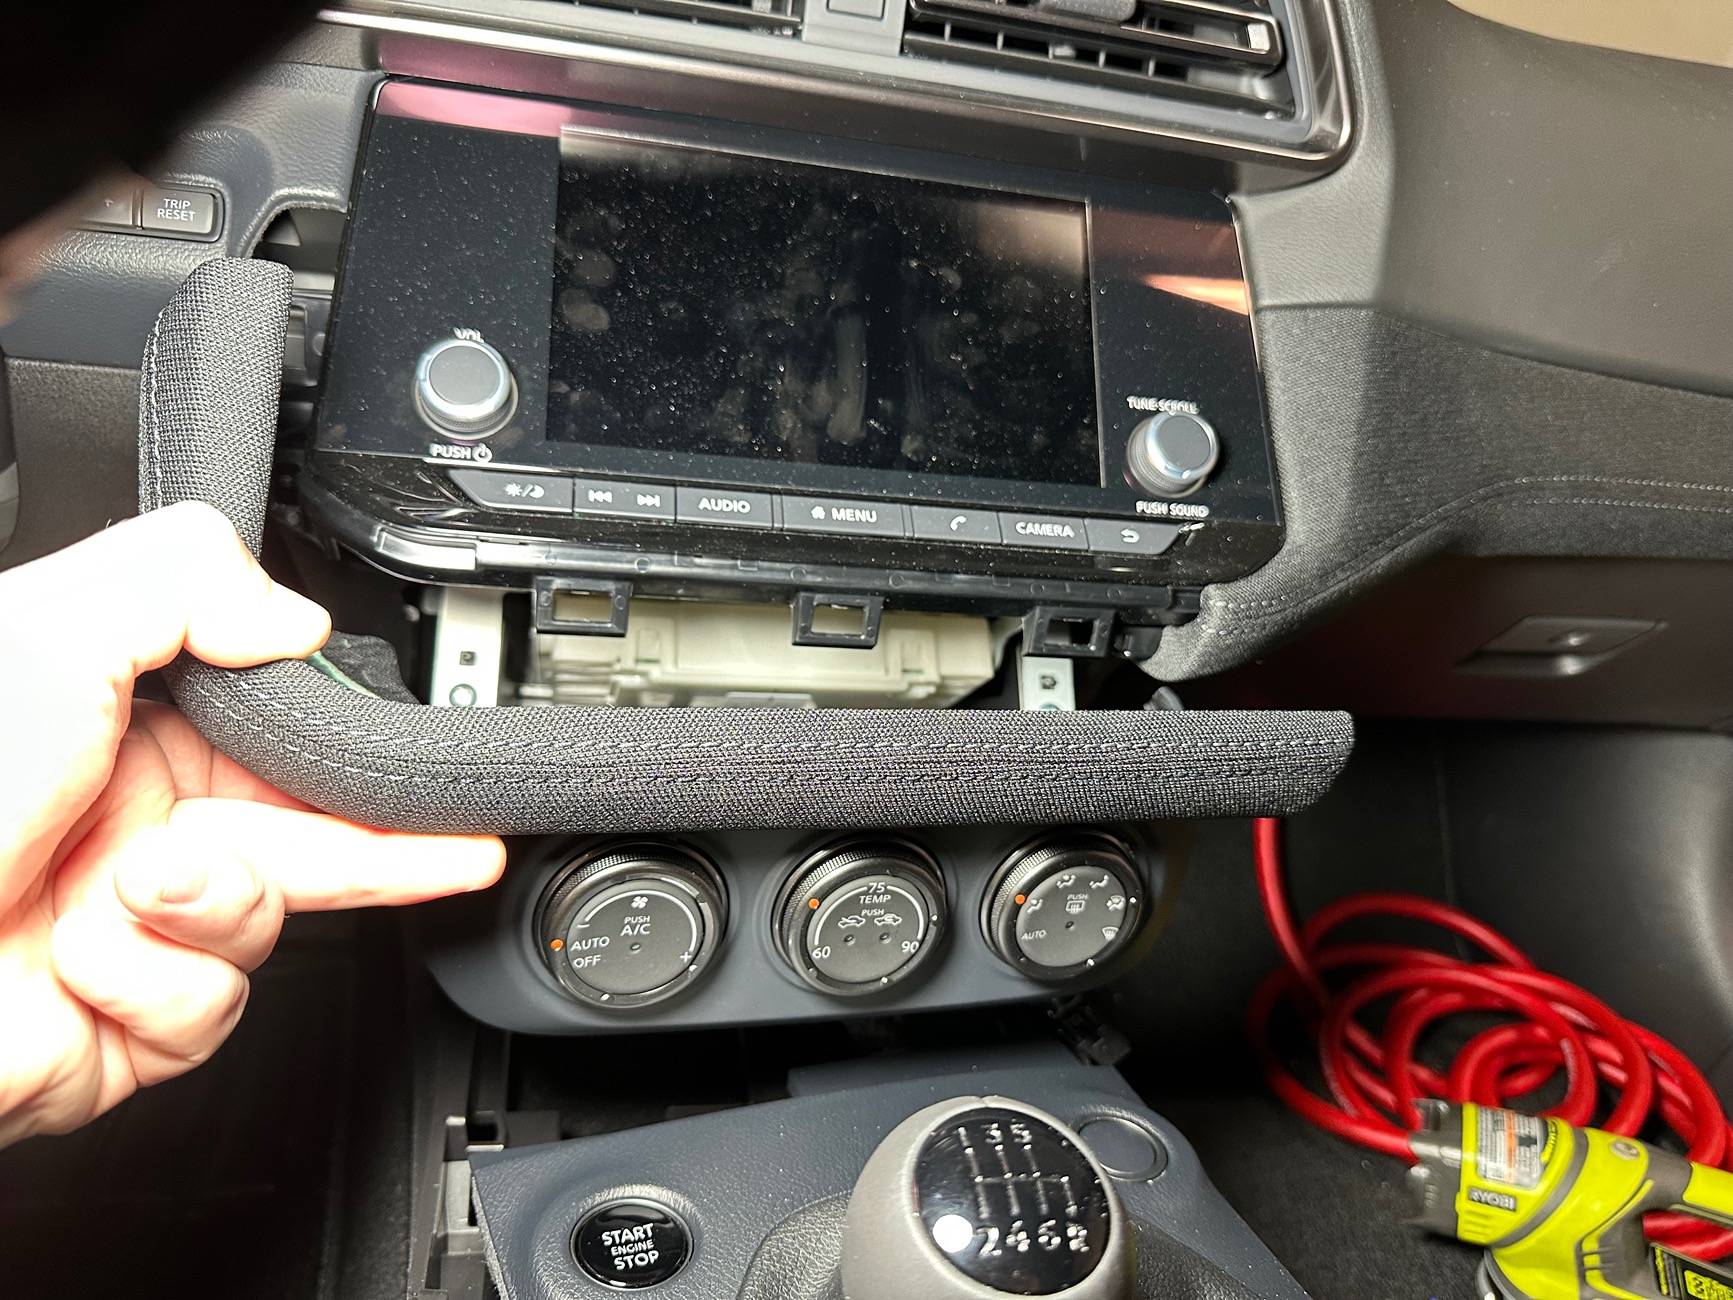
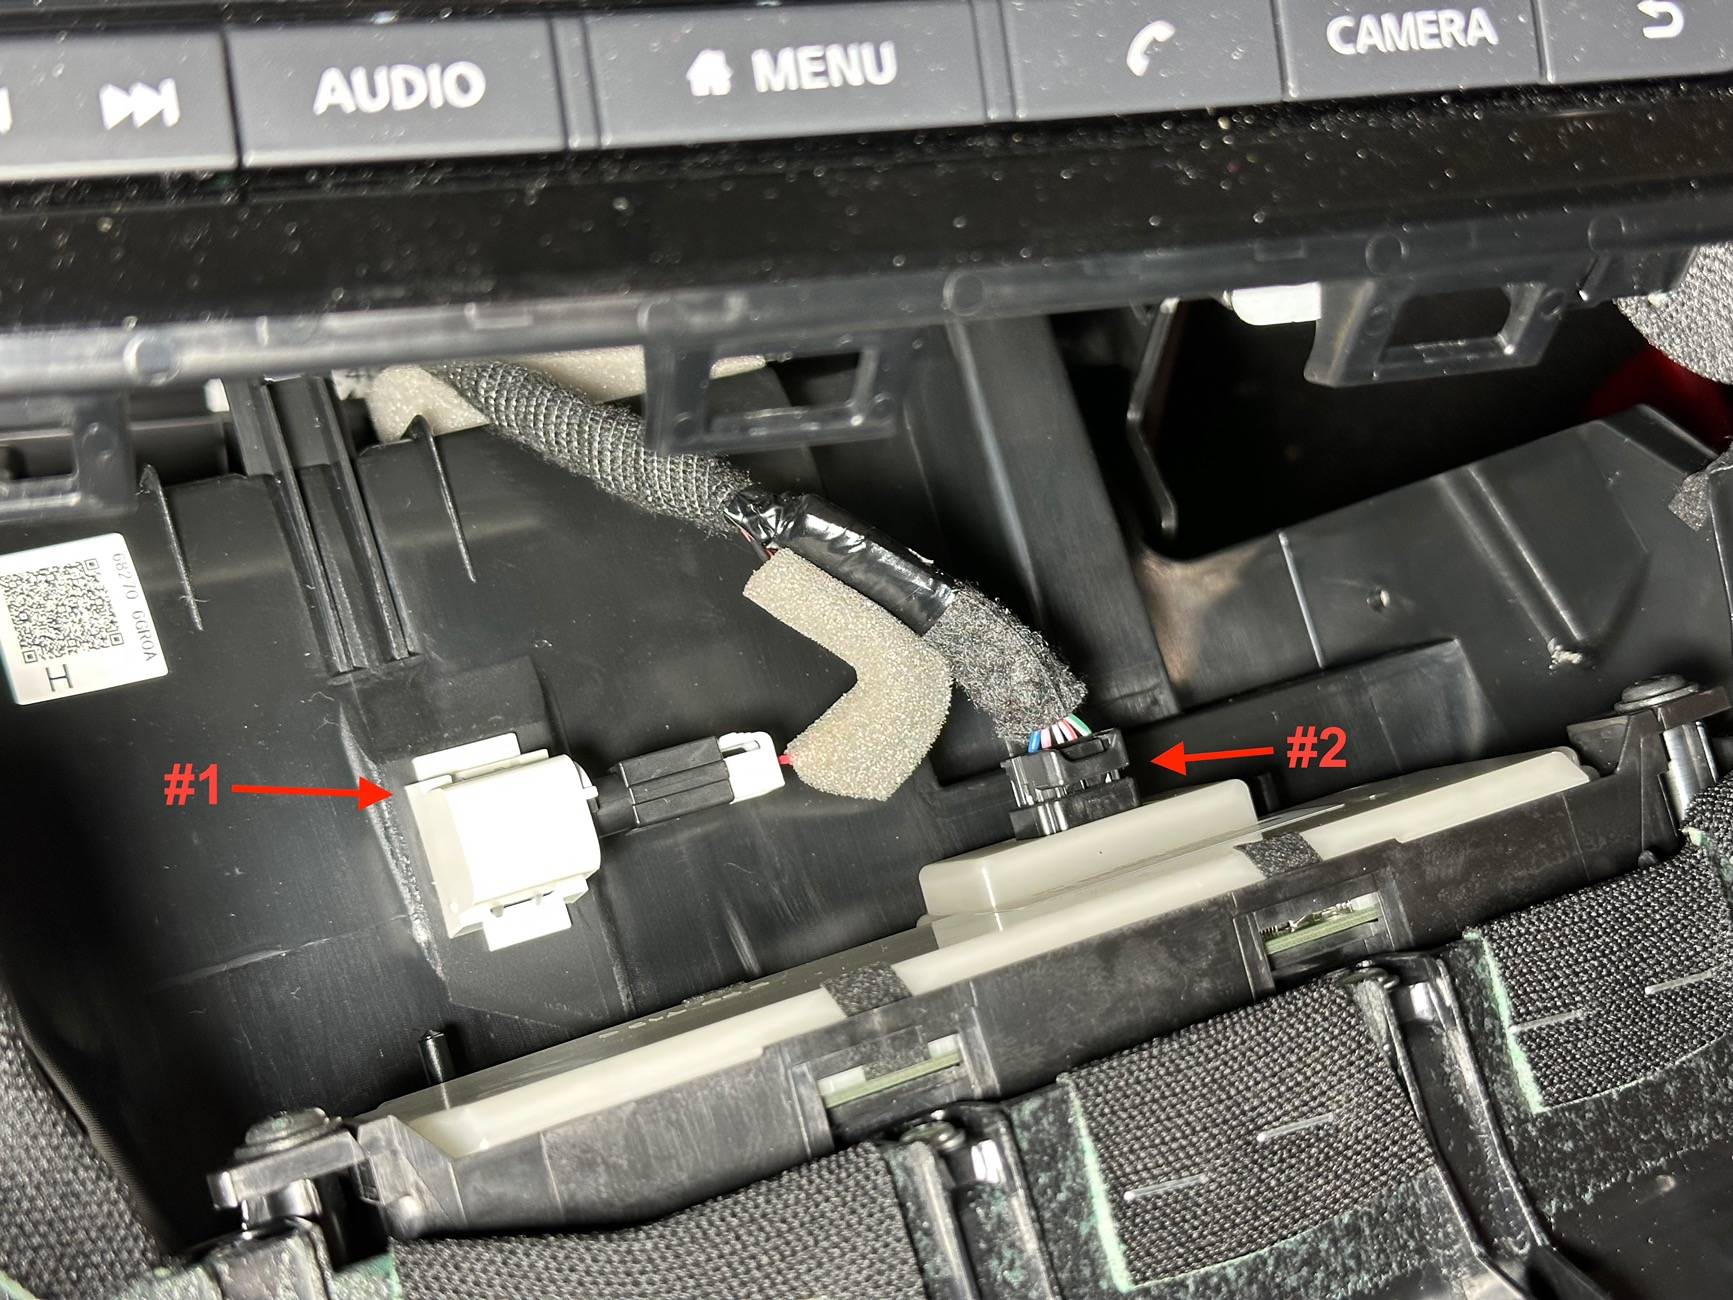
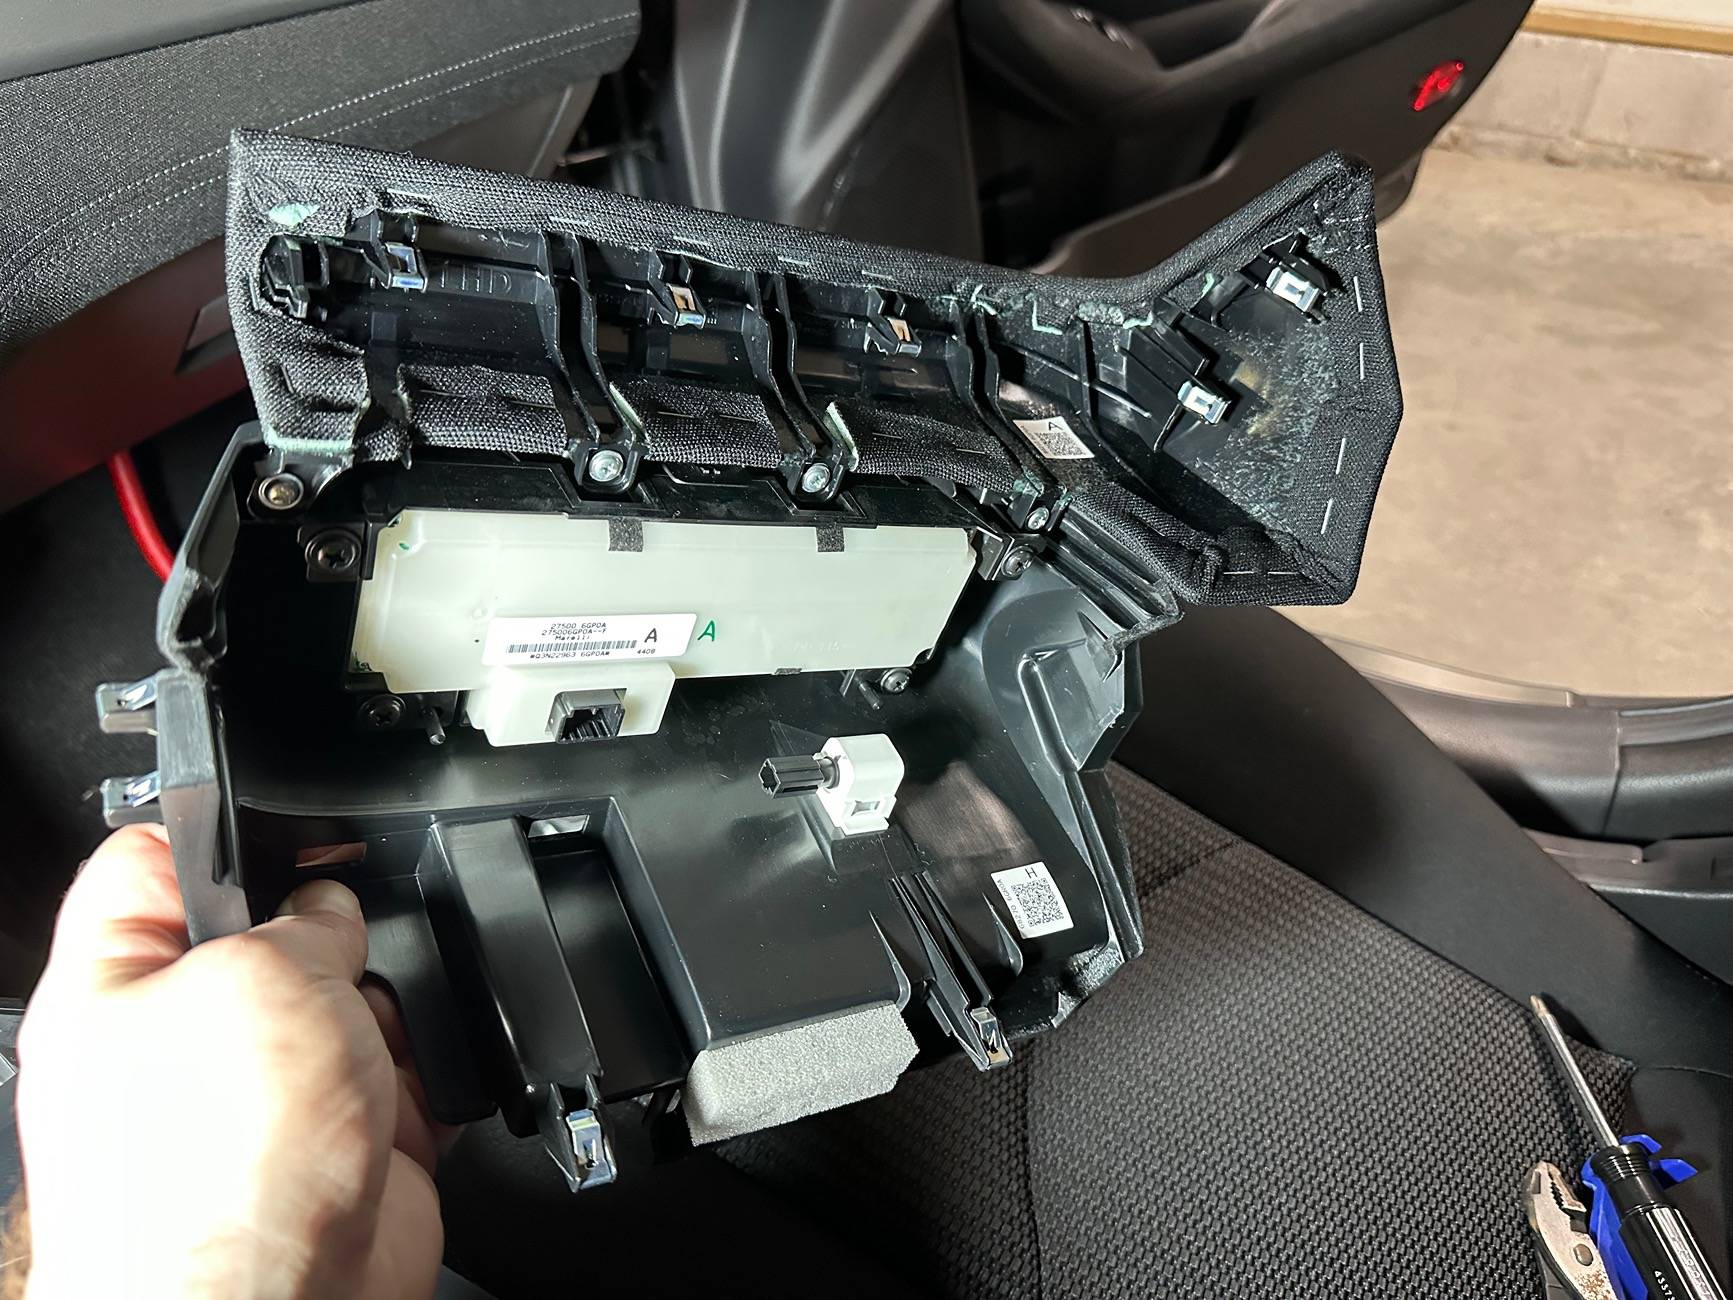
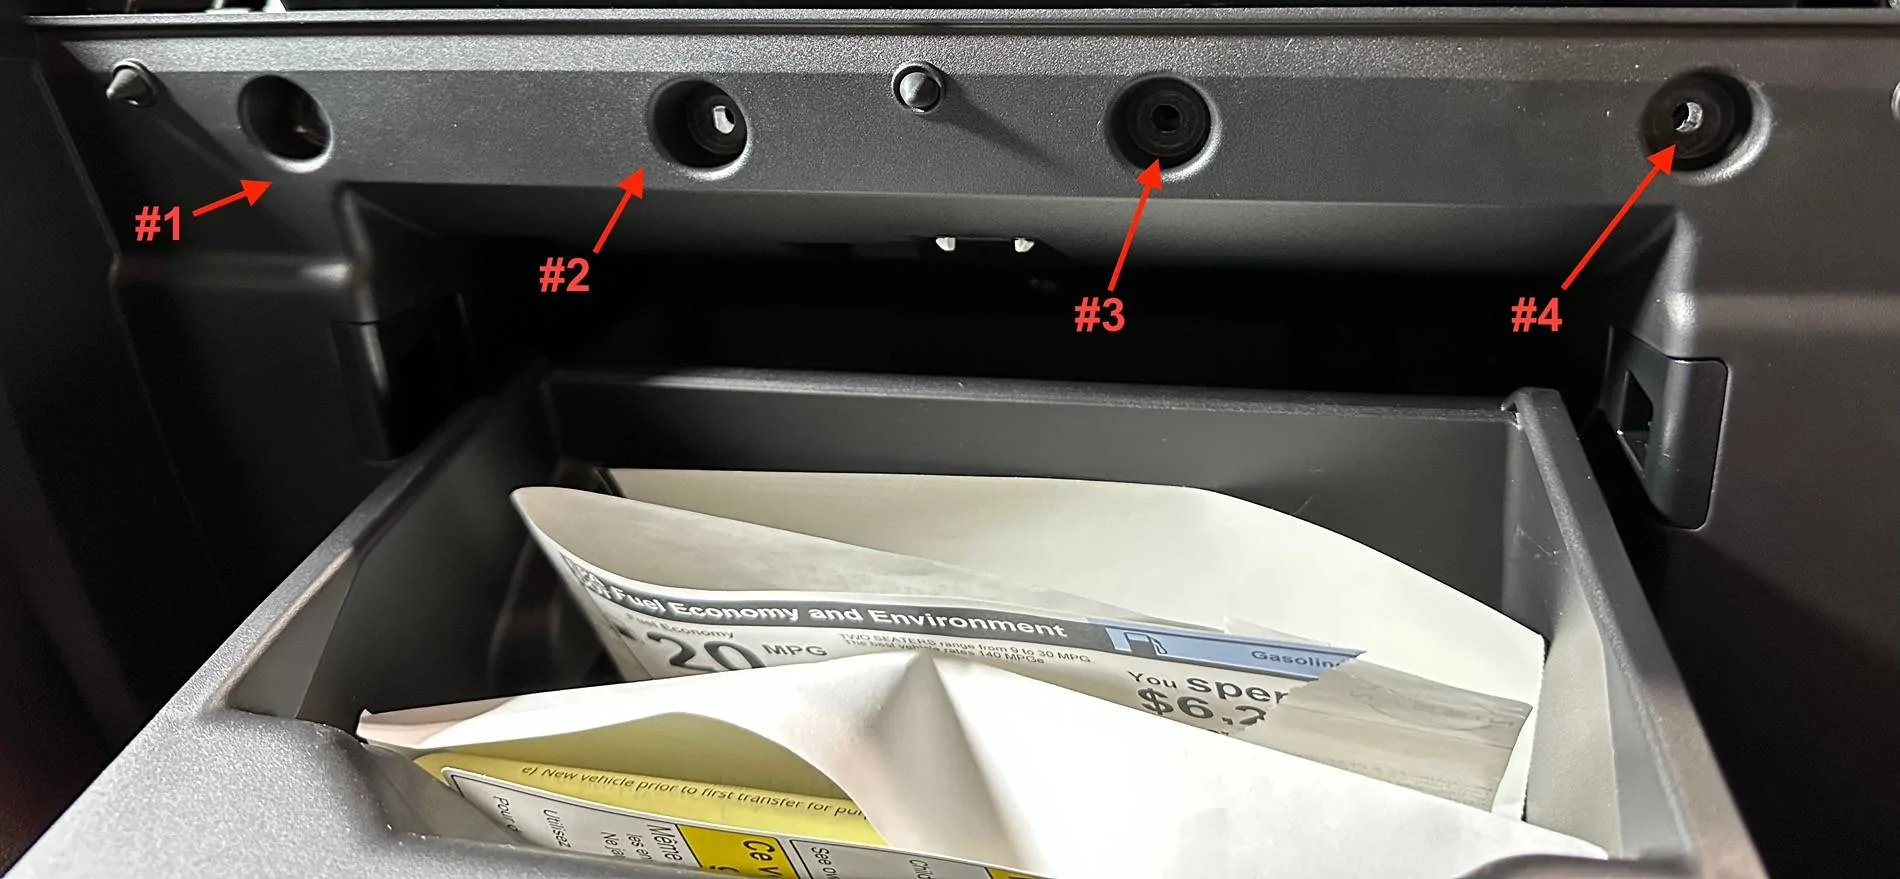
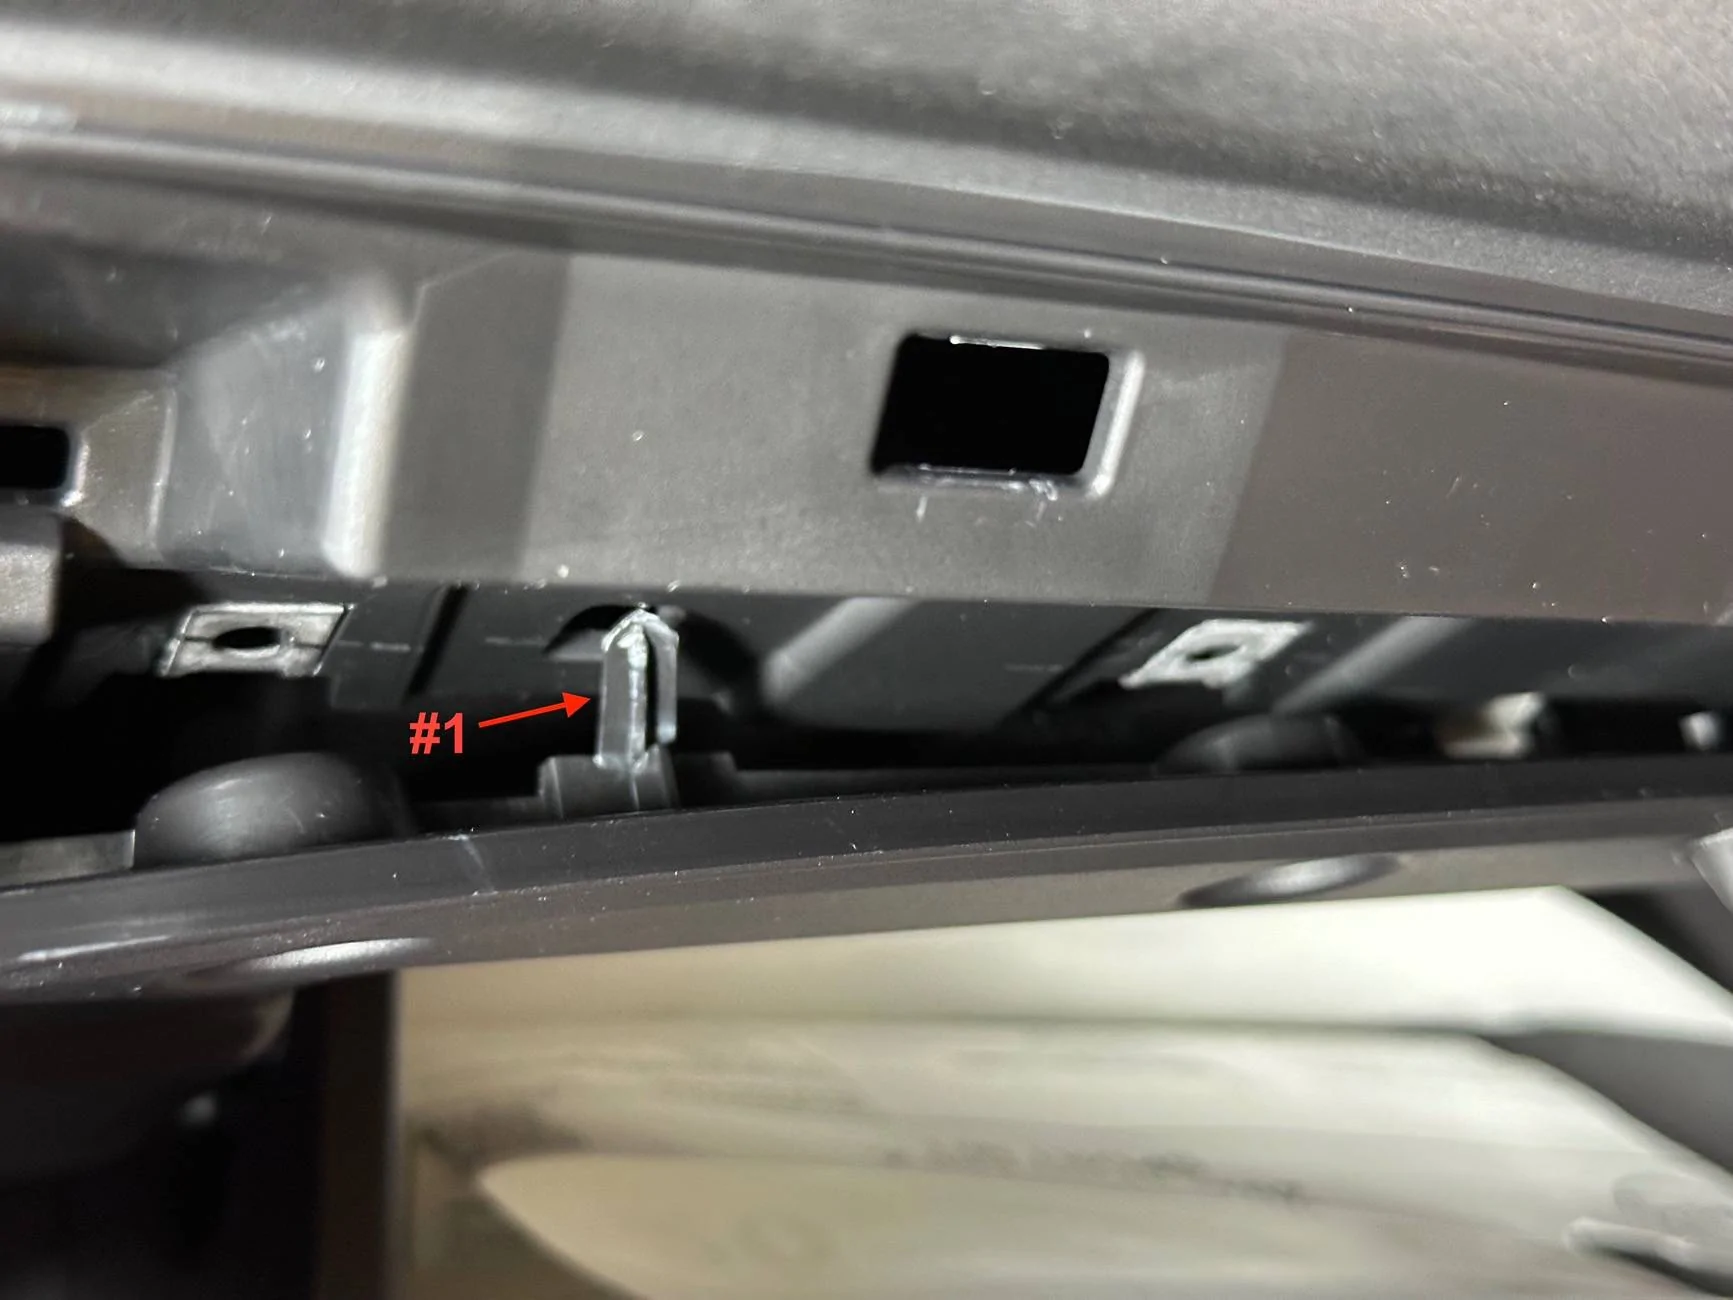
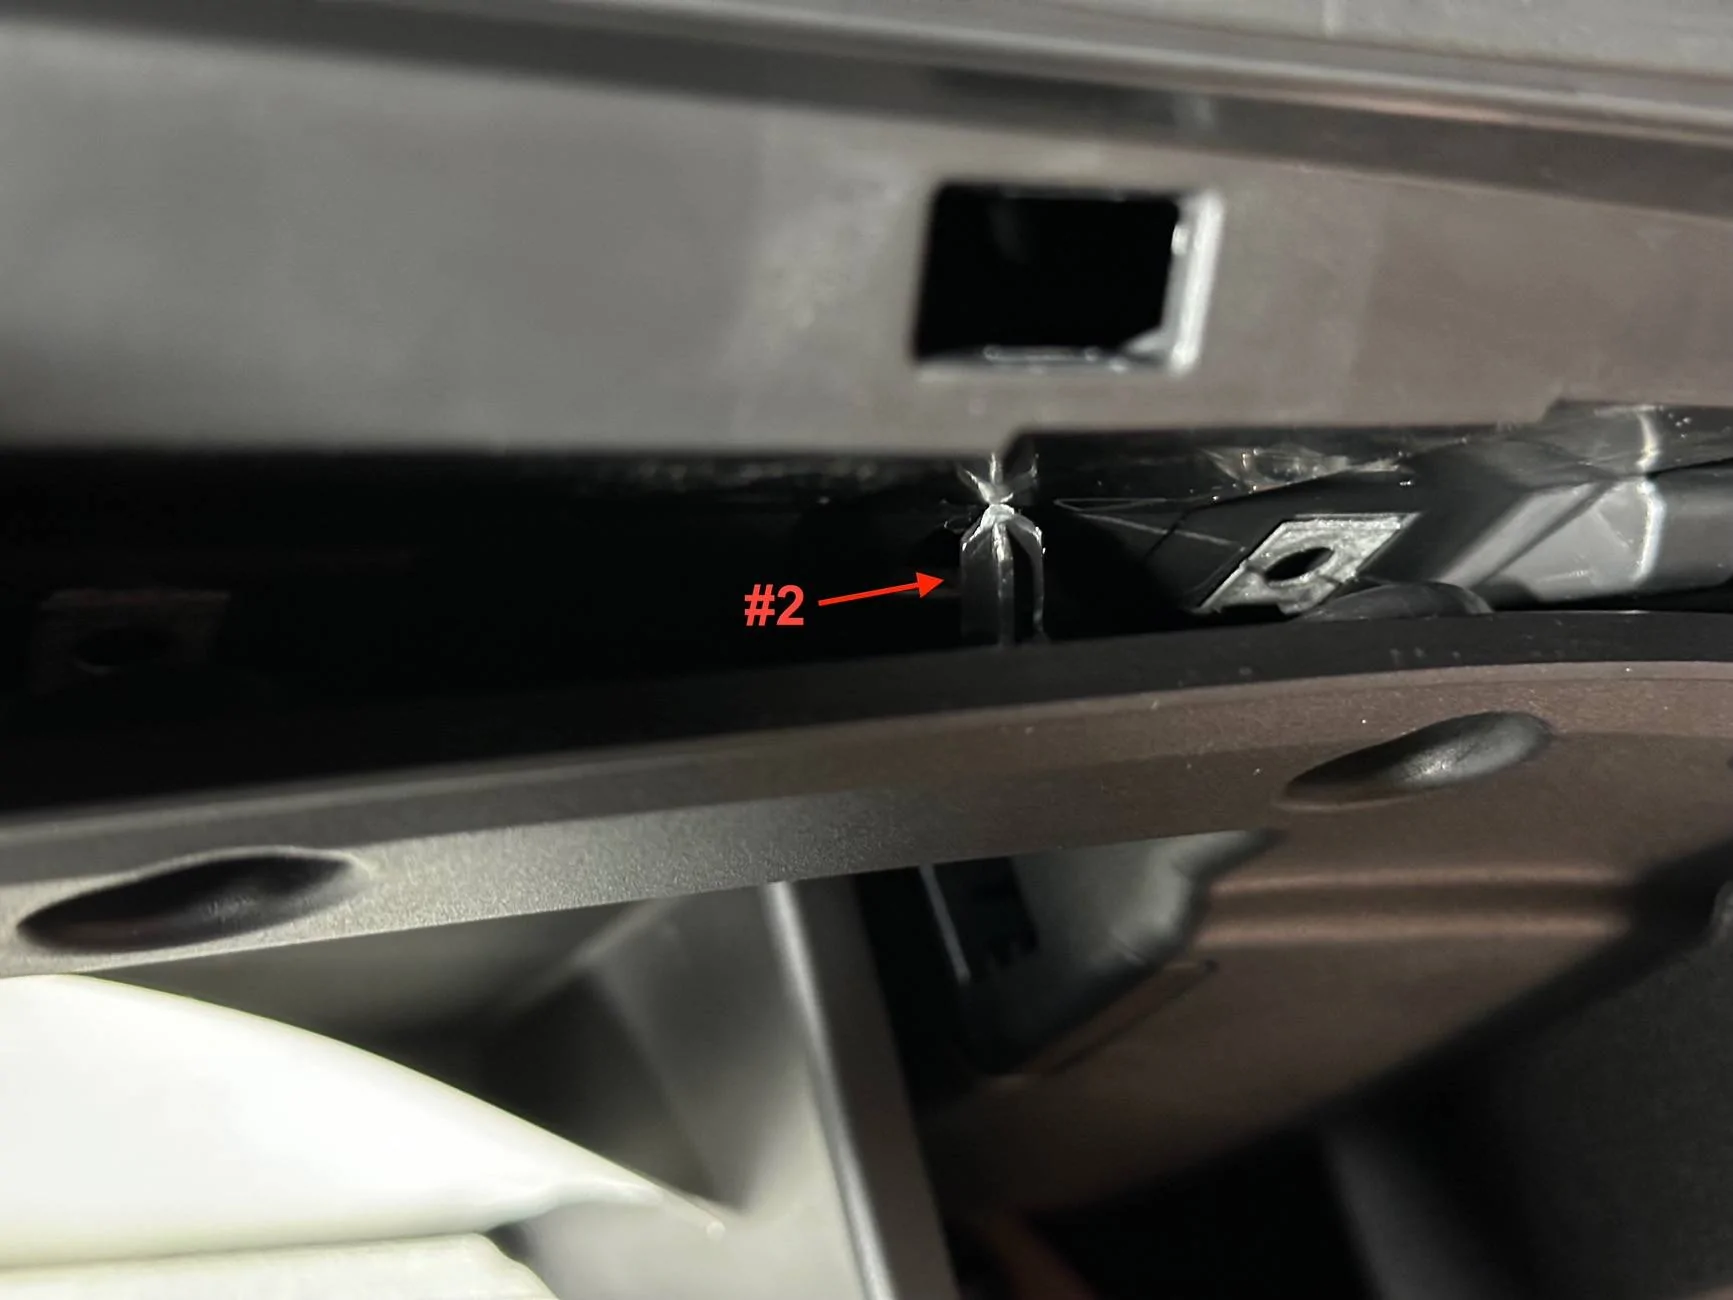
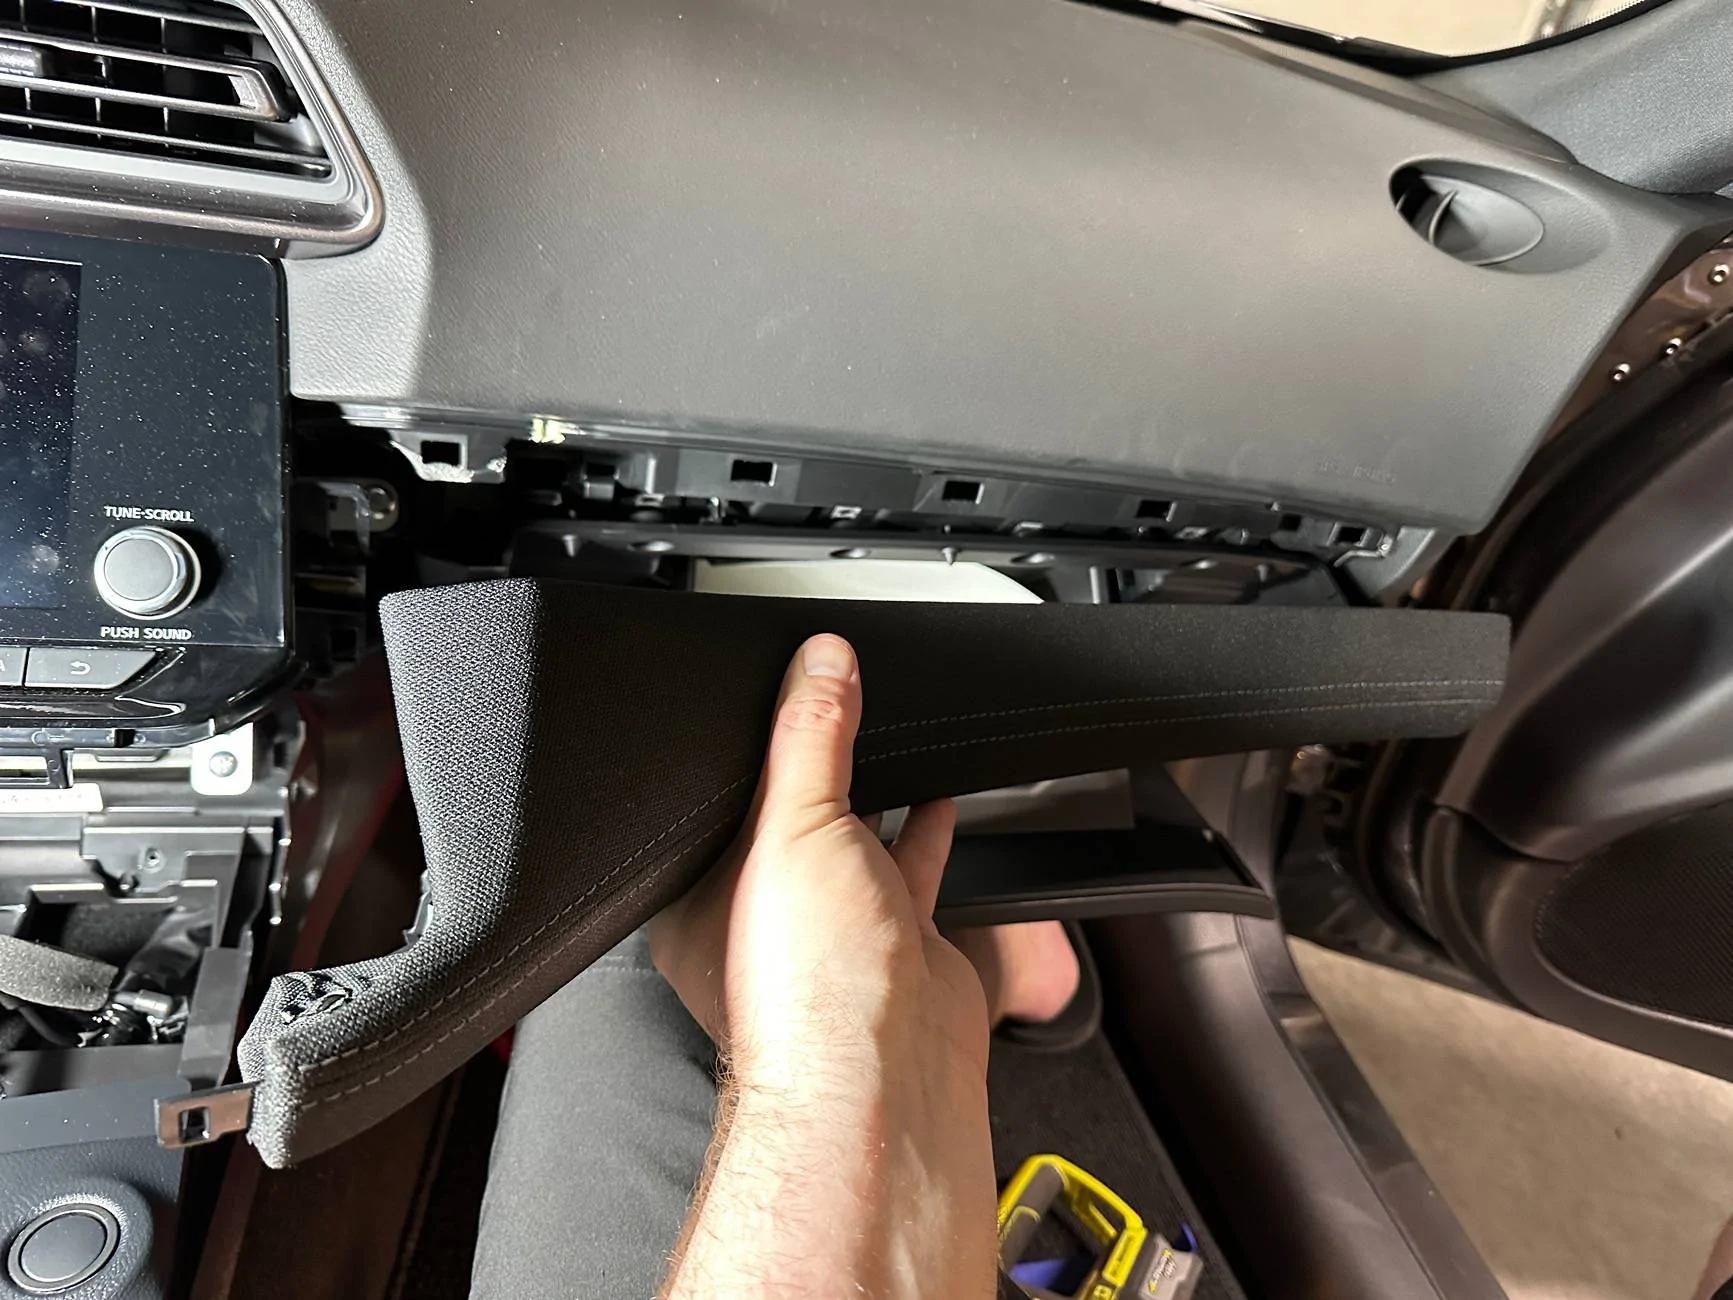
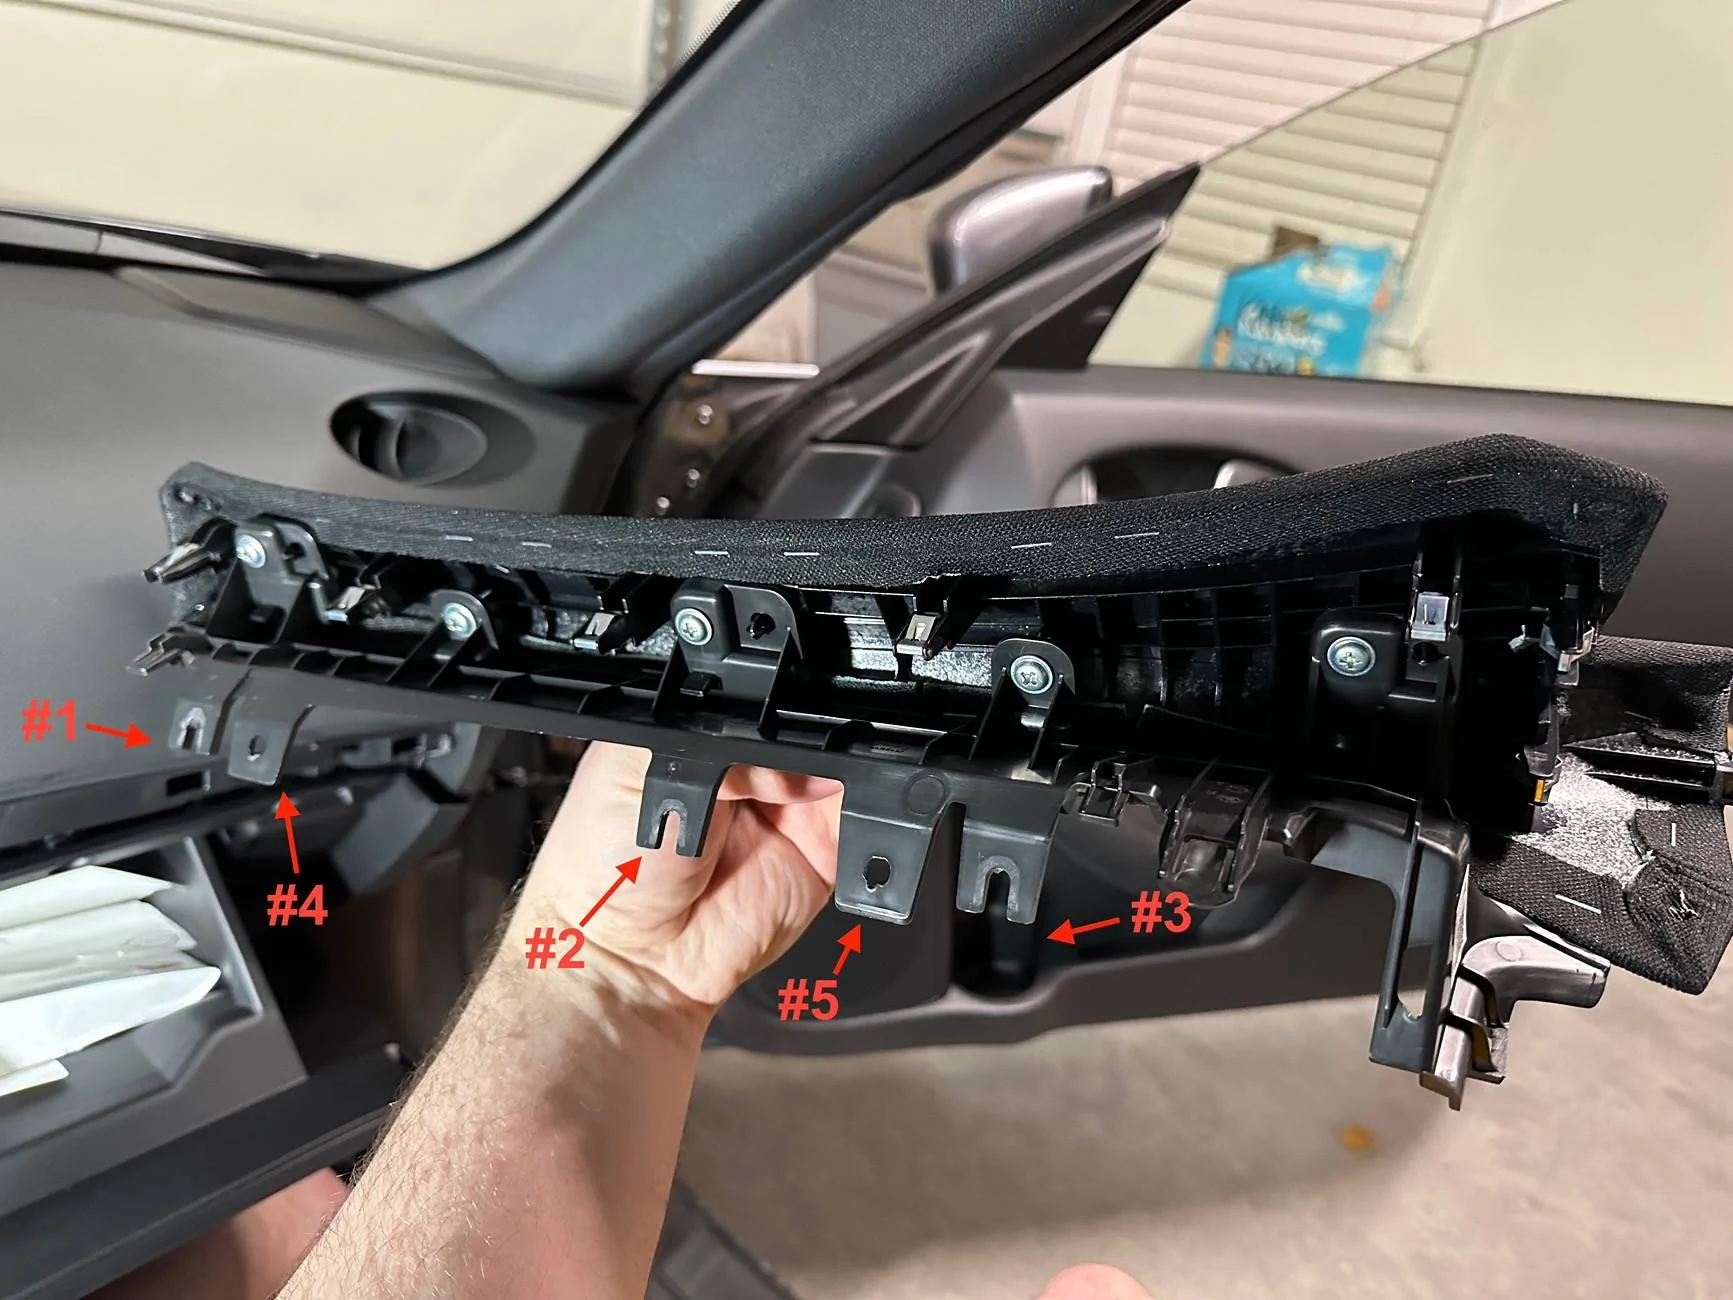
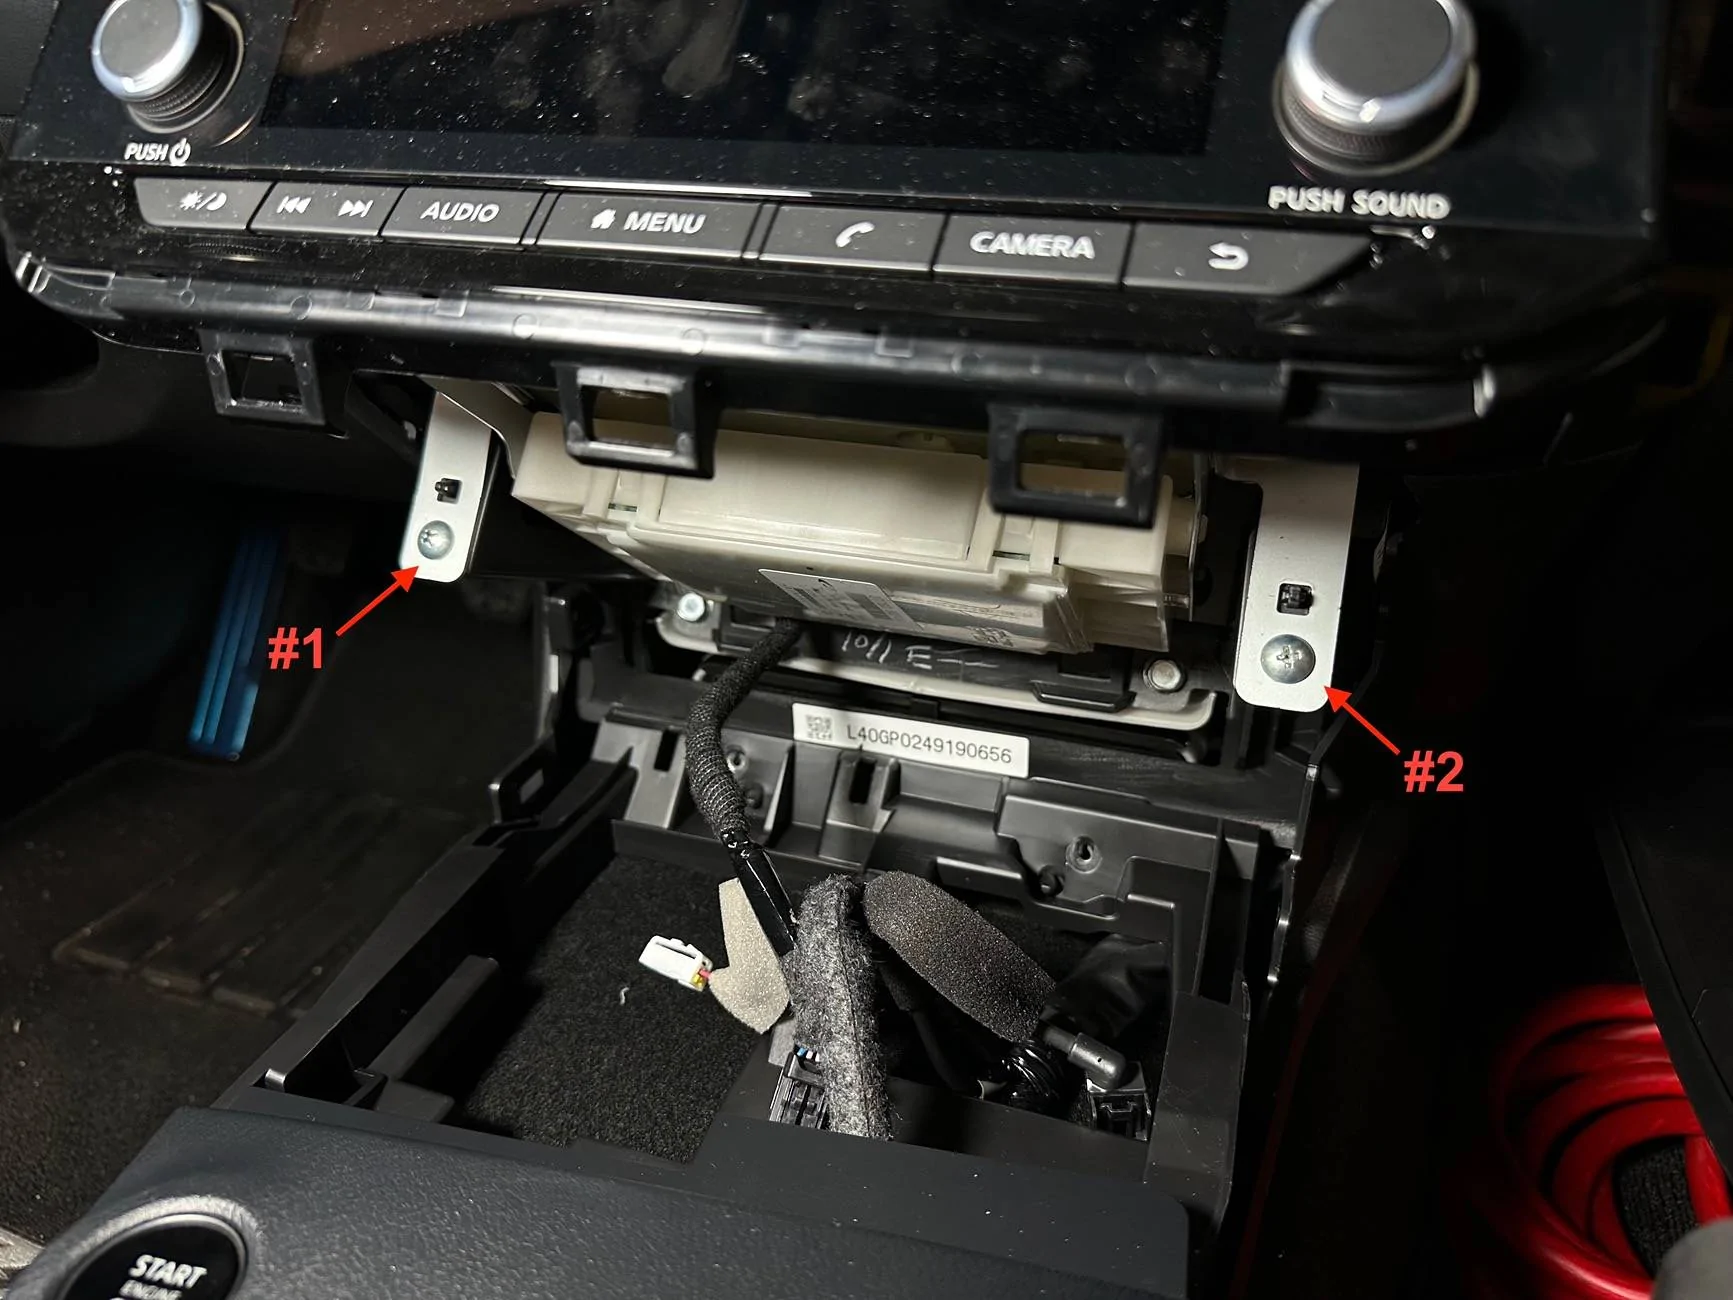
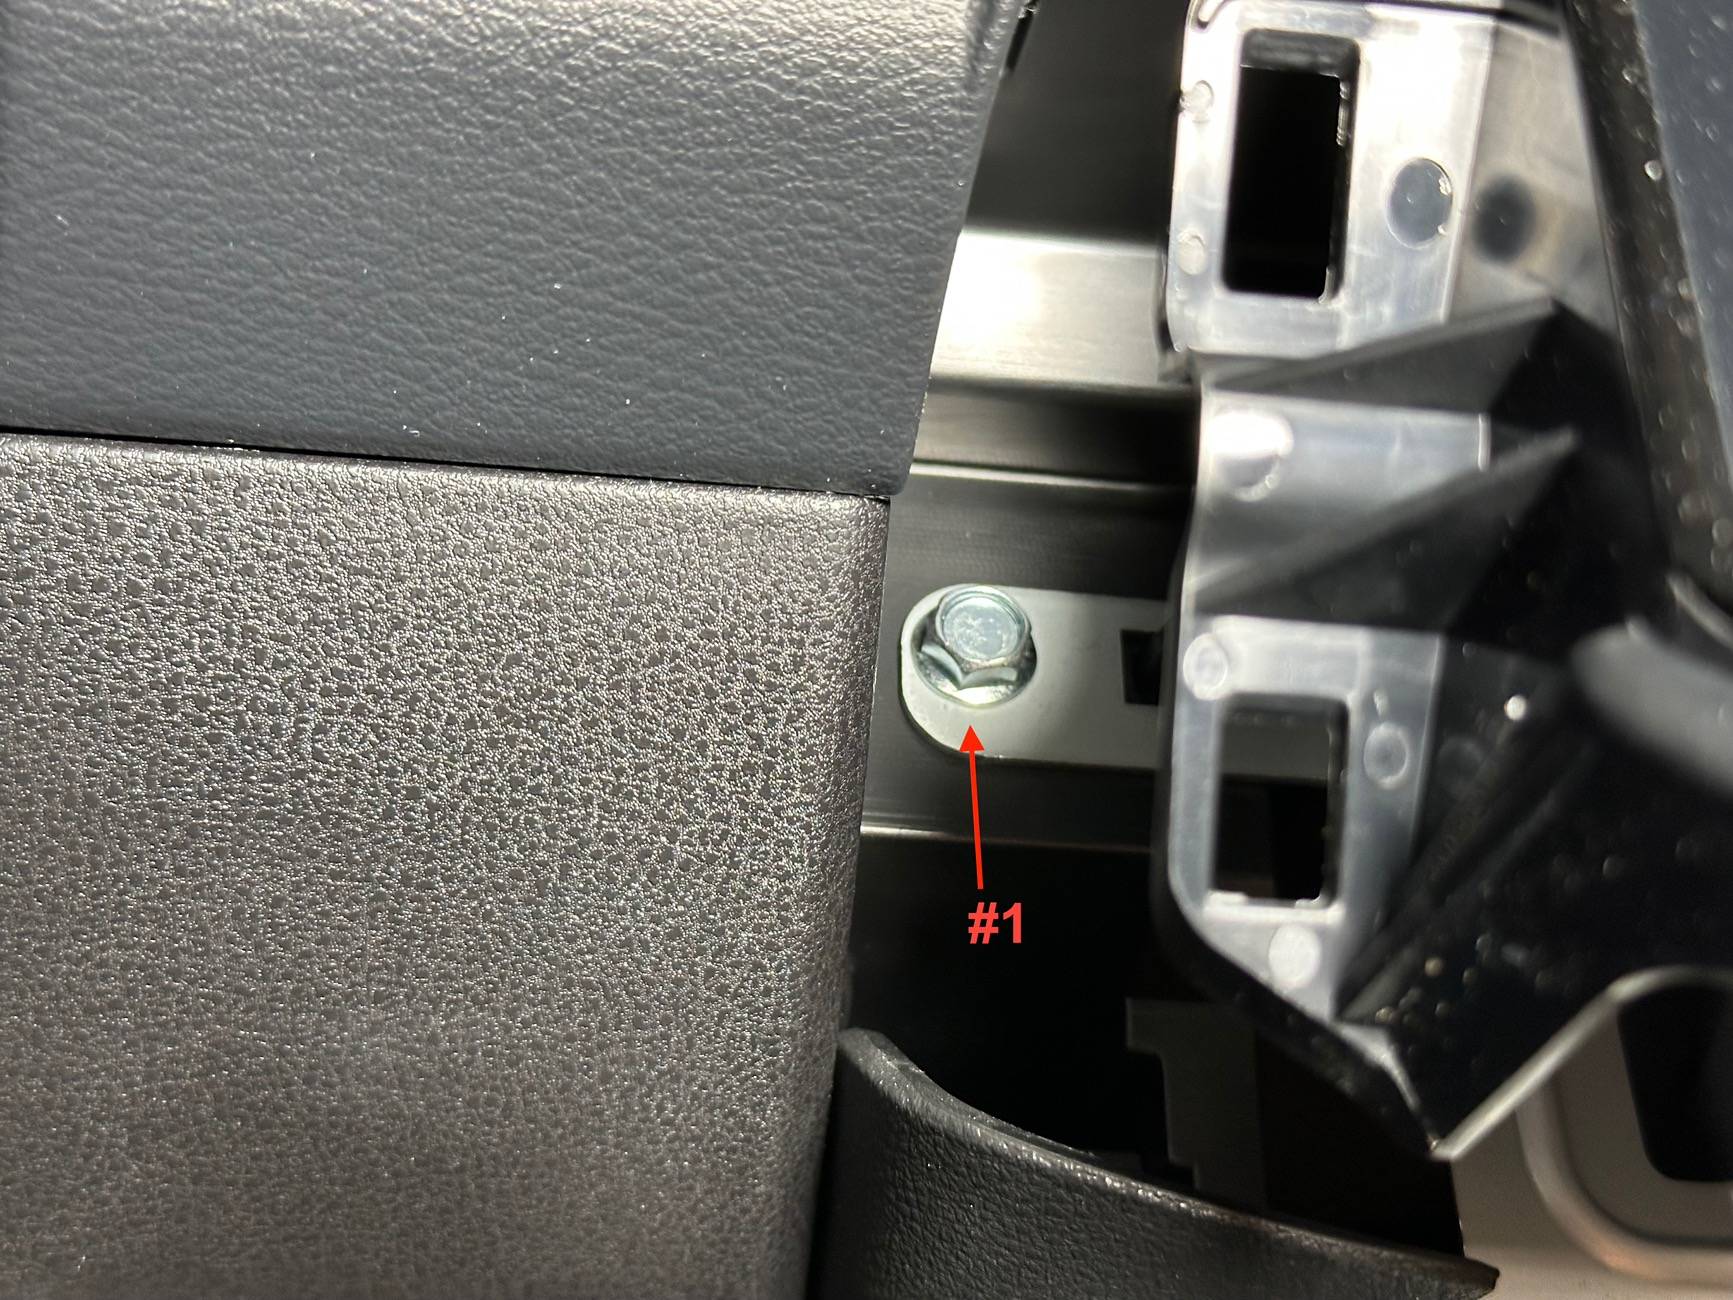
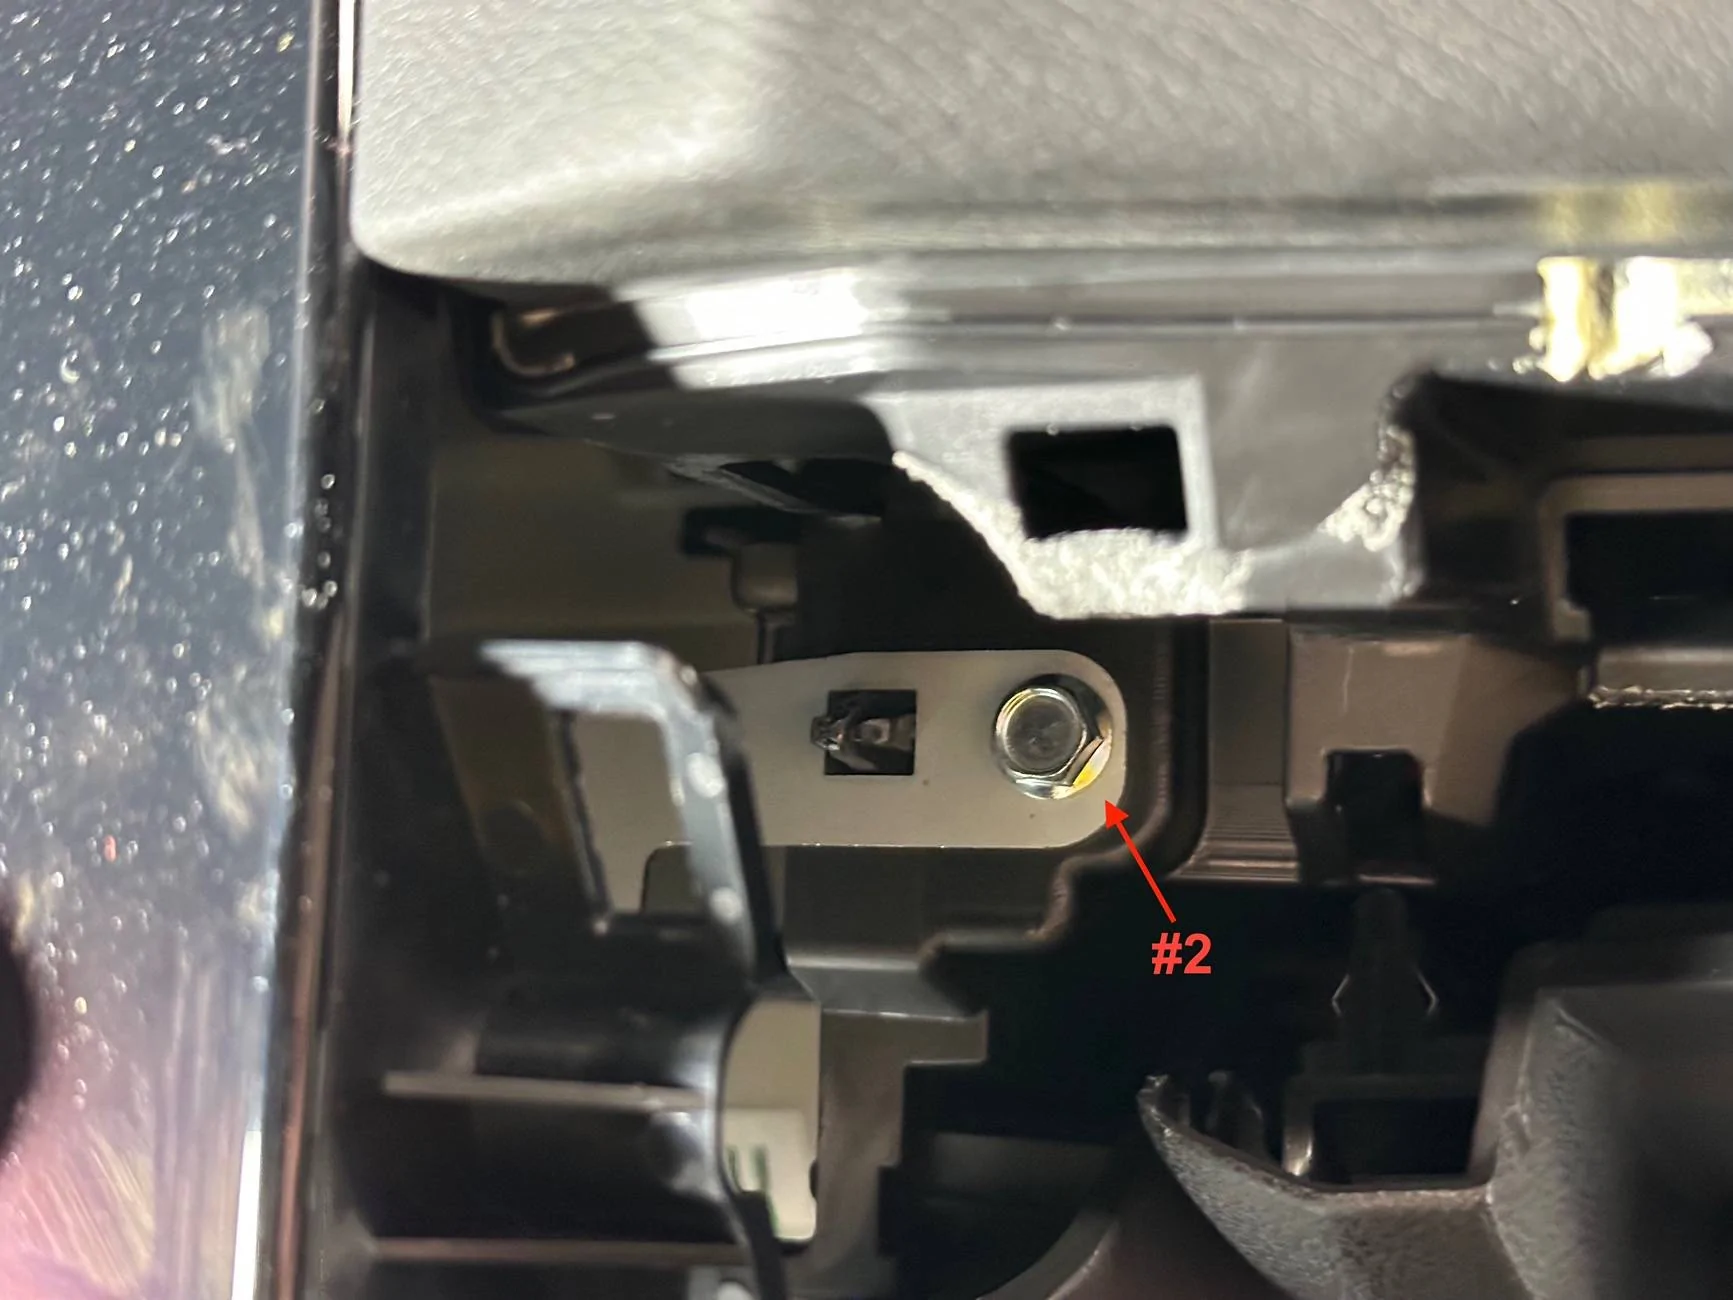
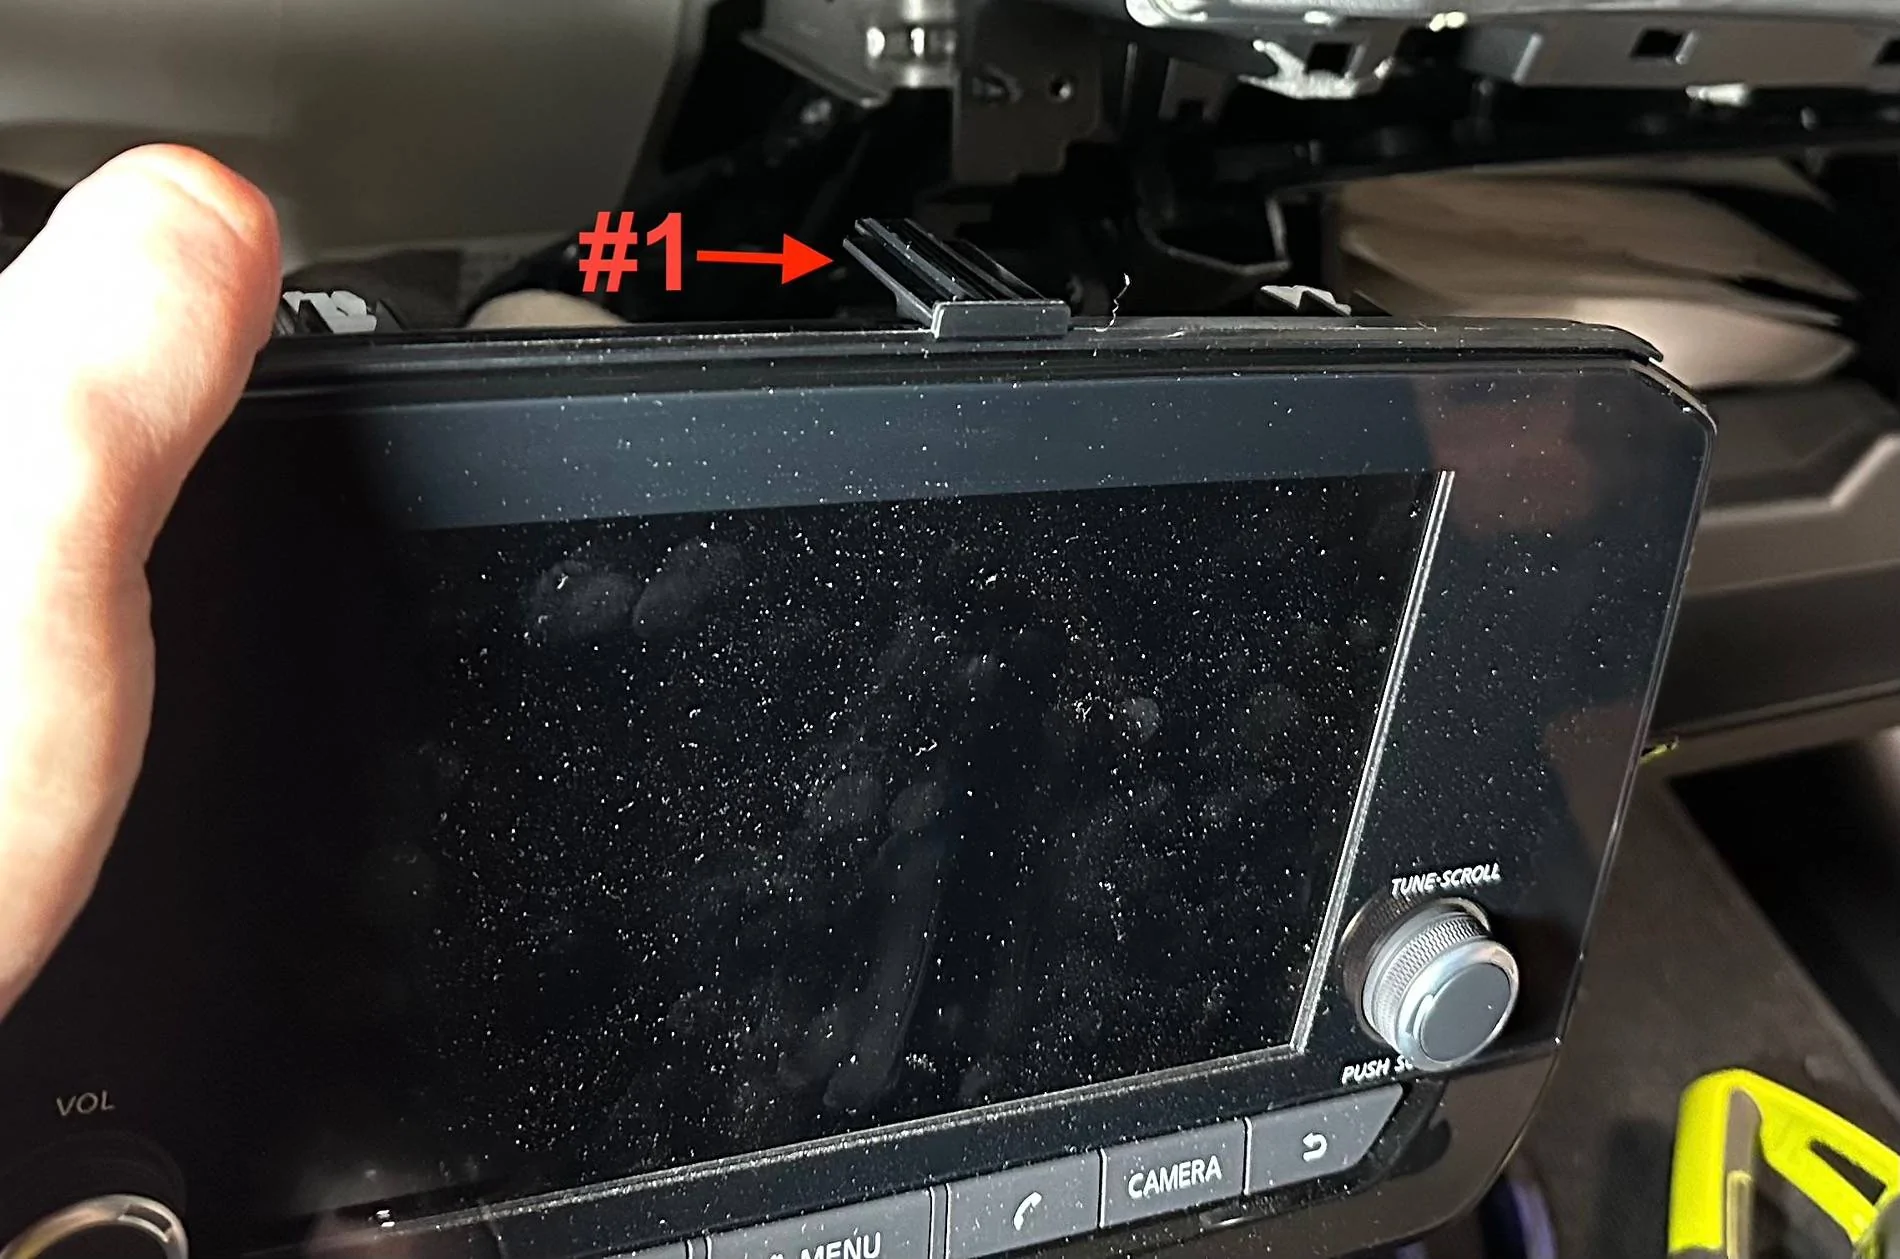
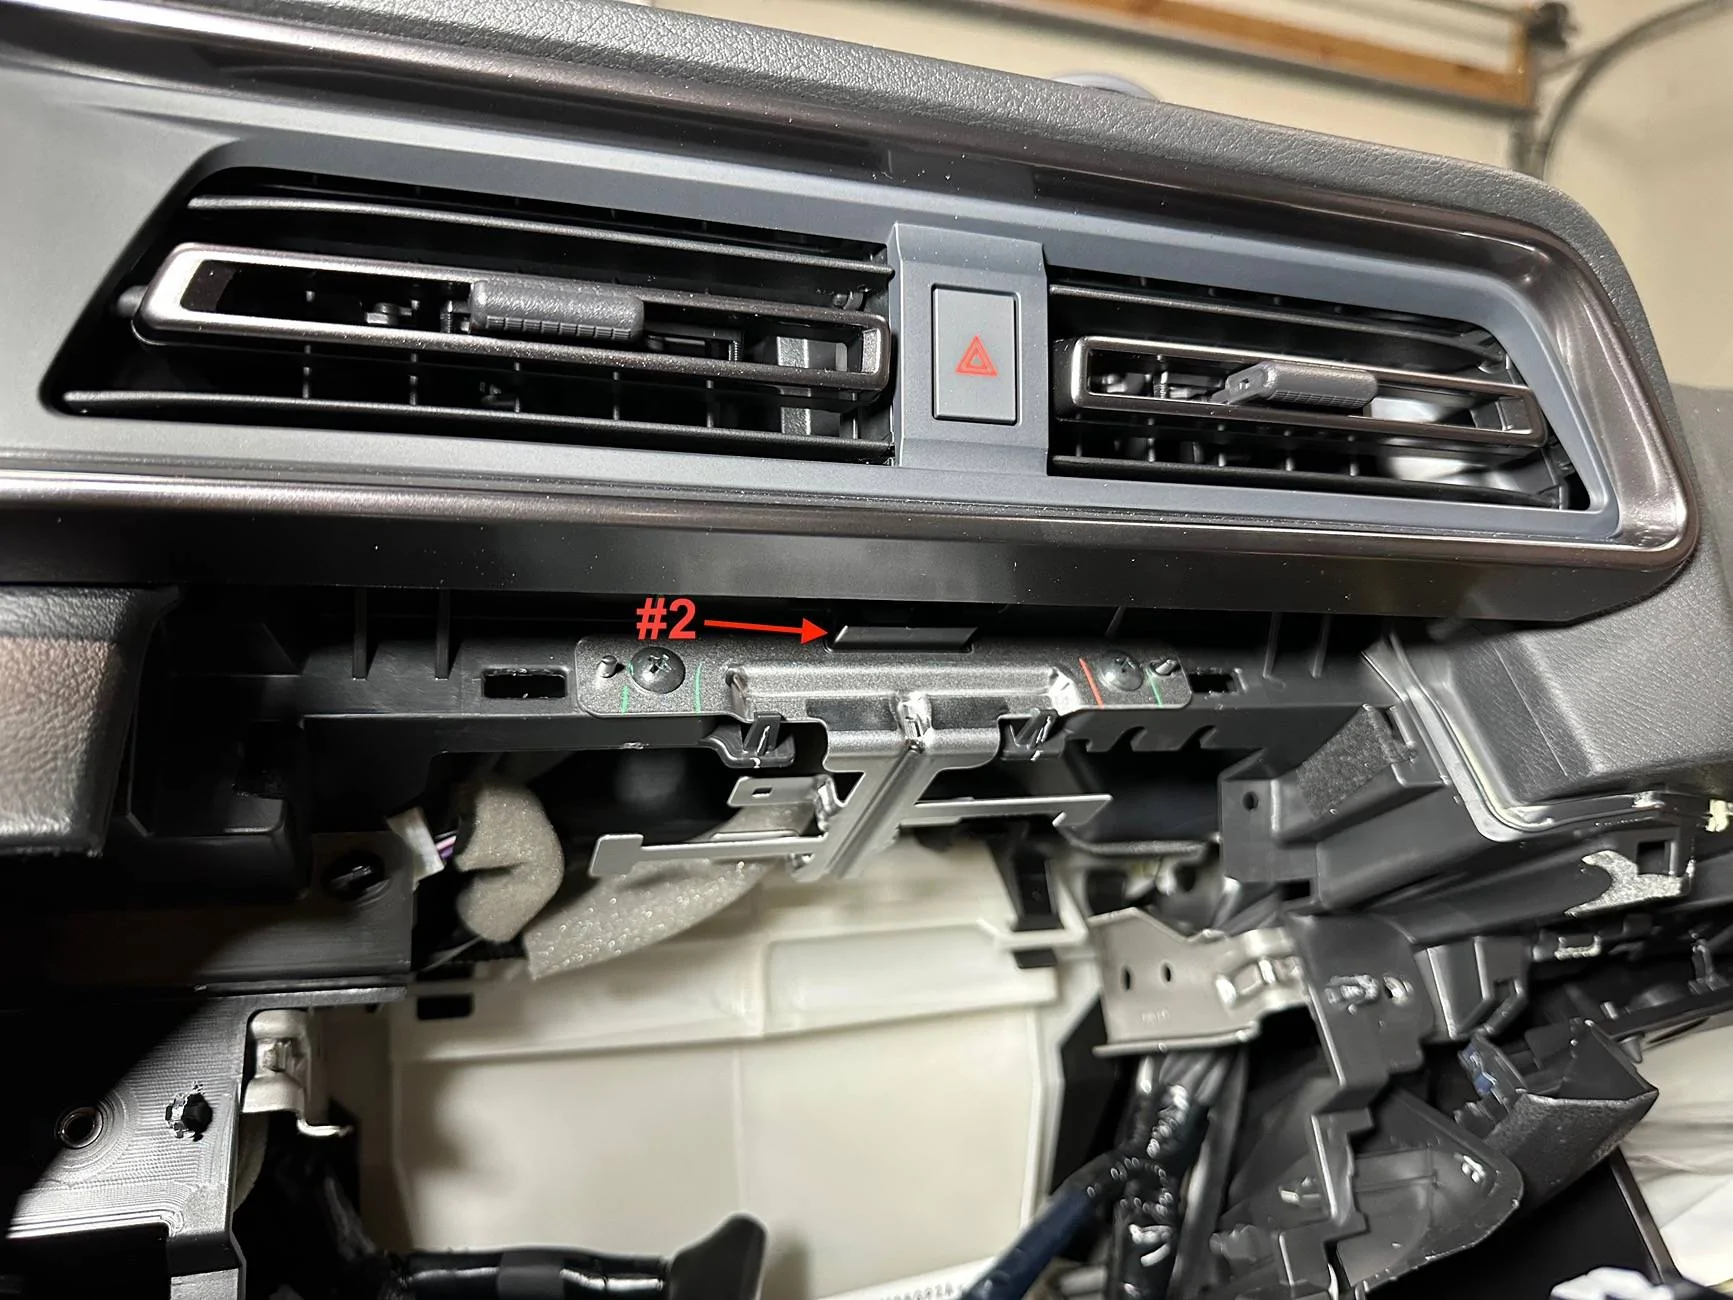
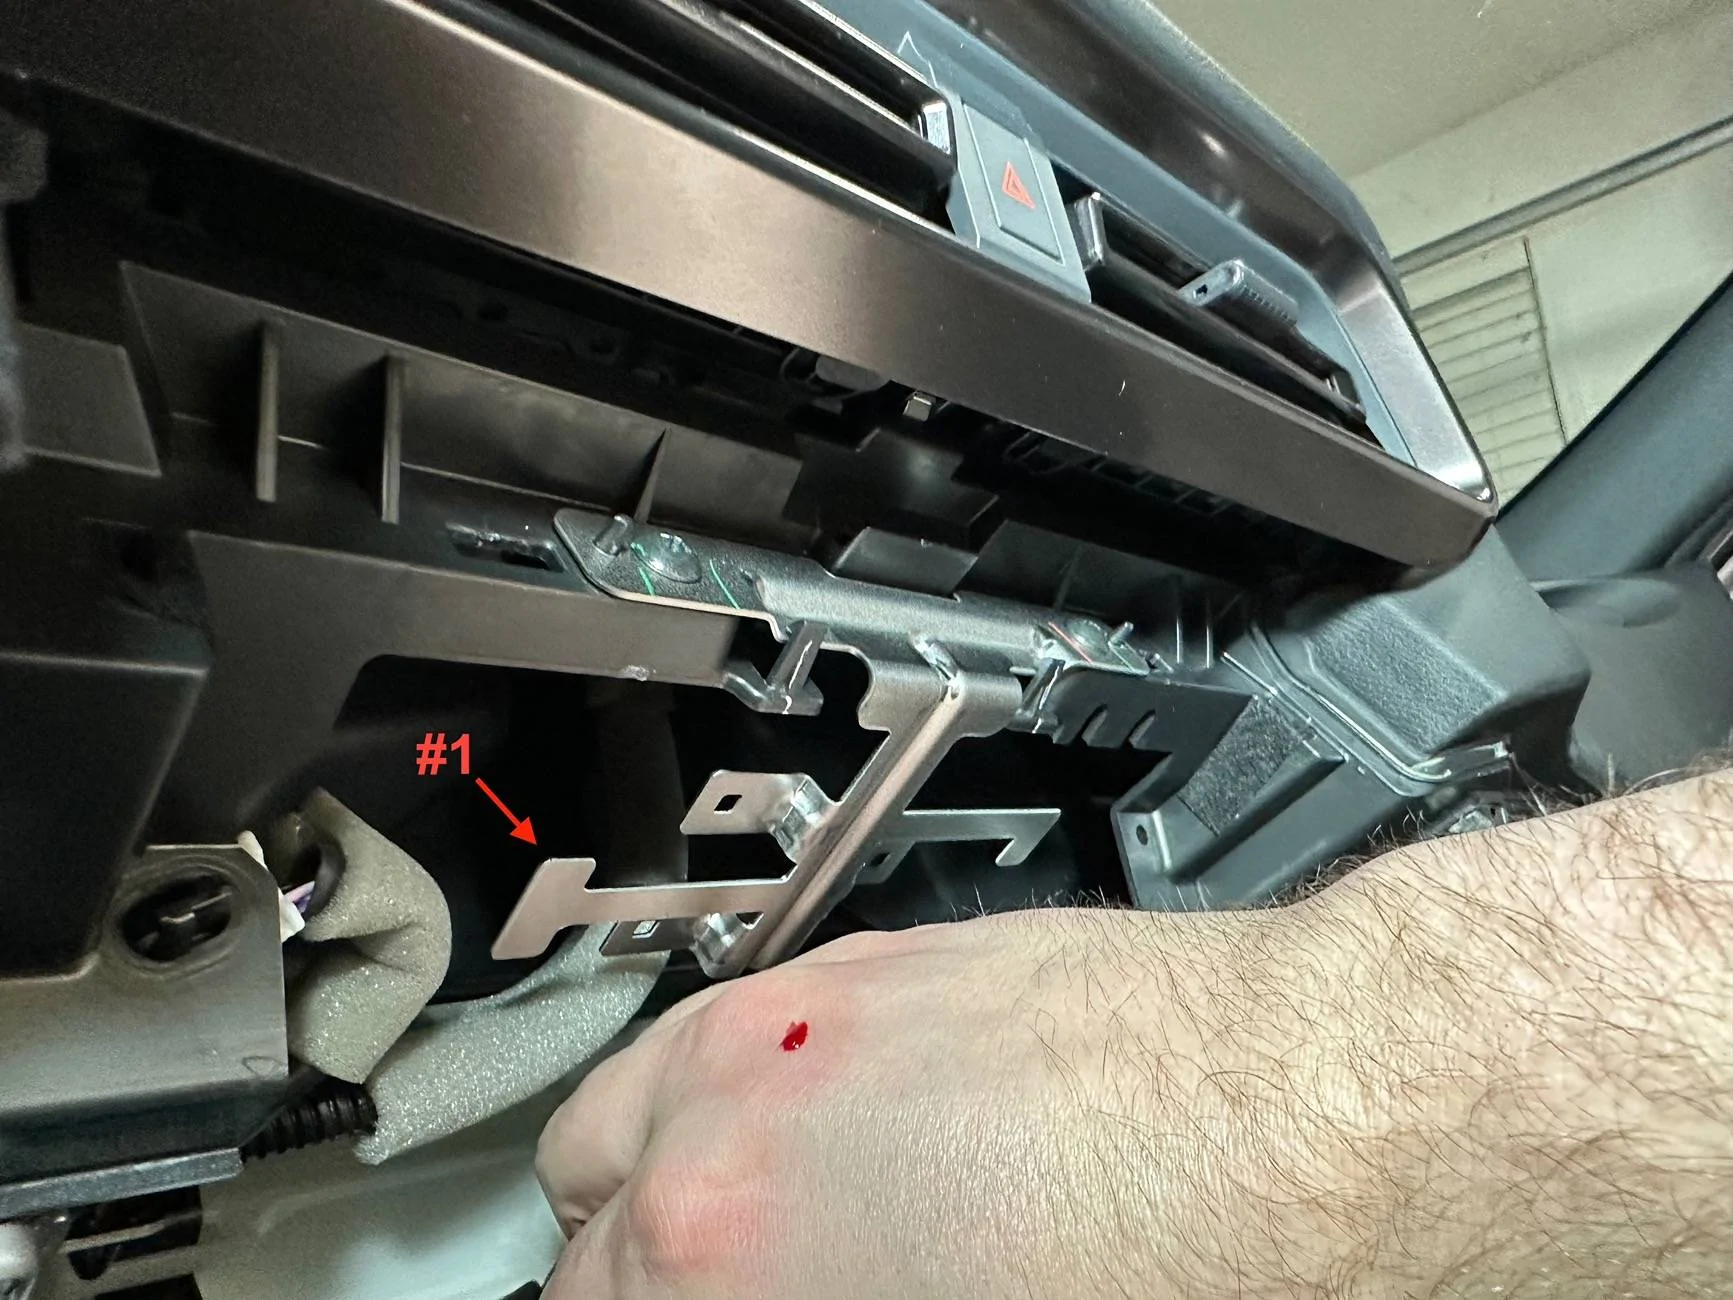
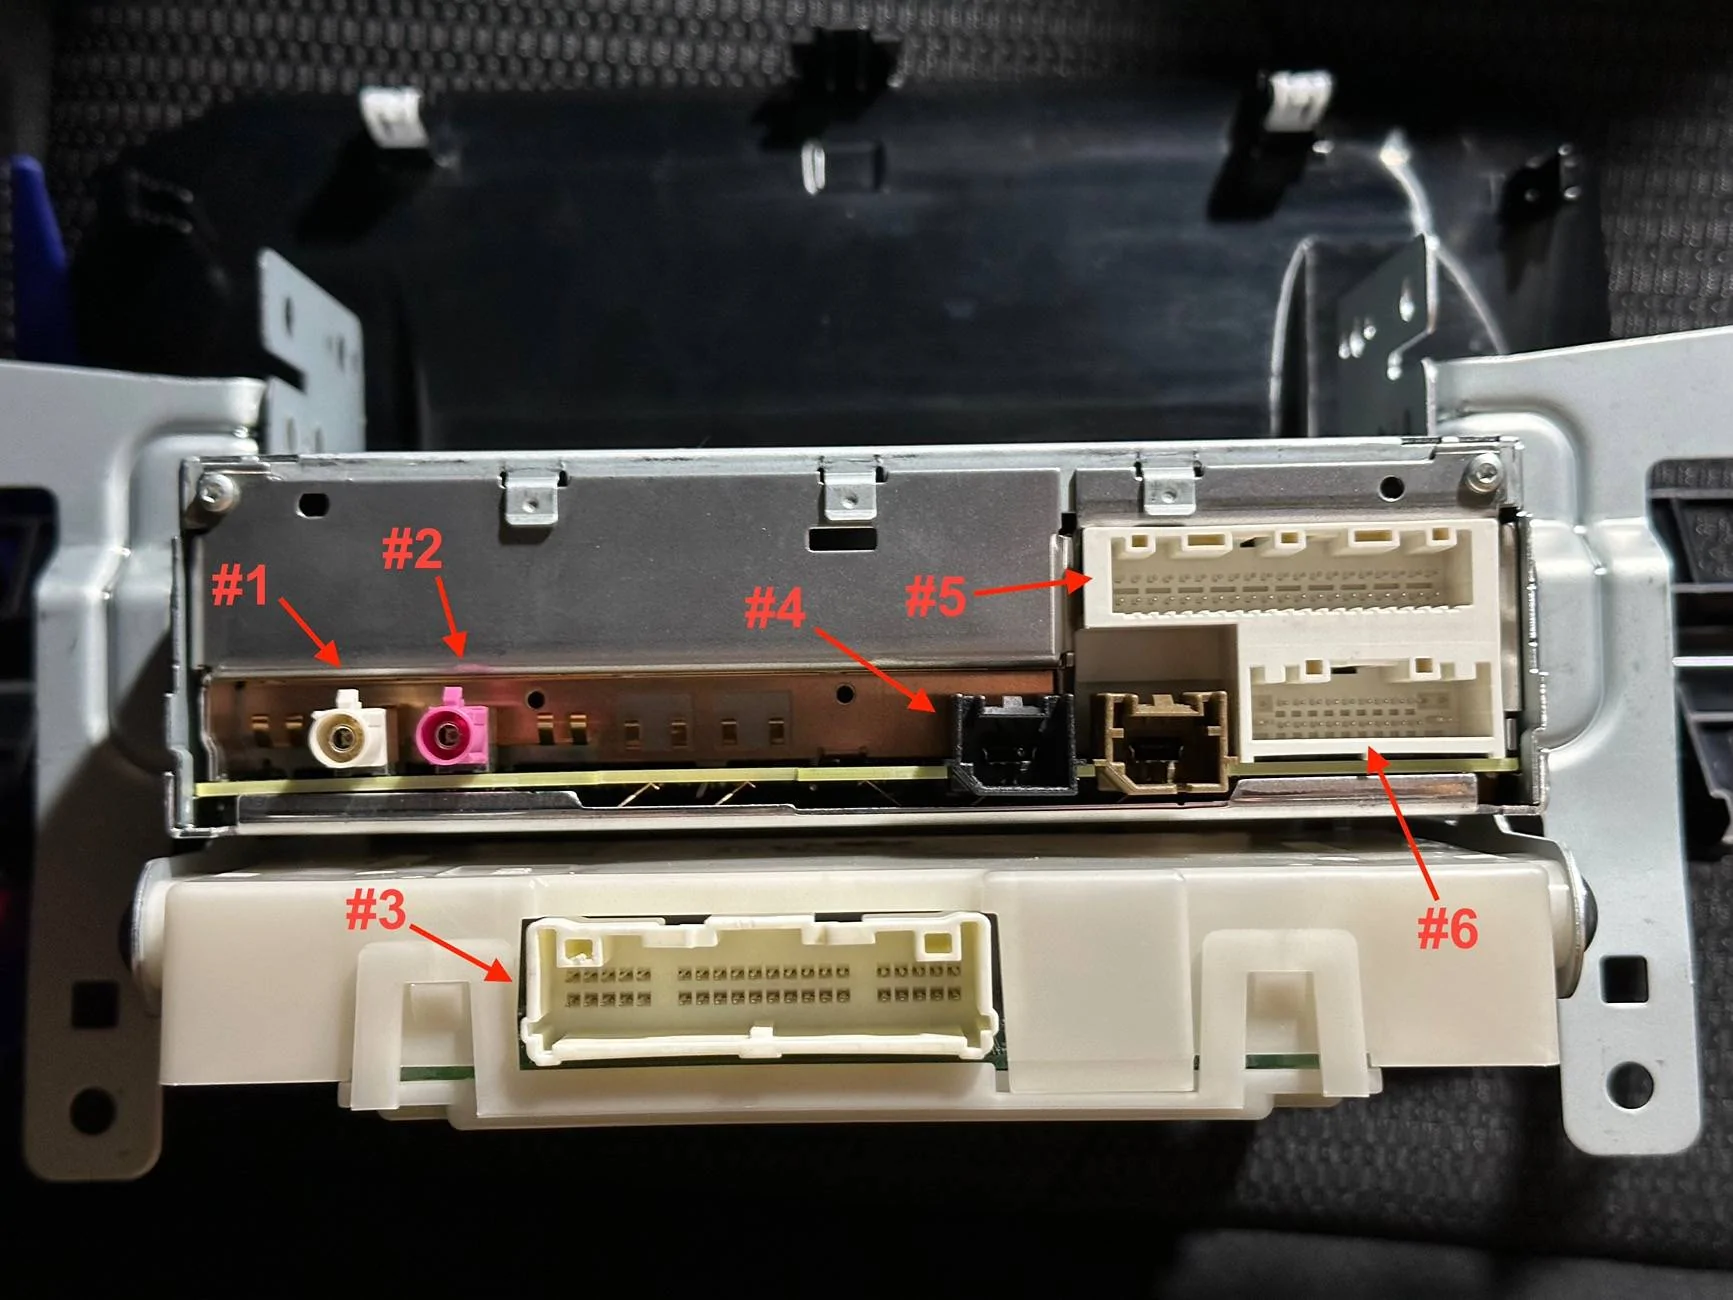
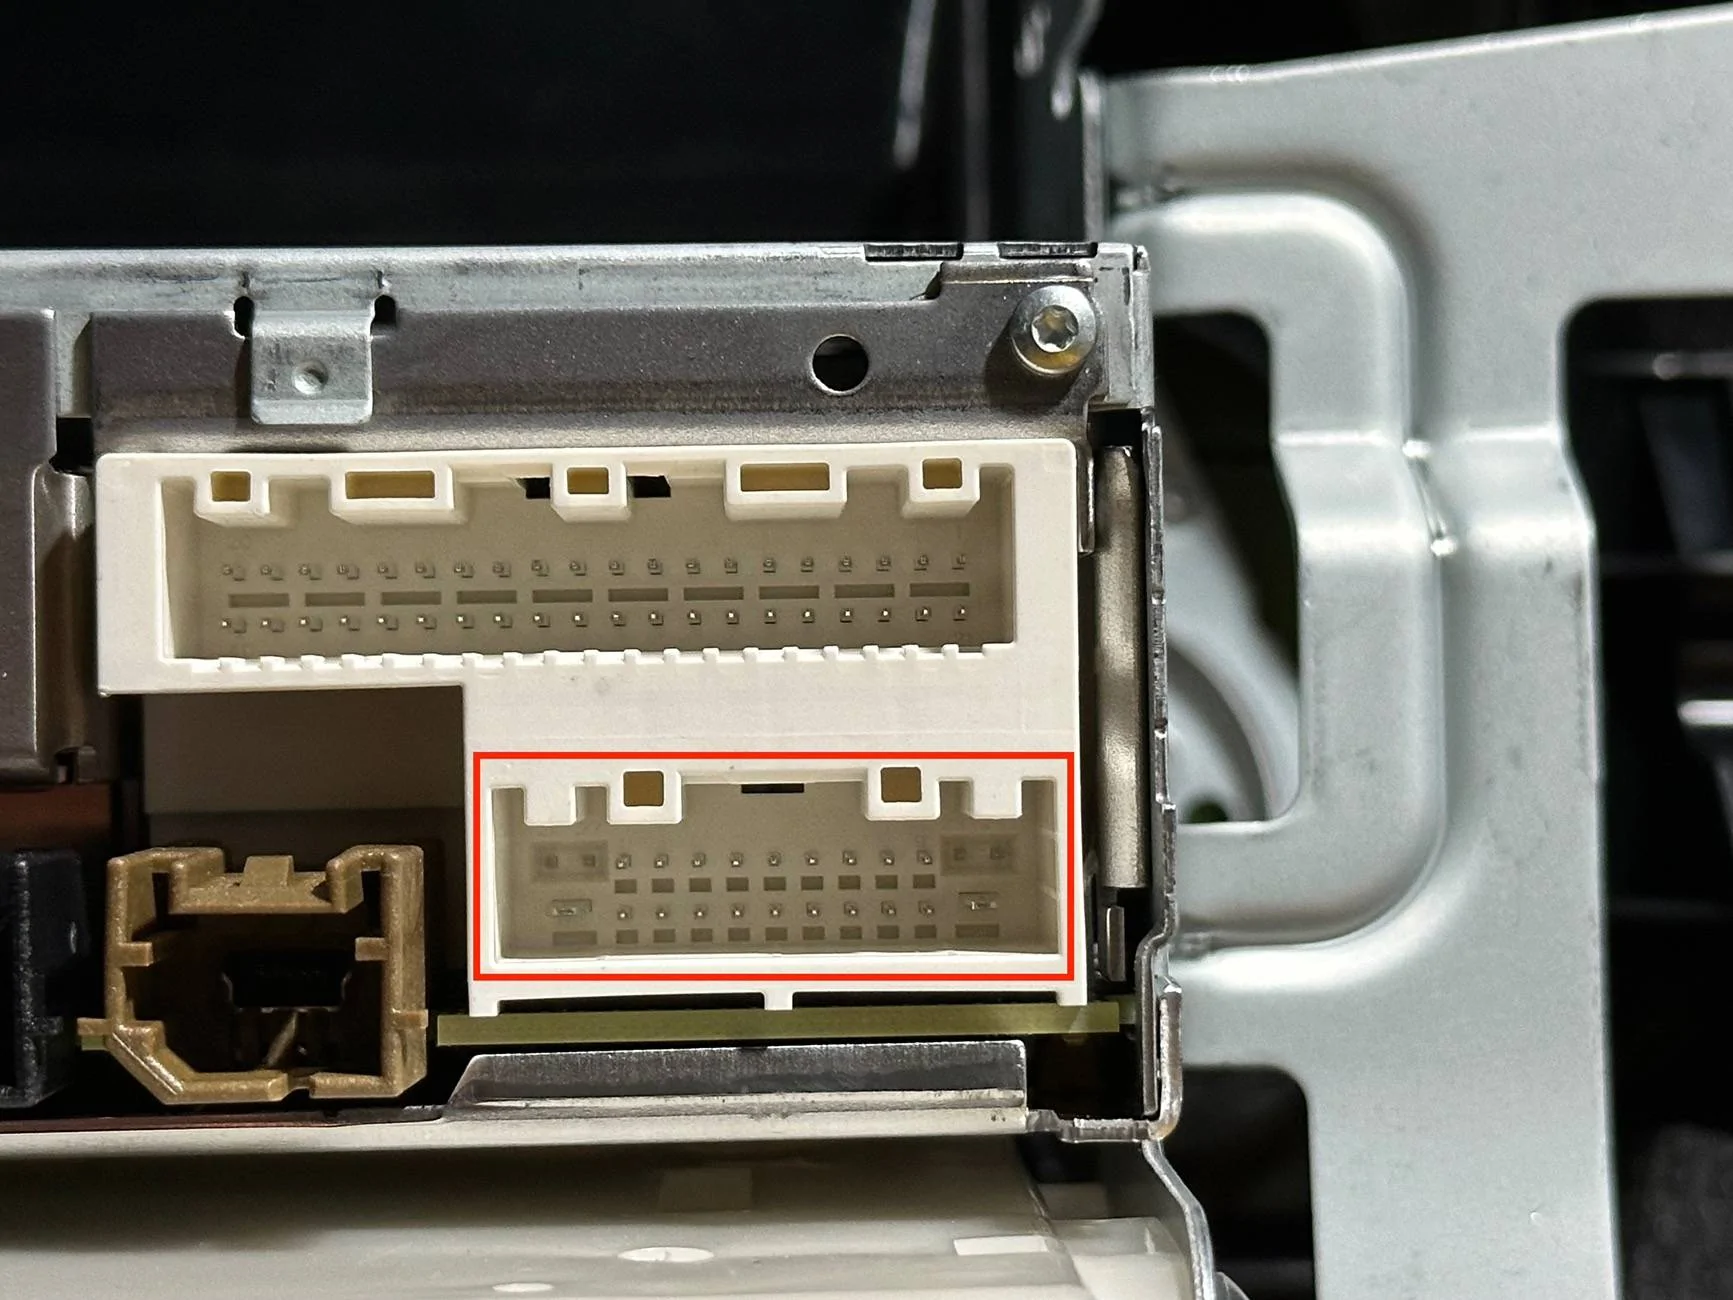
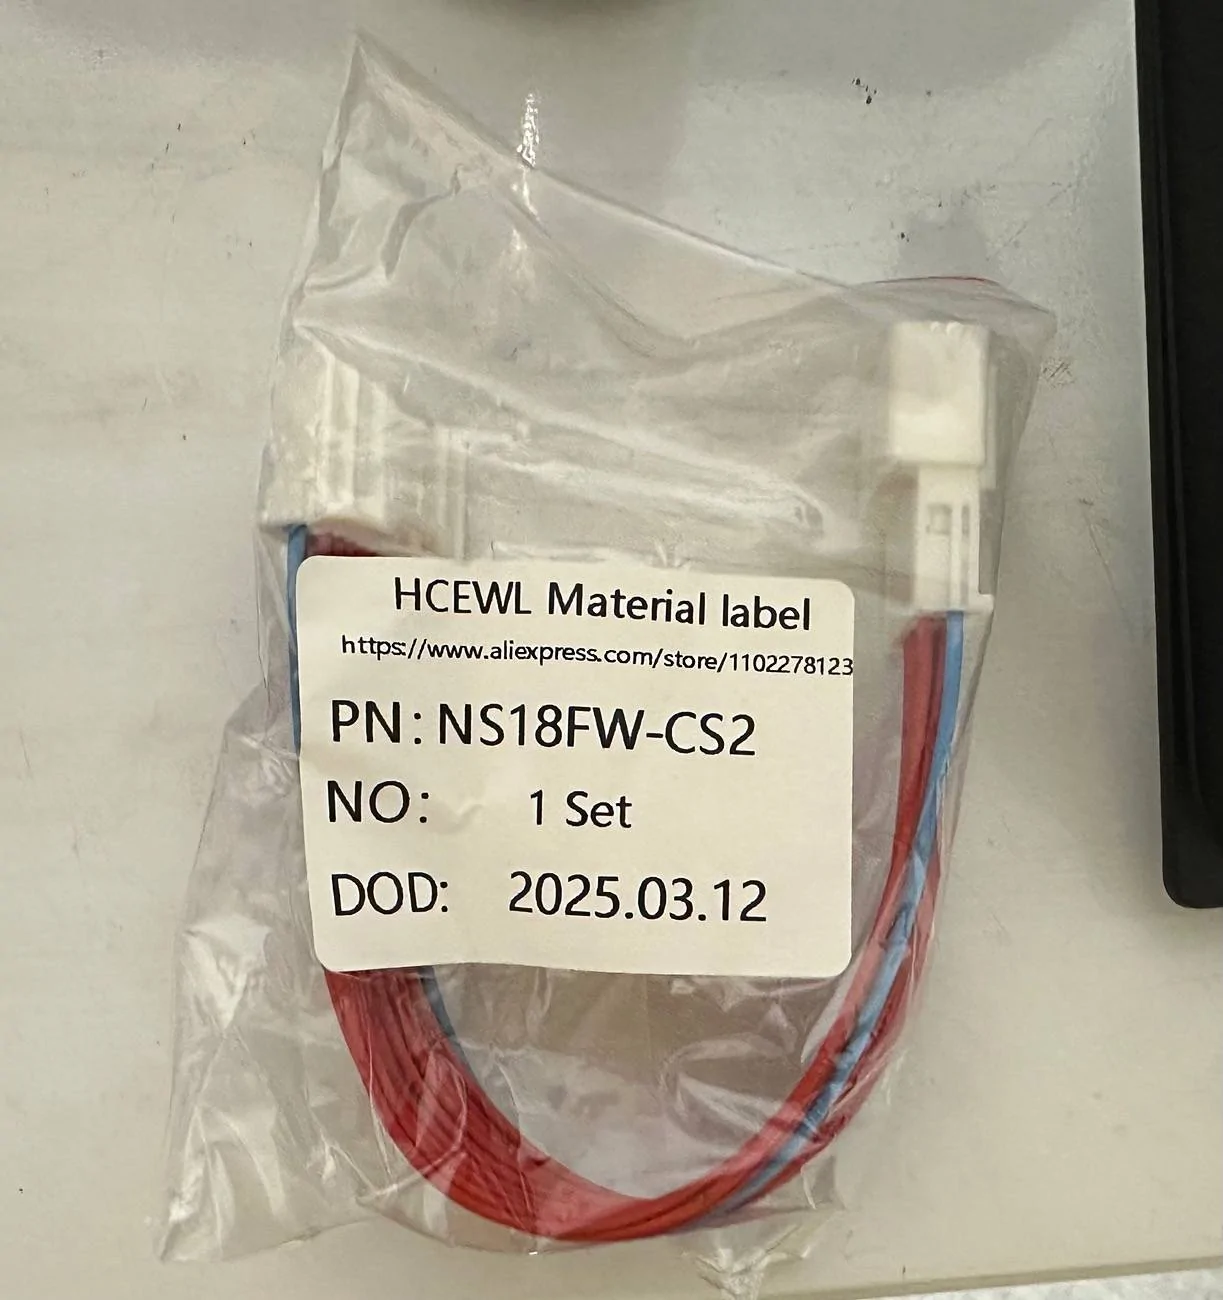
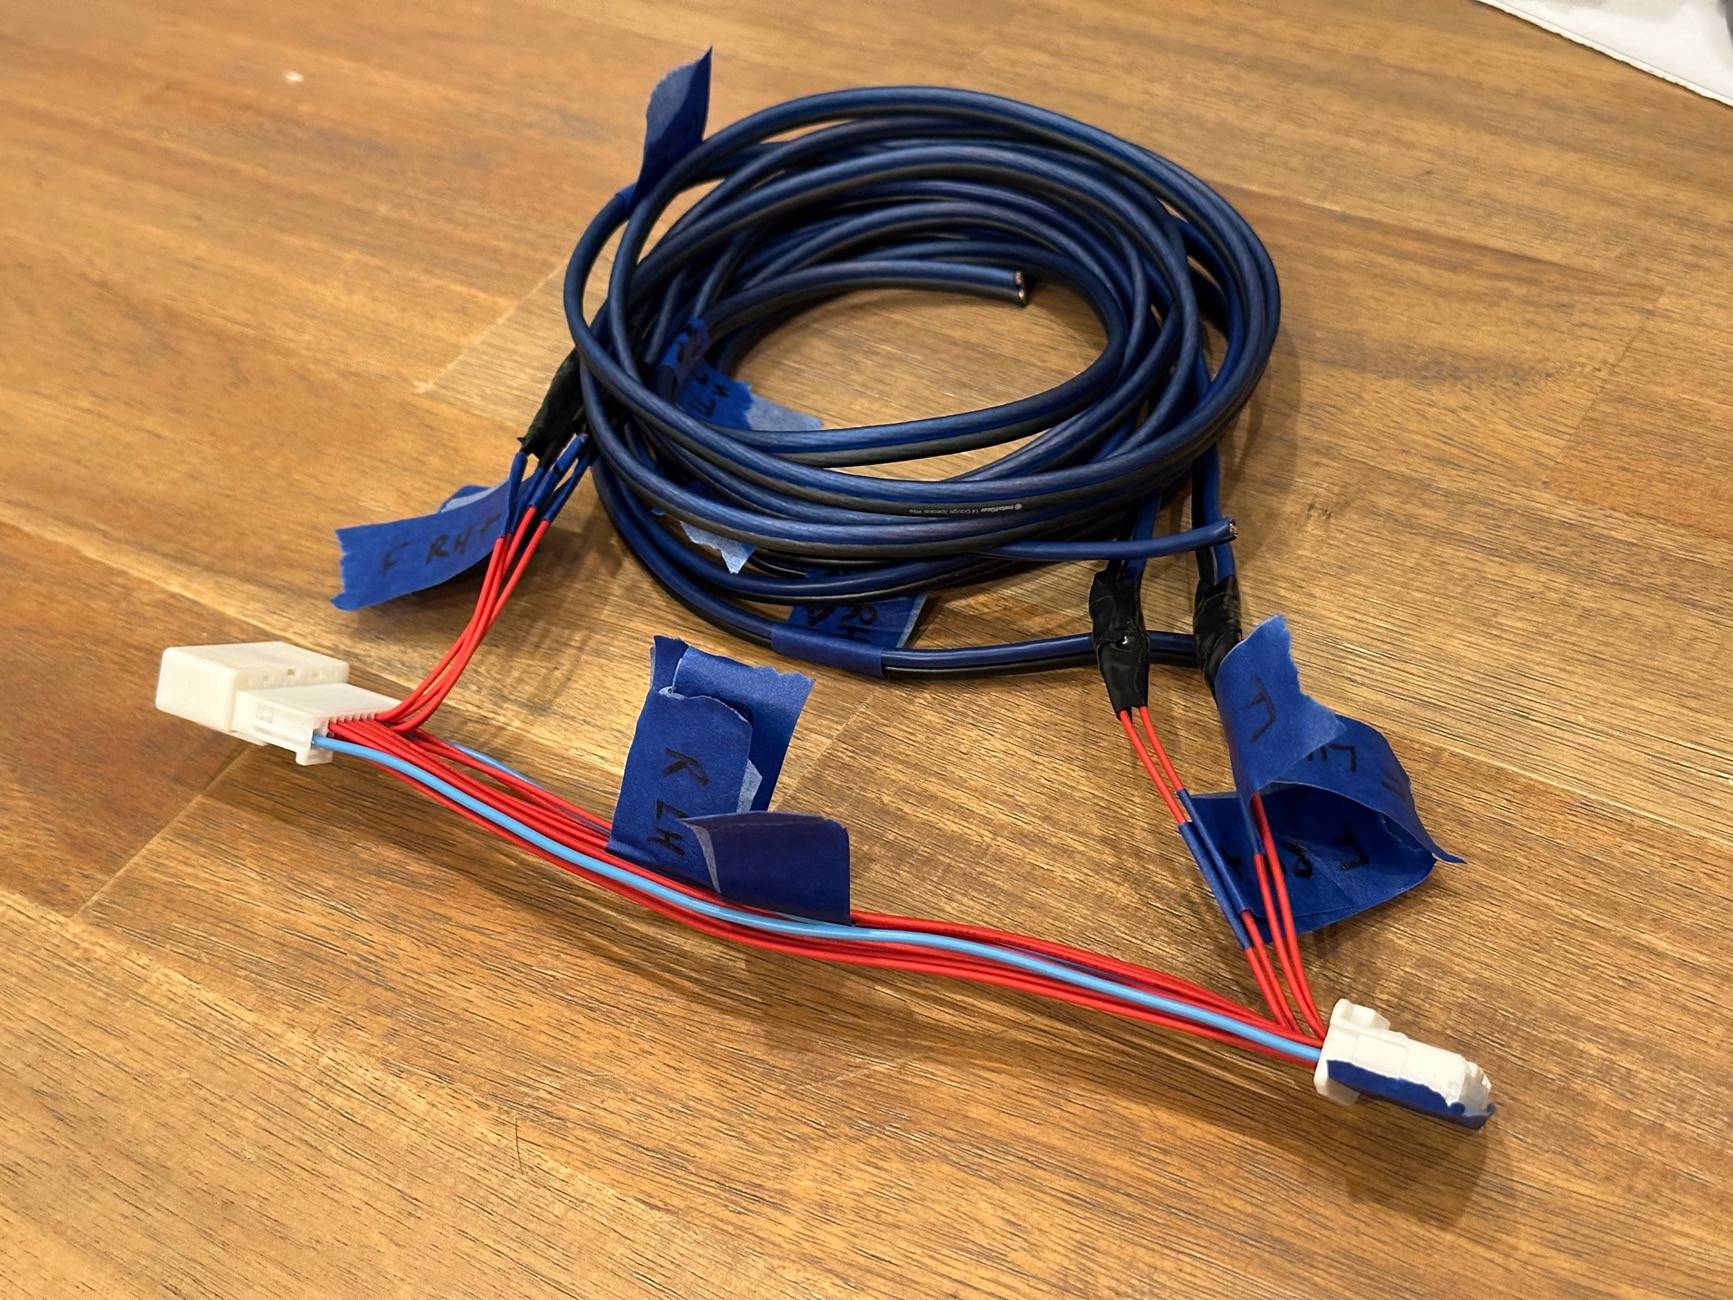
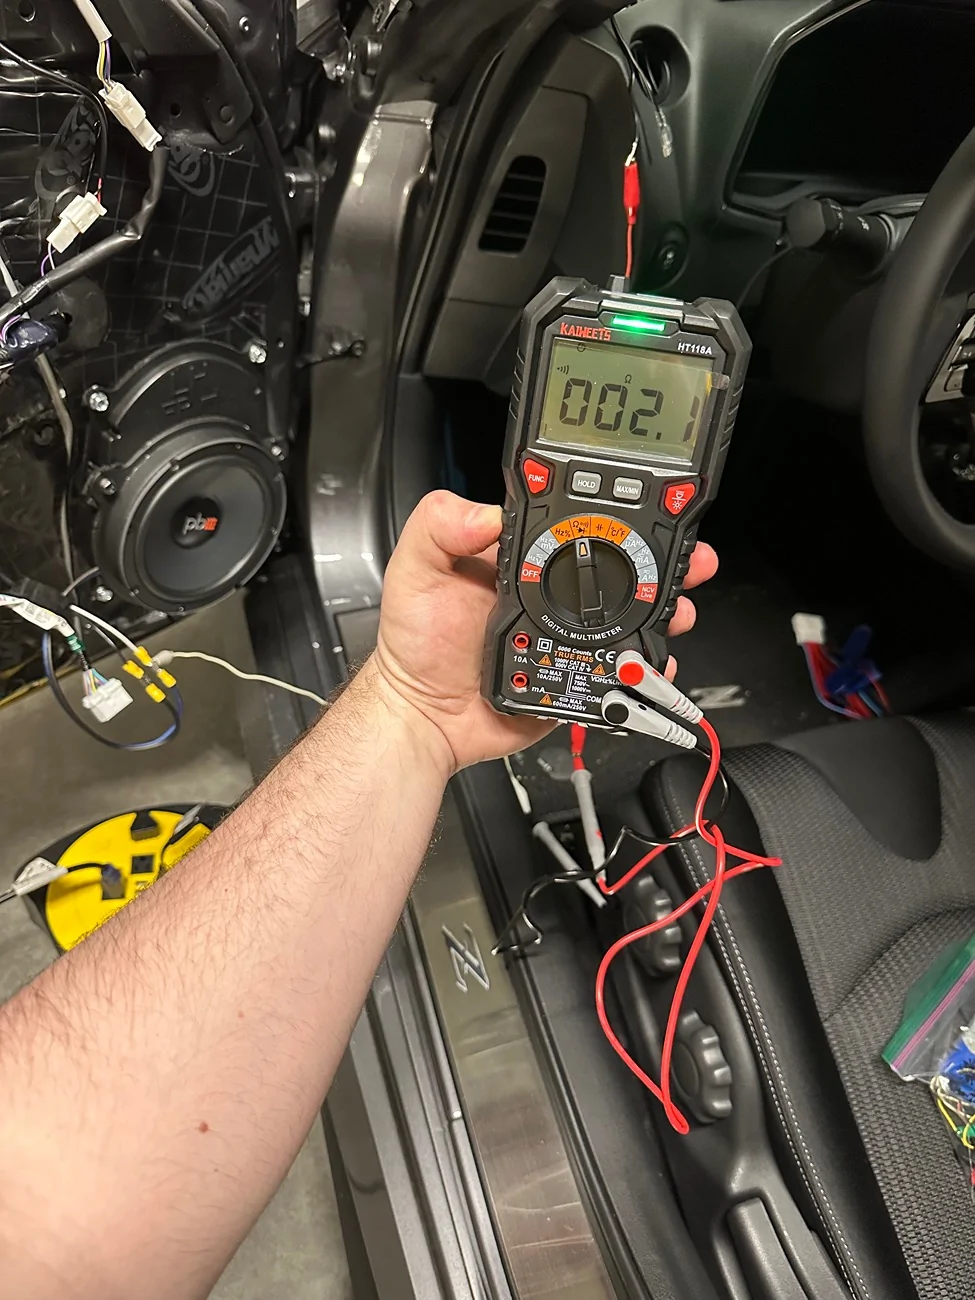
Steps 25-27 are the key steps. If you want to run amps/DSP in the Z Sport, you have to pull the head unit to tap into the harness. Performance guys have it much easier; they can just tap in before the Bose amp in the hatch. Anyways, I documented the process of pulling the head unit to help out anyone who may need it since I hadn’t seen it documented anywhere else yet.Please excuse my ignorance. What's this all about? All I see is the radio being taken out but the same radio going back in??
What am I missing?