Sponsored

What did you do with your Z today? 🙋🏻‍♂️

AlanZ

Well-Known Member
First Name
Alan
Joined
Oct 28, 2023
Threads
8
Messages
520
Reaction score
647
Location
Long Island
Car(s)
2023 Performance 6MT Black Diamond/Graphite
Occupation
Civil Servant
I honestly really like the way they look! I would get them but I’m not sure it’s worth it on my black Z
 
OP
OP
ZillaZ

ZillaZ

Well-Known Member
Joined
May 16, 2024
Threads
18
Messages
701
Reaction score
1,062
Location
USA
Car(s)
2024 Z Performance
Thanks man!

Install wasn't hard, the QR code on the paperwork took me to a website that didn't work. So I held them up to the car to figure out where they needed to be. In my case, I ended up throwing out the templates. I taped them to the car and then held the splash guard over the templates to see if the holes lined up. They were off, so I just used the guards themselves to mark my holes.

Not really a big deal and I'm not giving advice, just a heads up that the templates may not line up.

The most unnerving part for me was drilling the hole at the back underneath the bumper. The push pin is larger for that one, you'll see in the kit.
Thanks for the tips! Yeah looking at the part(s) and my Z I thought I might have to drill a hole or two... oof, I will be careful and take my time.
 

Ikazuchi6

Well-Known Member
Joined
Jan 9, 2025
Threads
2
Messages
223
Reaction score
315
Location
Middle GA
Car(s)
2024 Z Performance
Occupation
Electronics technician
Thanks for the tips! Yeah looking at the part(s) and my Z I thought I might have to drill a hole or two... oof, I will be careful and take my time.
Absolutely!

Yeah, measure twice (or 100 times) and drill once lol!

IIRC the holes to be drilled are, one in each fenderlip, one in the bottom of each side skirt, and then the large one in the bottom black part of the bumper. I just looked and it might be 2 holes under the rear bumper...

Here are some pics. I know it might seem obvious but when I was trying to do it without any visual aids, it took me a few minutes to see what needed to happen. I'm getting older, so that might be part of it lol!

Front:
20250224_164047.webp
20250224_164131.jpg
20250224_164147.webp


Rear: One is a screw and one is a large push pin. I think I started most of the screws and let them self-tap but you can use a drill for a pilot hole
20250224_164204.webp
20250224_164240.webp


Also, it might make it easier if you have a helper to hold the part in place while you test fit and mark everything.
 

Z4Ace

Member
First Name
Joe
Joined
Dec 2, 2024
Threads
1
Messages
15
Reaction score
9
Location
San Diego
Car(s)
2024 Nissan Z Performance, Lexus LS, Lexus RX & VW Bug
Occupation
Small business owner
Seen running topics like this on other car forums where people talk about what they did with their car and can add it to a thread like this.

Went out for a fun drive?
Met other interesting car people?
Mods?
Upgrades?

I'll start.

Like a few others here have done, added the "Fairlady Z" badging to my spoiler and removed the "Z" in the centerplate on the rear. Got it from thezstore.com it's OEM with a nissan sticker / part number. The blue foam around it really helped line it up right too. :love:


FairladyEmblem.jpg
FairladyZ.jpg

Fairlady2.jpg
I like it. Was it hard to remove existing Z, can you please advise on process?
 
OP
OP
ZillaZ

ZillaZ

Well-Known Member
Joined
May 16, 2024
Threads
18
Messages
701
Reaction score
1,062
Location
USA
Car(s)
2024 Z Performance
Absolutely!

Yeah, measure twice (or 100 times) and drill once lol!

IIRC the holes to be drilled are, one in each fenderlip, one in the bottom of each side skirt, and then the large one in the bottom black part of the bumper. I just looked and it might be 2 holes under the rear bumper...

Here are some pics. I know it might seem obvious but when I was trying to do it without any visual aids, it took me a few minutes to see what needed to happen. I'm getting older, so that might be part of it lol!

Front:
20250224_164047.jpg
20250224_164131.jpg
20250224_164147.jpg


Rear: One is a screw and one is a large push pin. I think I started most of the screws and let them self-tap but you can use a drill for a pilot hole
20250224_164204.jpg
20250224_164240.jpg


Also, it might make it easier if you have a helper to hold the part in place while you test fit and mark everything.
Awesome thank you so much for the pix and info. Very helpful! I will have someone with me to assist as well.
 

Z4Ace

Member
First Name
Joe
Joined
Dec 2, 2024
Threads
1
Messages
15
Reaction score
9
Location
San Diego
Car(s)
2024 Nissan Z Performance, Lexus LS, Lexus RX & VW Bug
Occupation
Small business owner
Yup. Rosewood. Some days I think it looks more bronze than maroon-ish and somedays I think it looks kind of purple. It's a fun color and absolutely depends on the lighting. To me, the pictures do not do it justice. When I saw it online before I bought it I thought it was a pretty cool color but when I saw it in person I fell in love.

Here are some more pix. First two are the day I bought it. The next two was on a drive a couple weeks later.


1720579188677-wj.png

1720579210847-og.png

Z1.jpg

Z2.jpg
This was my first pick for color, but very rare.
 

Who.Am.Eye.2716

Well-Known Member
First Name
Phil
Joined
Feb 16, 2024
Threads
26
Messages
573
Reaction score
675
Location
WA State
Car(s)
Z
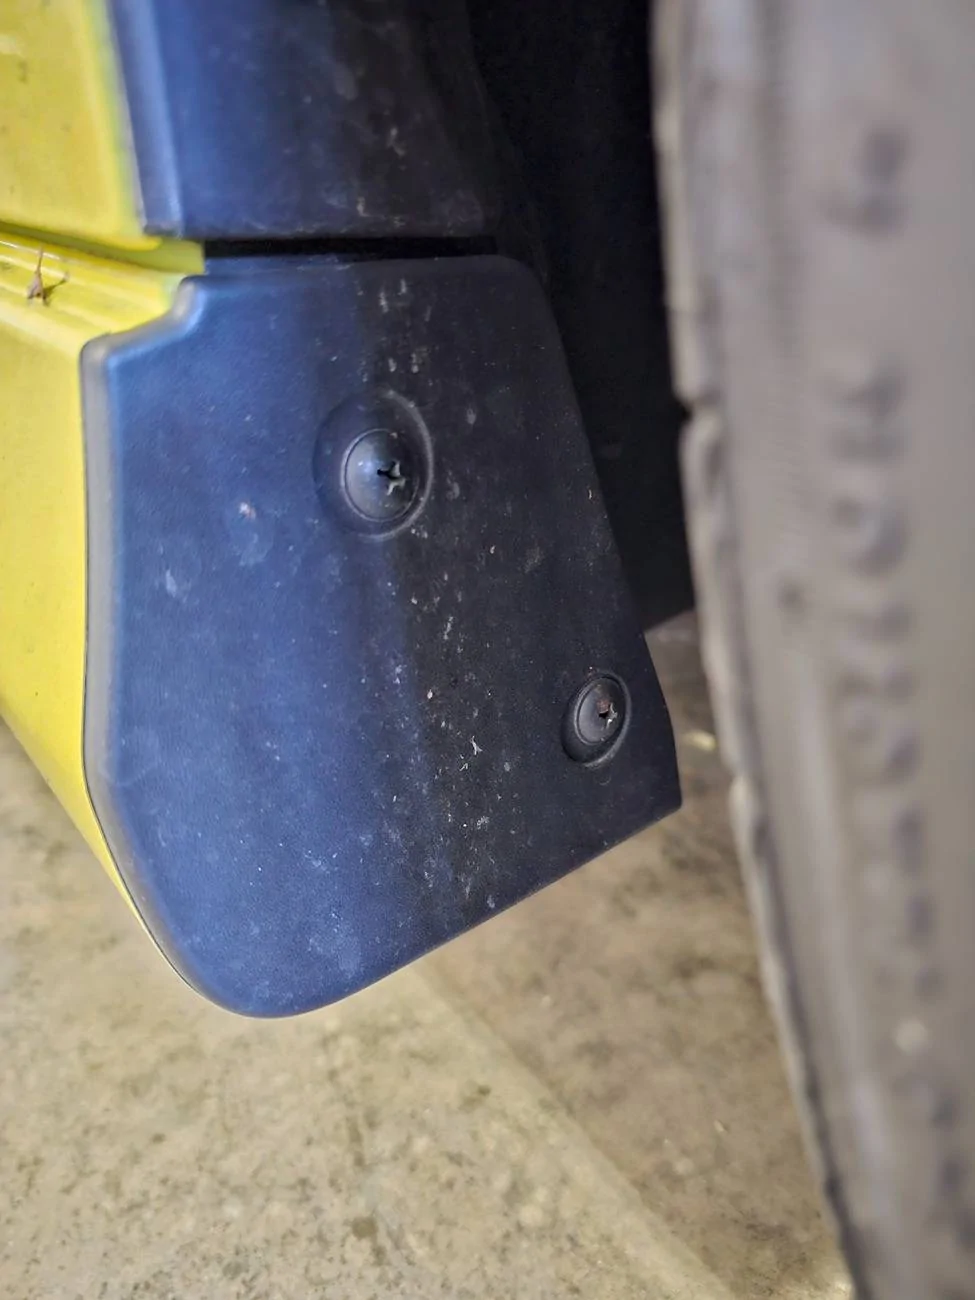
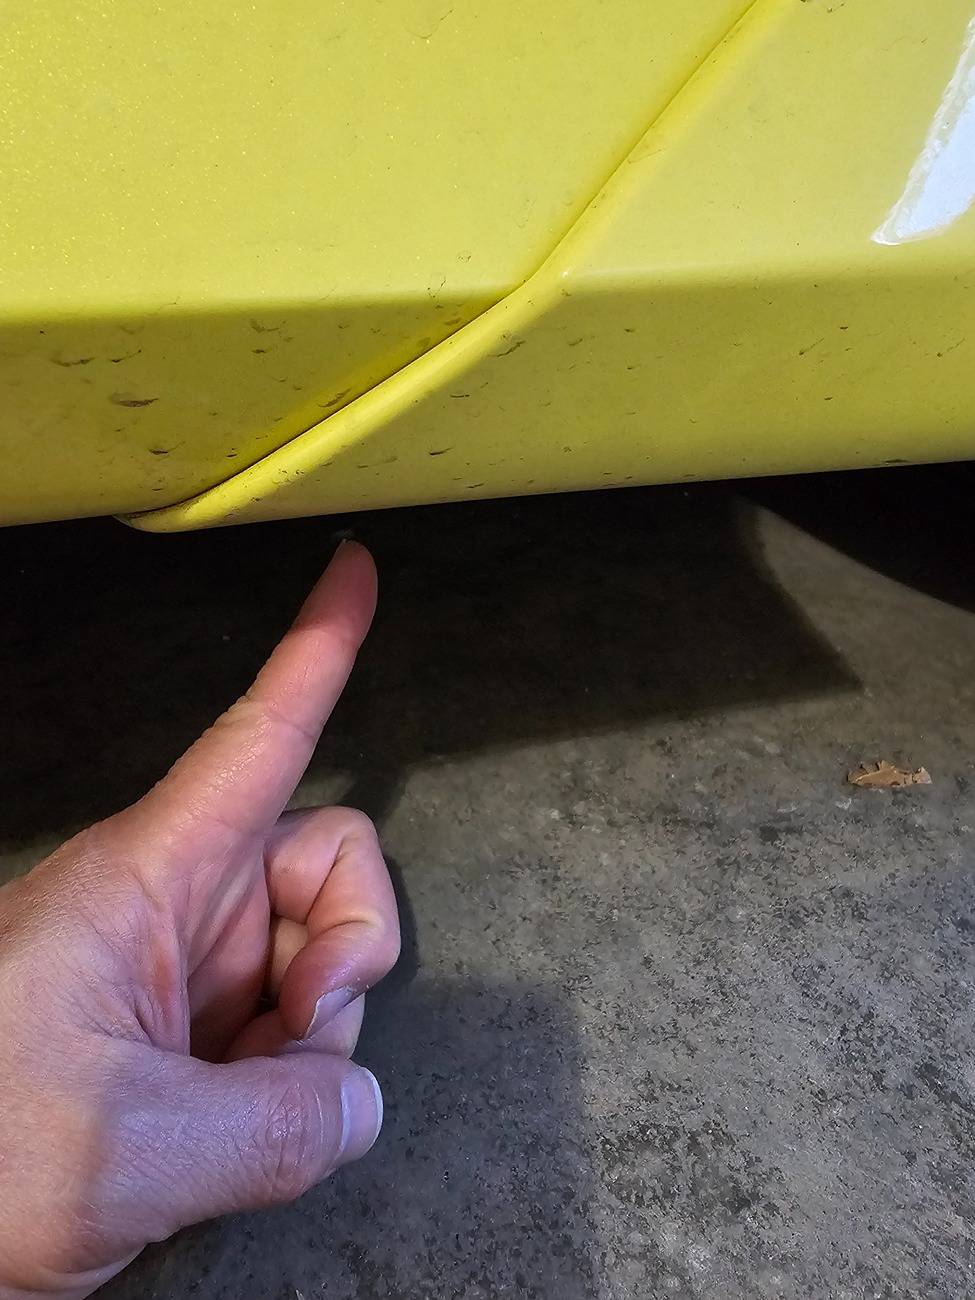
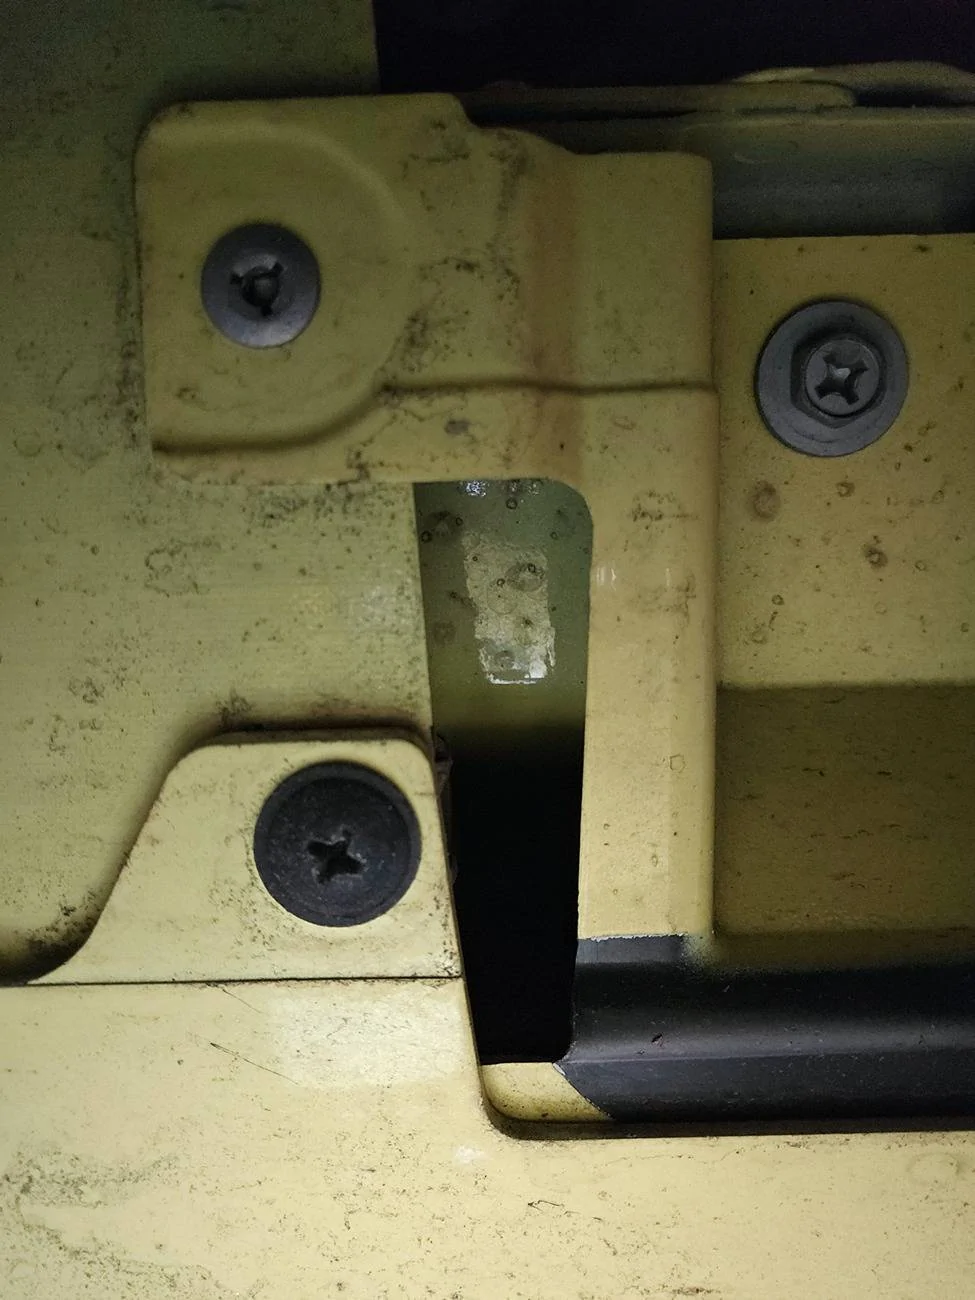
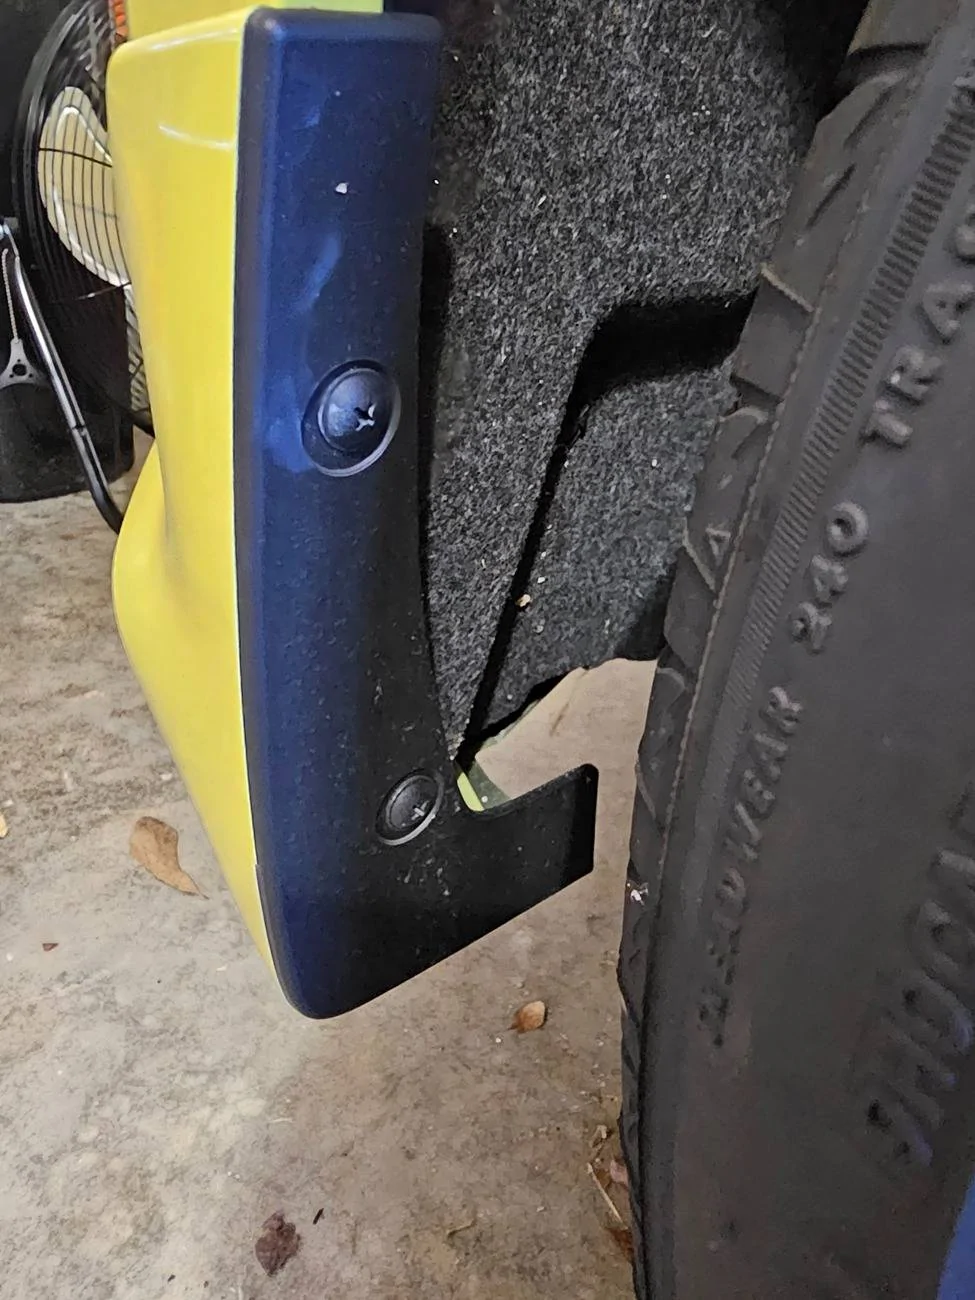
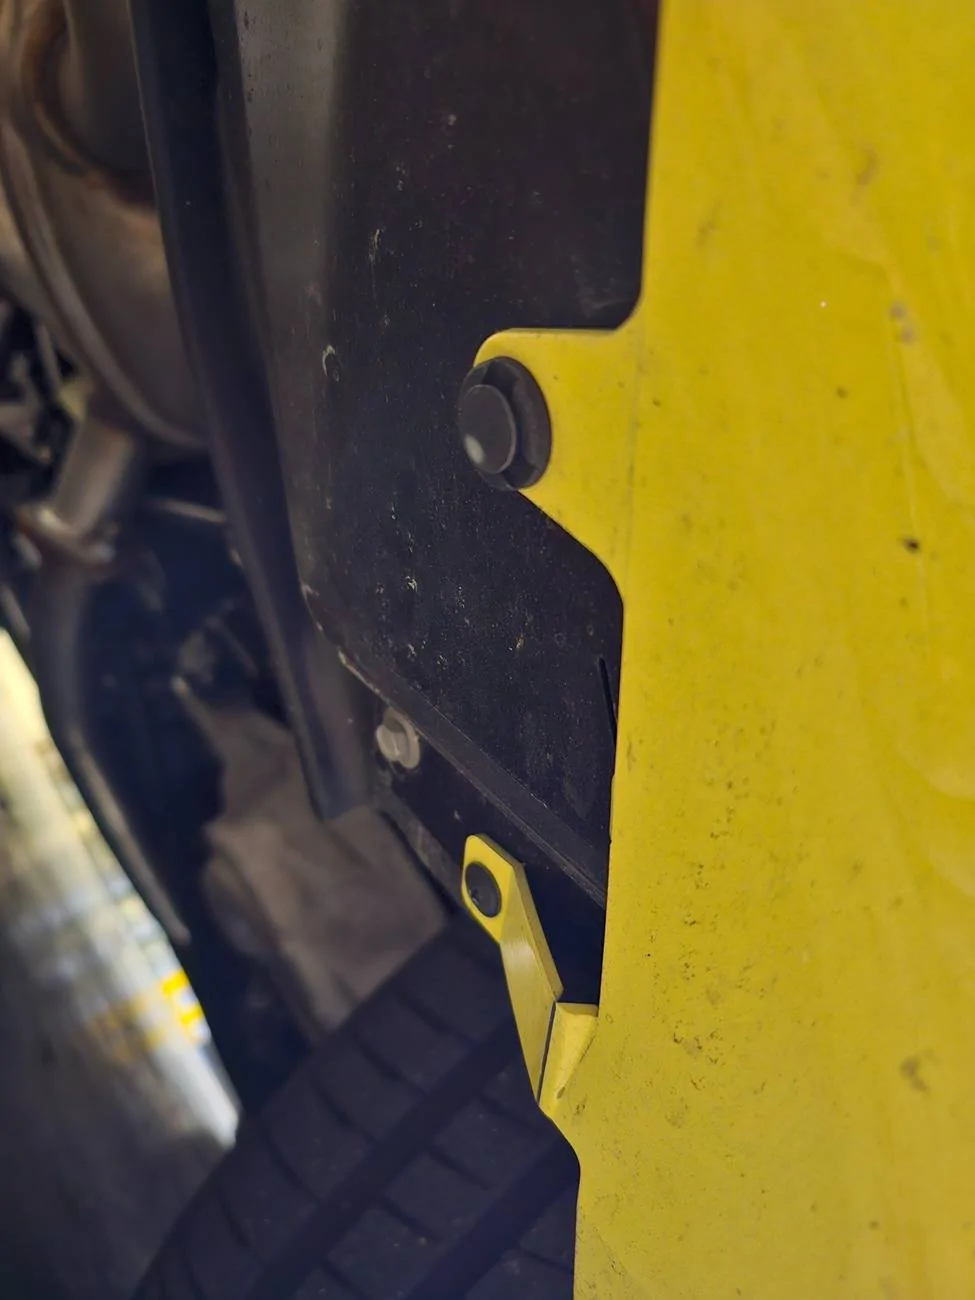
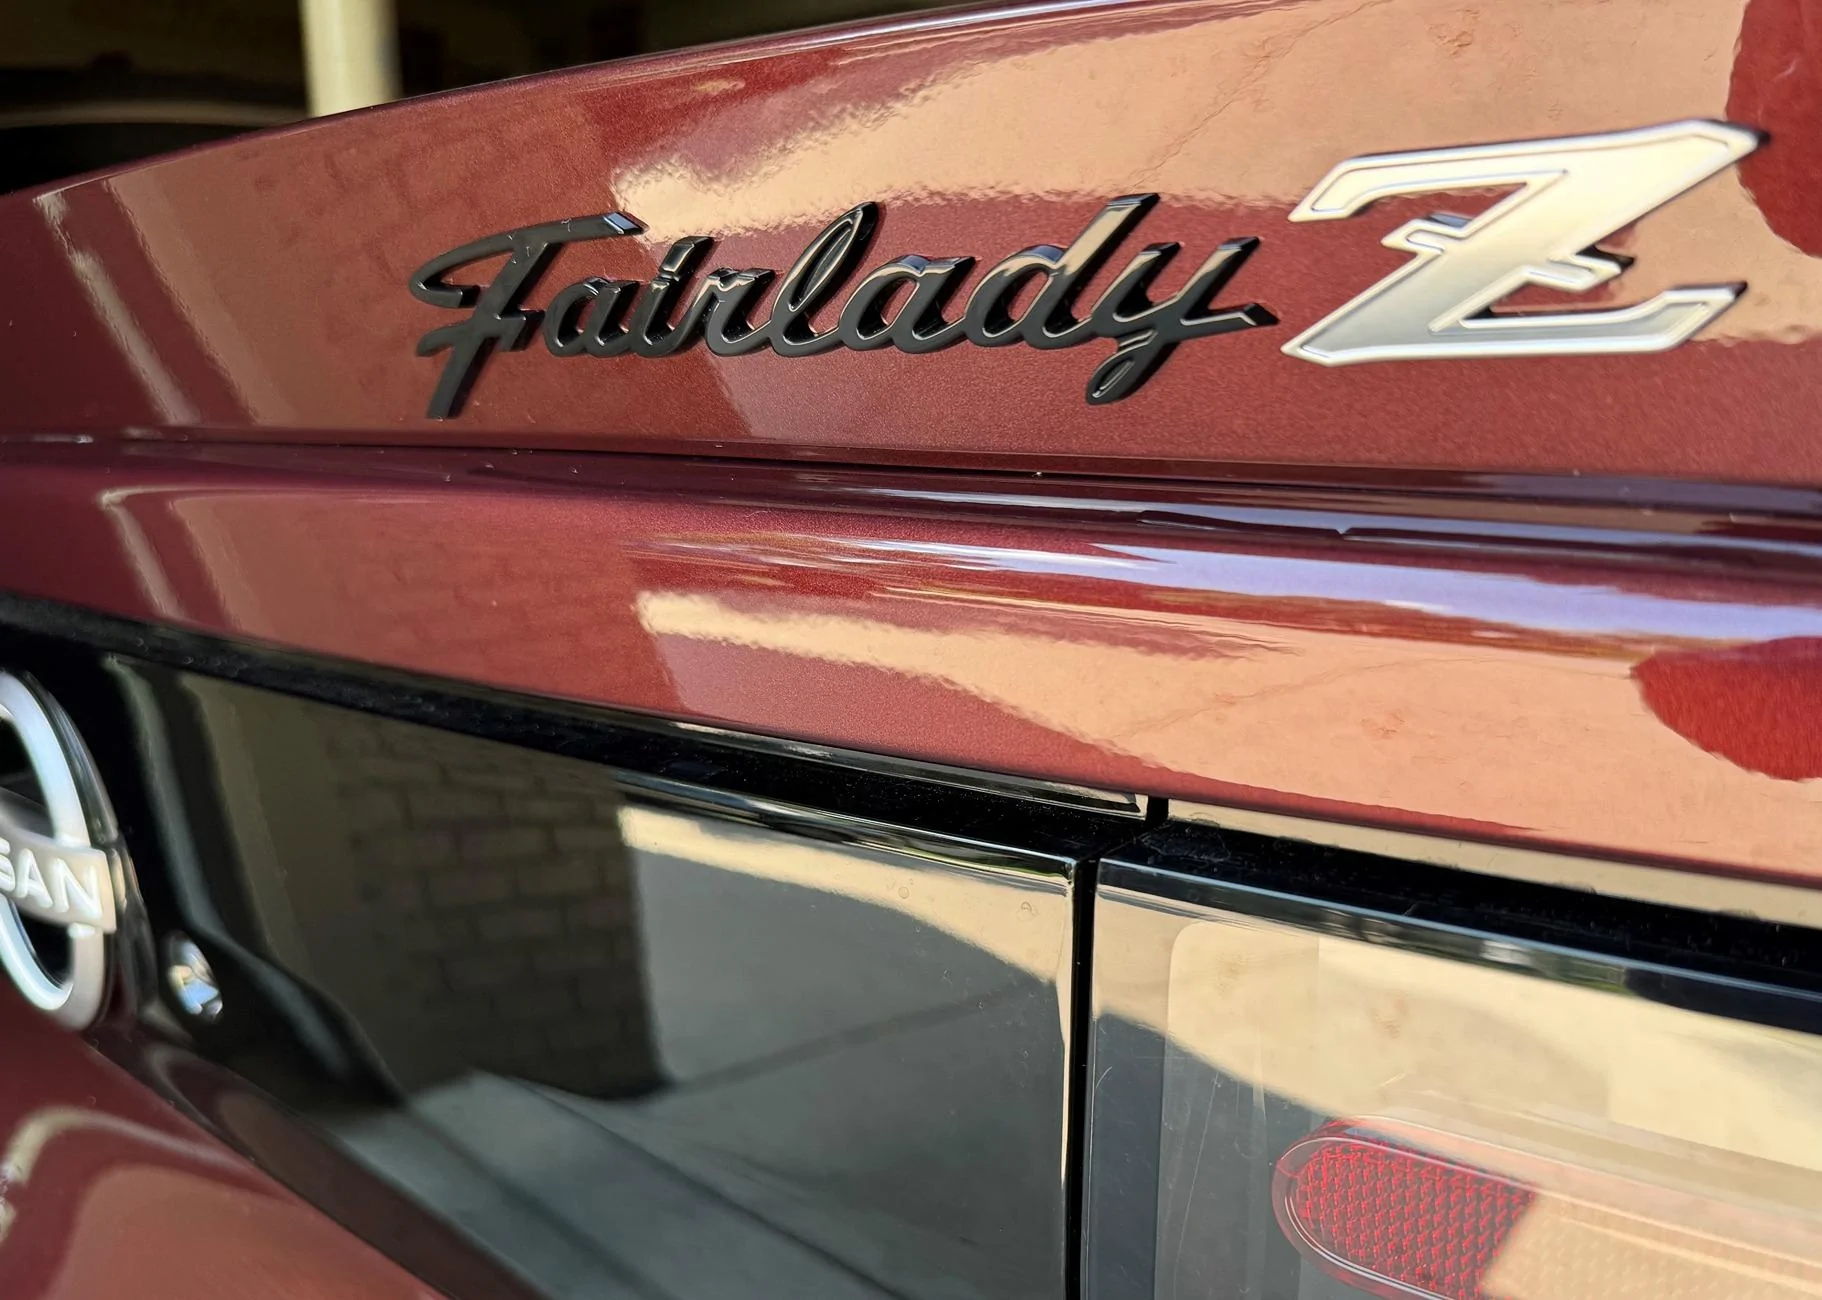
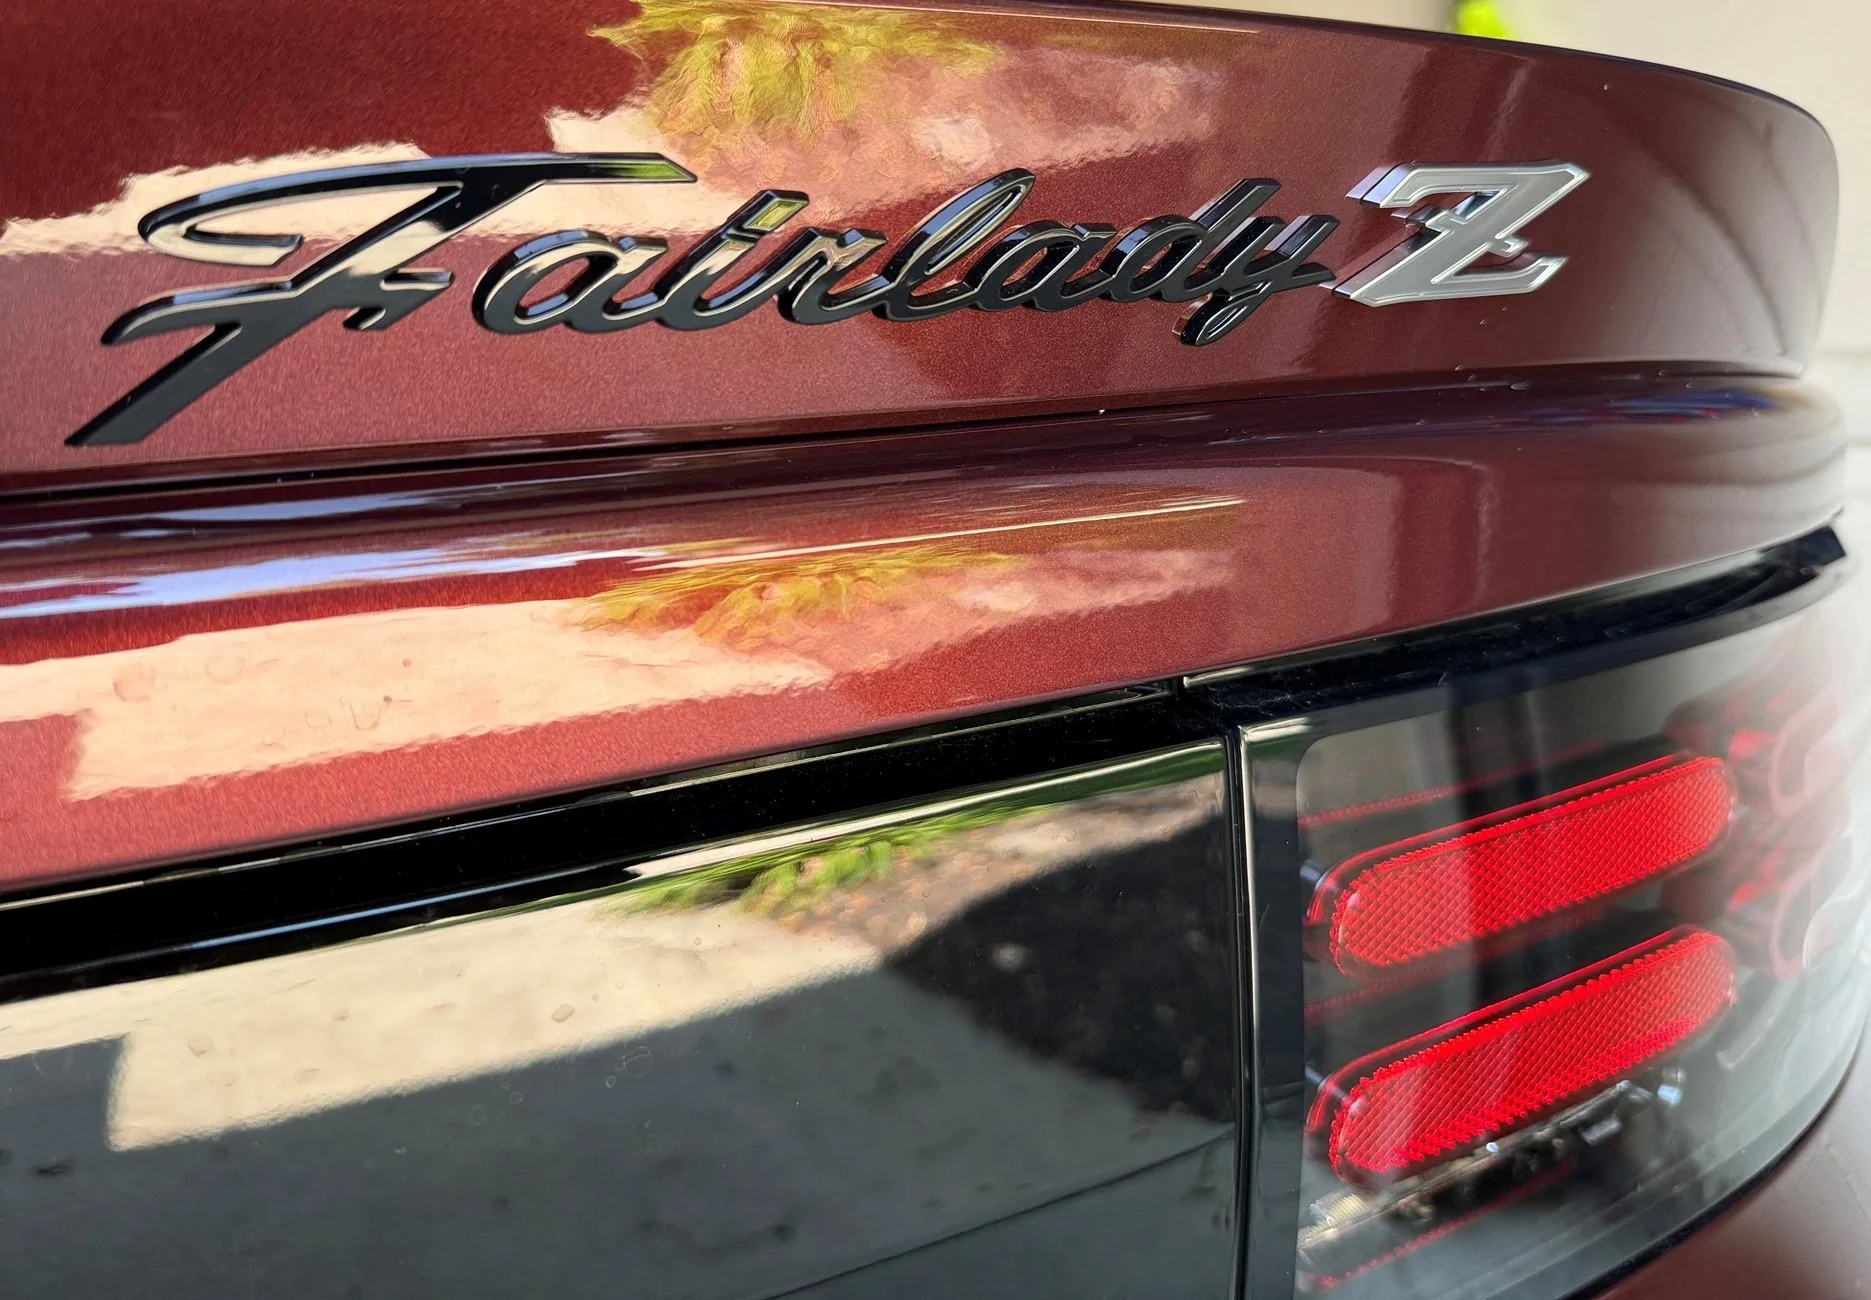
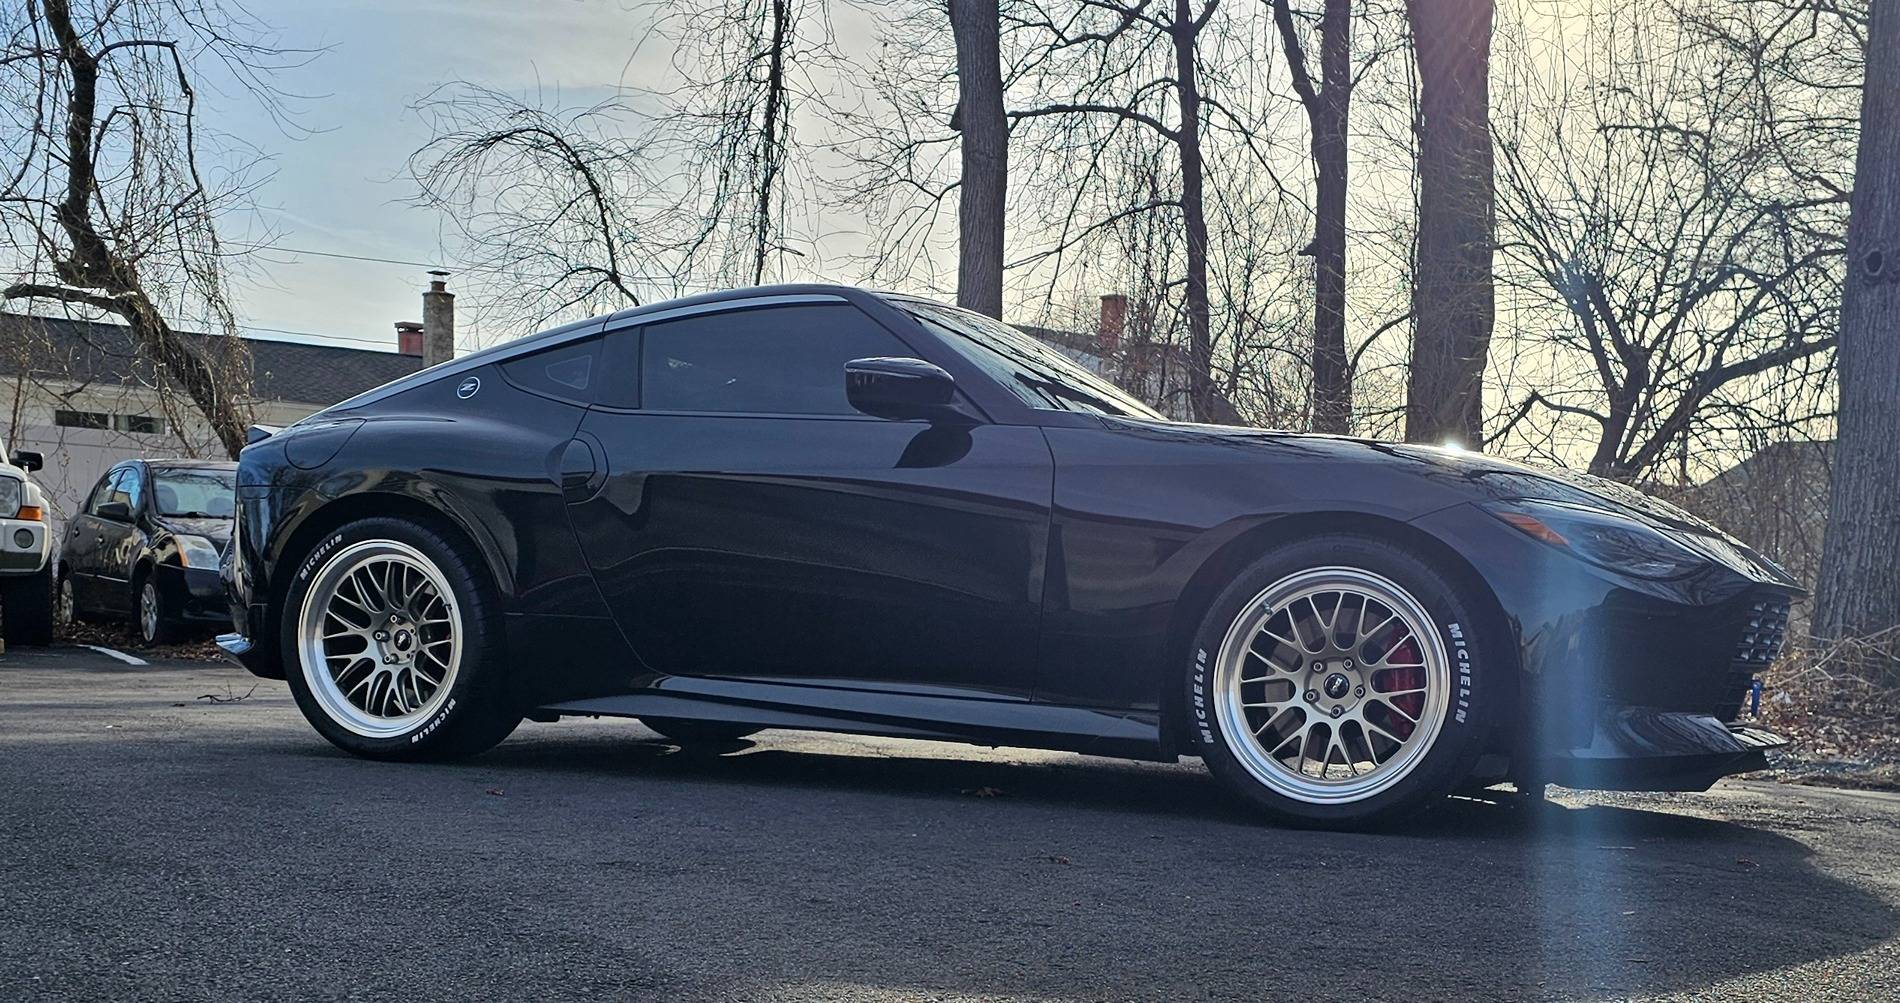
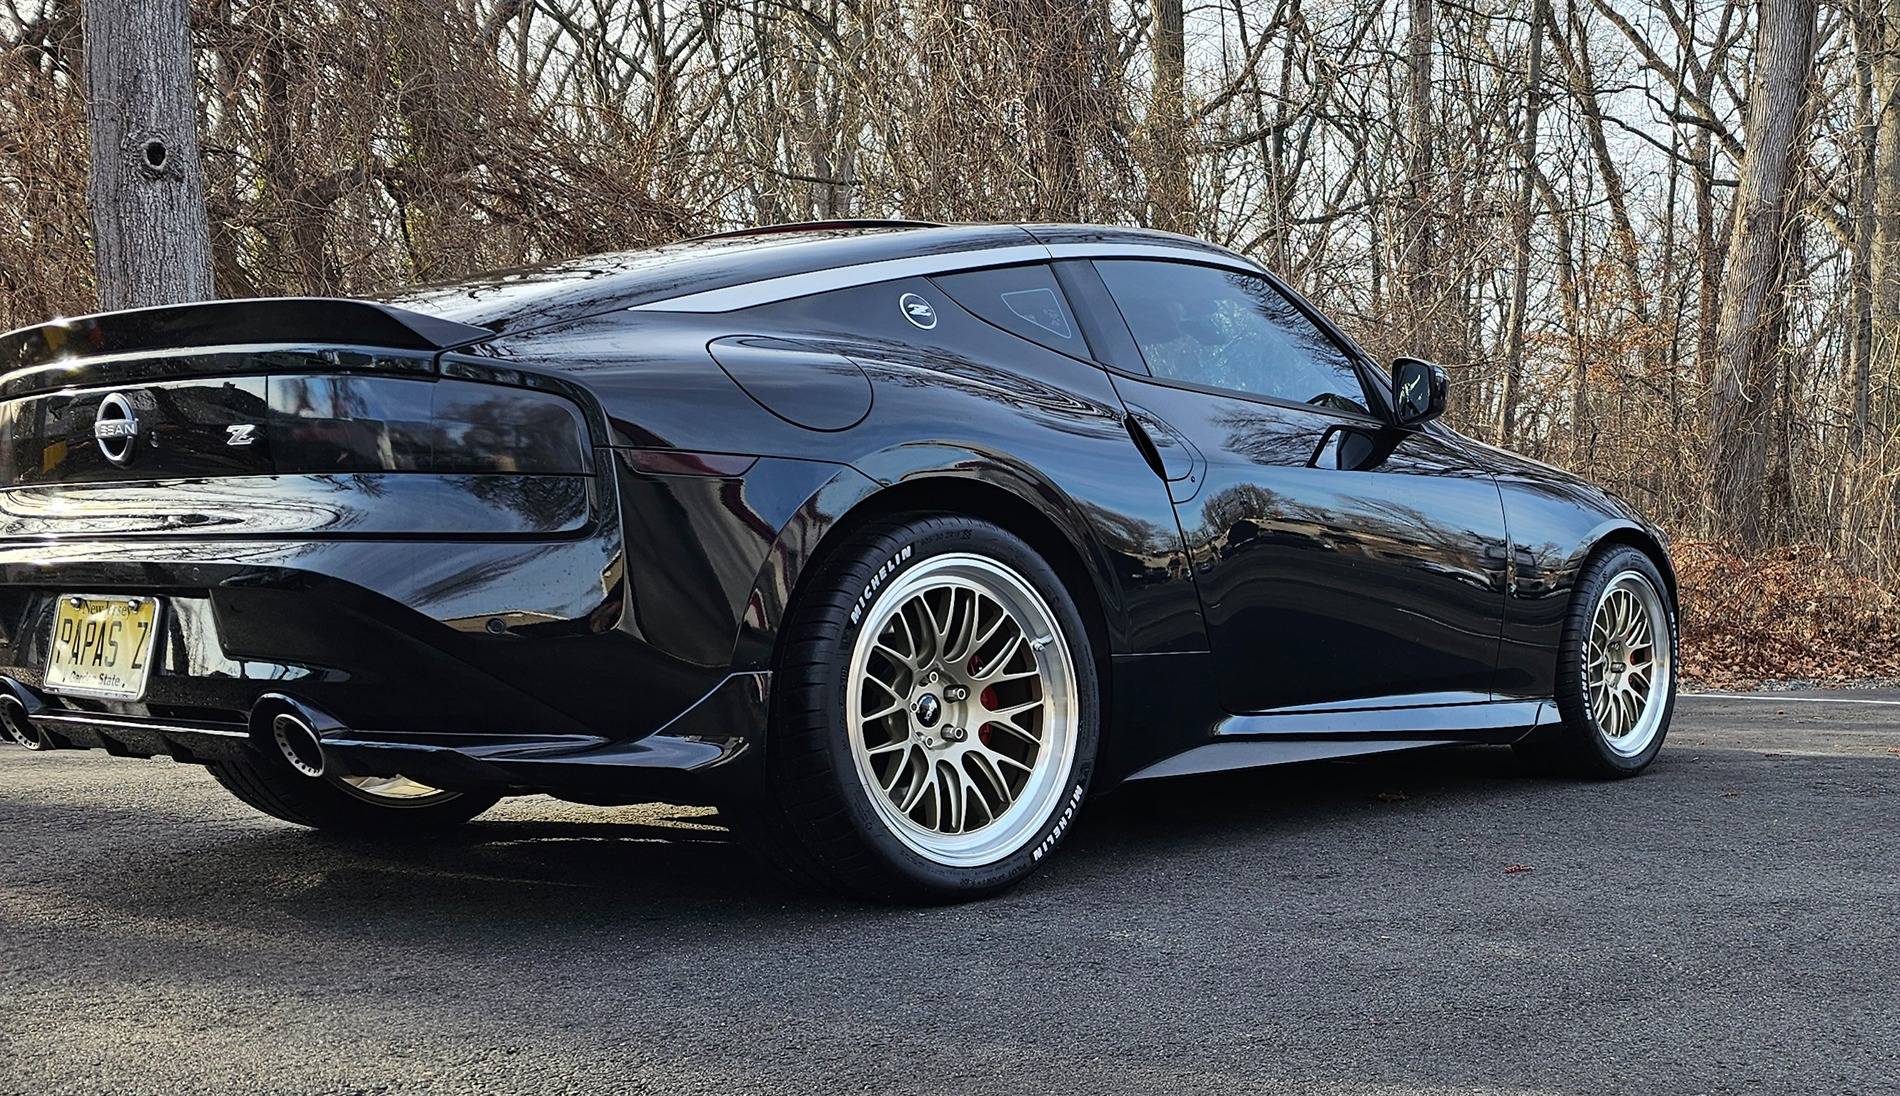
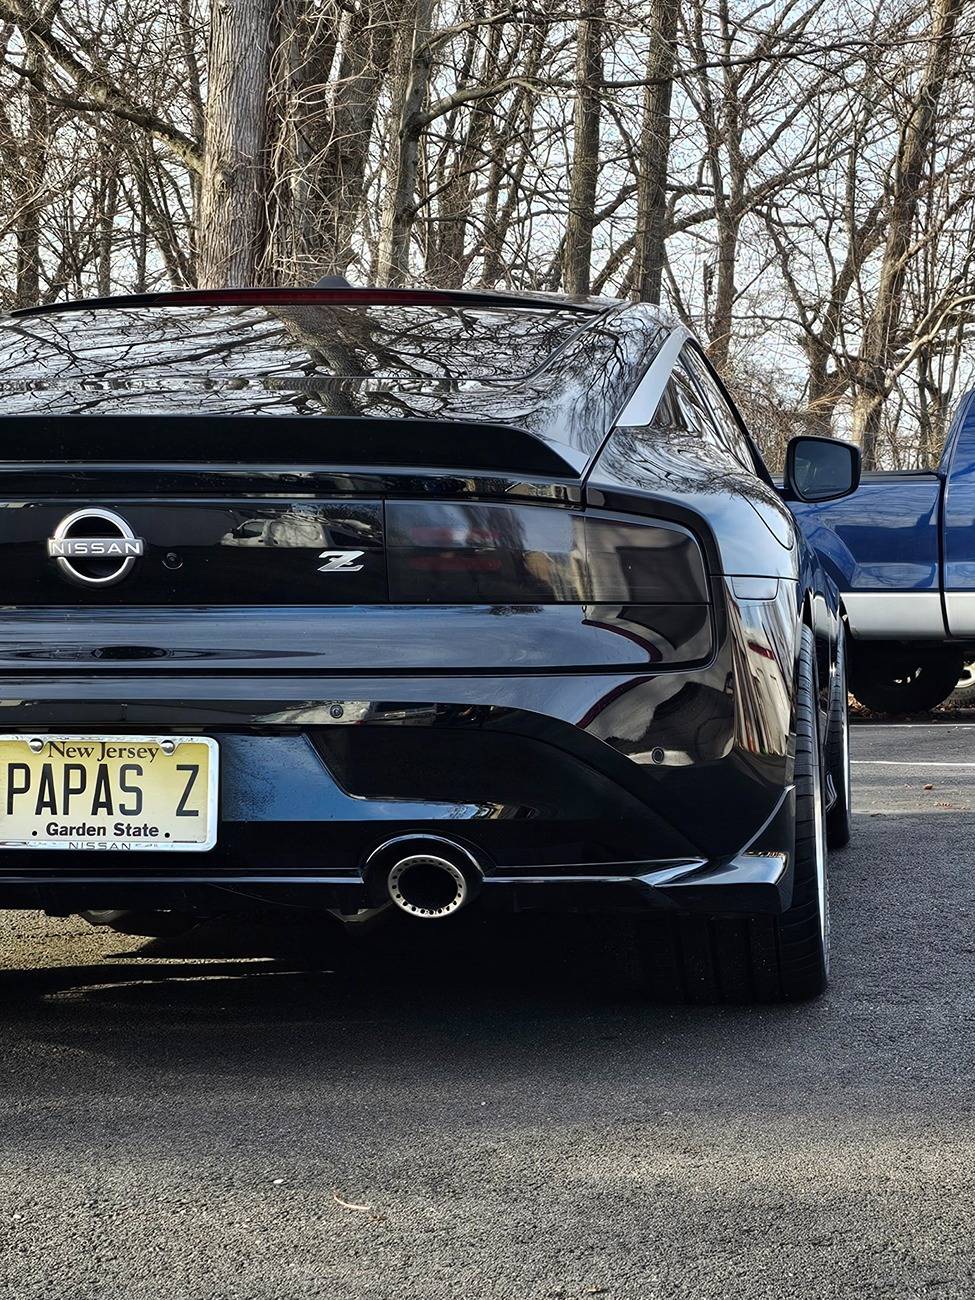
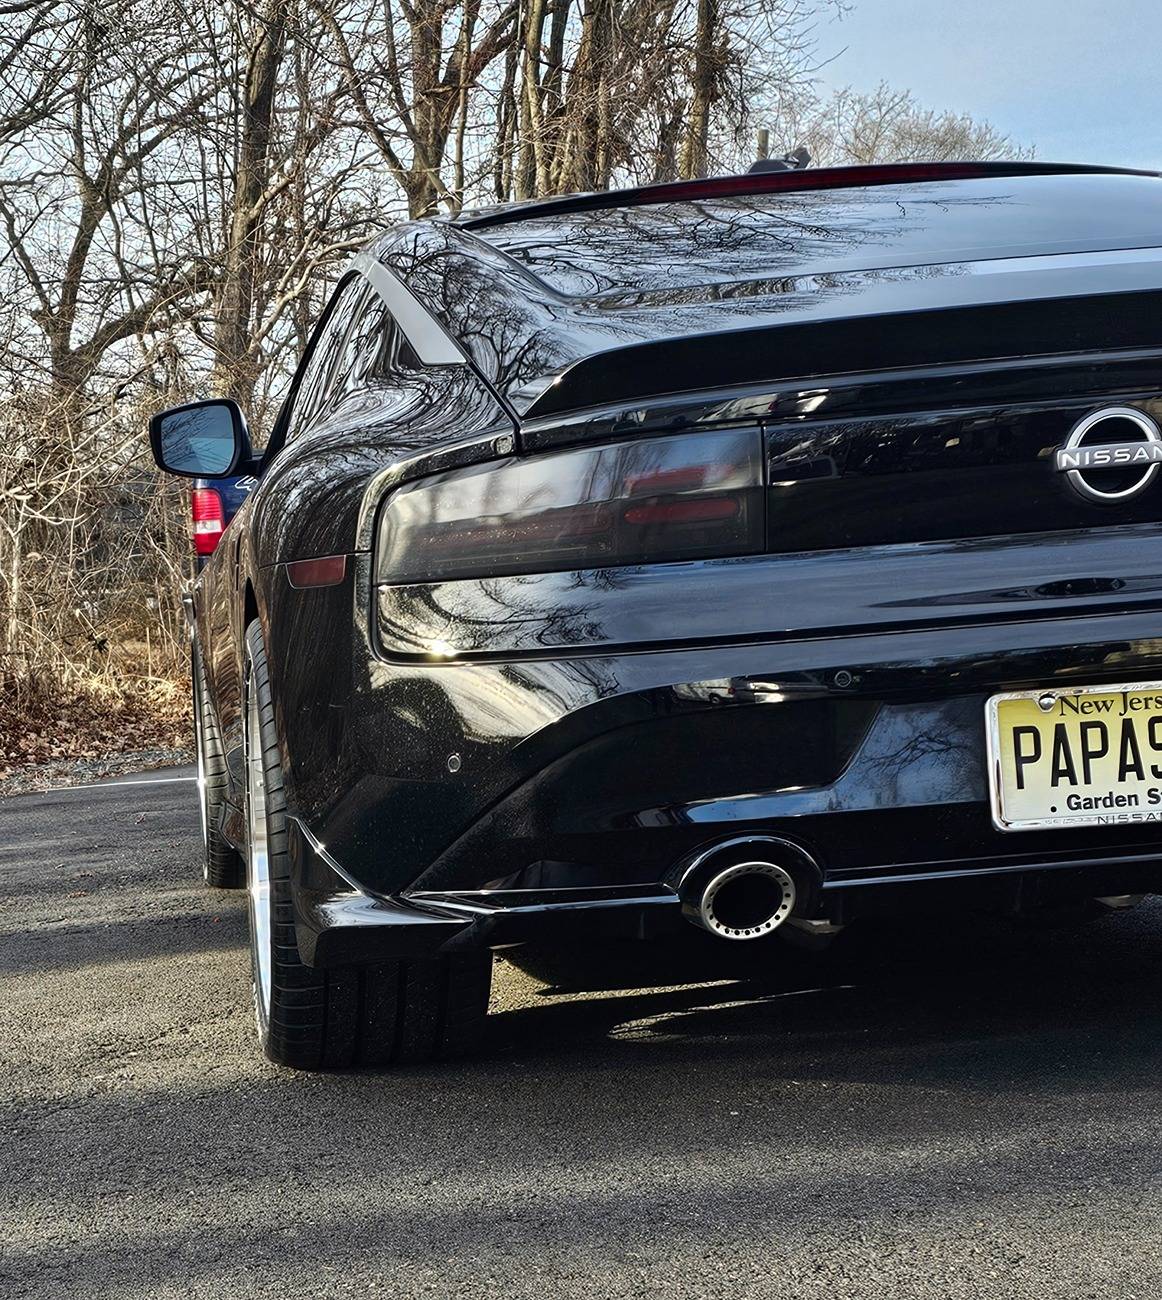
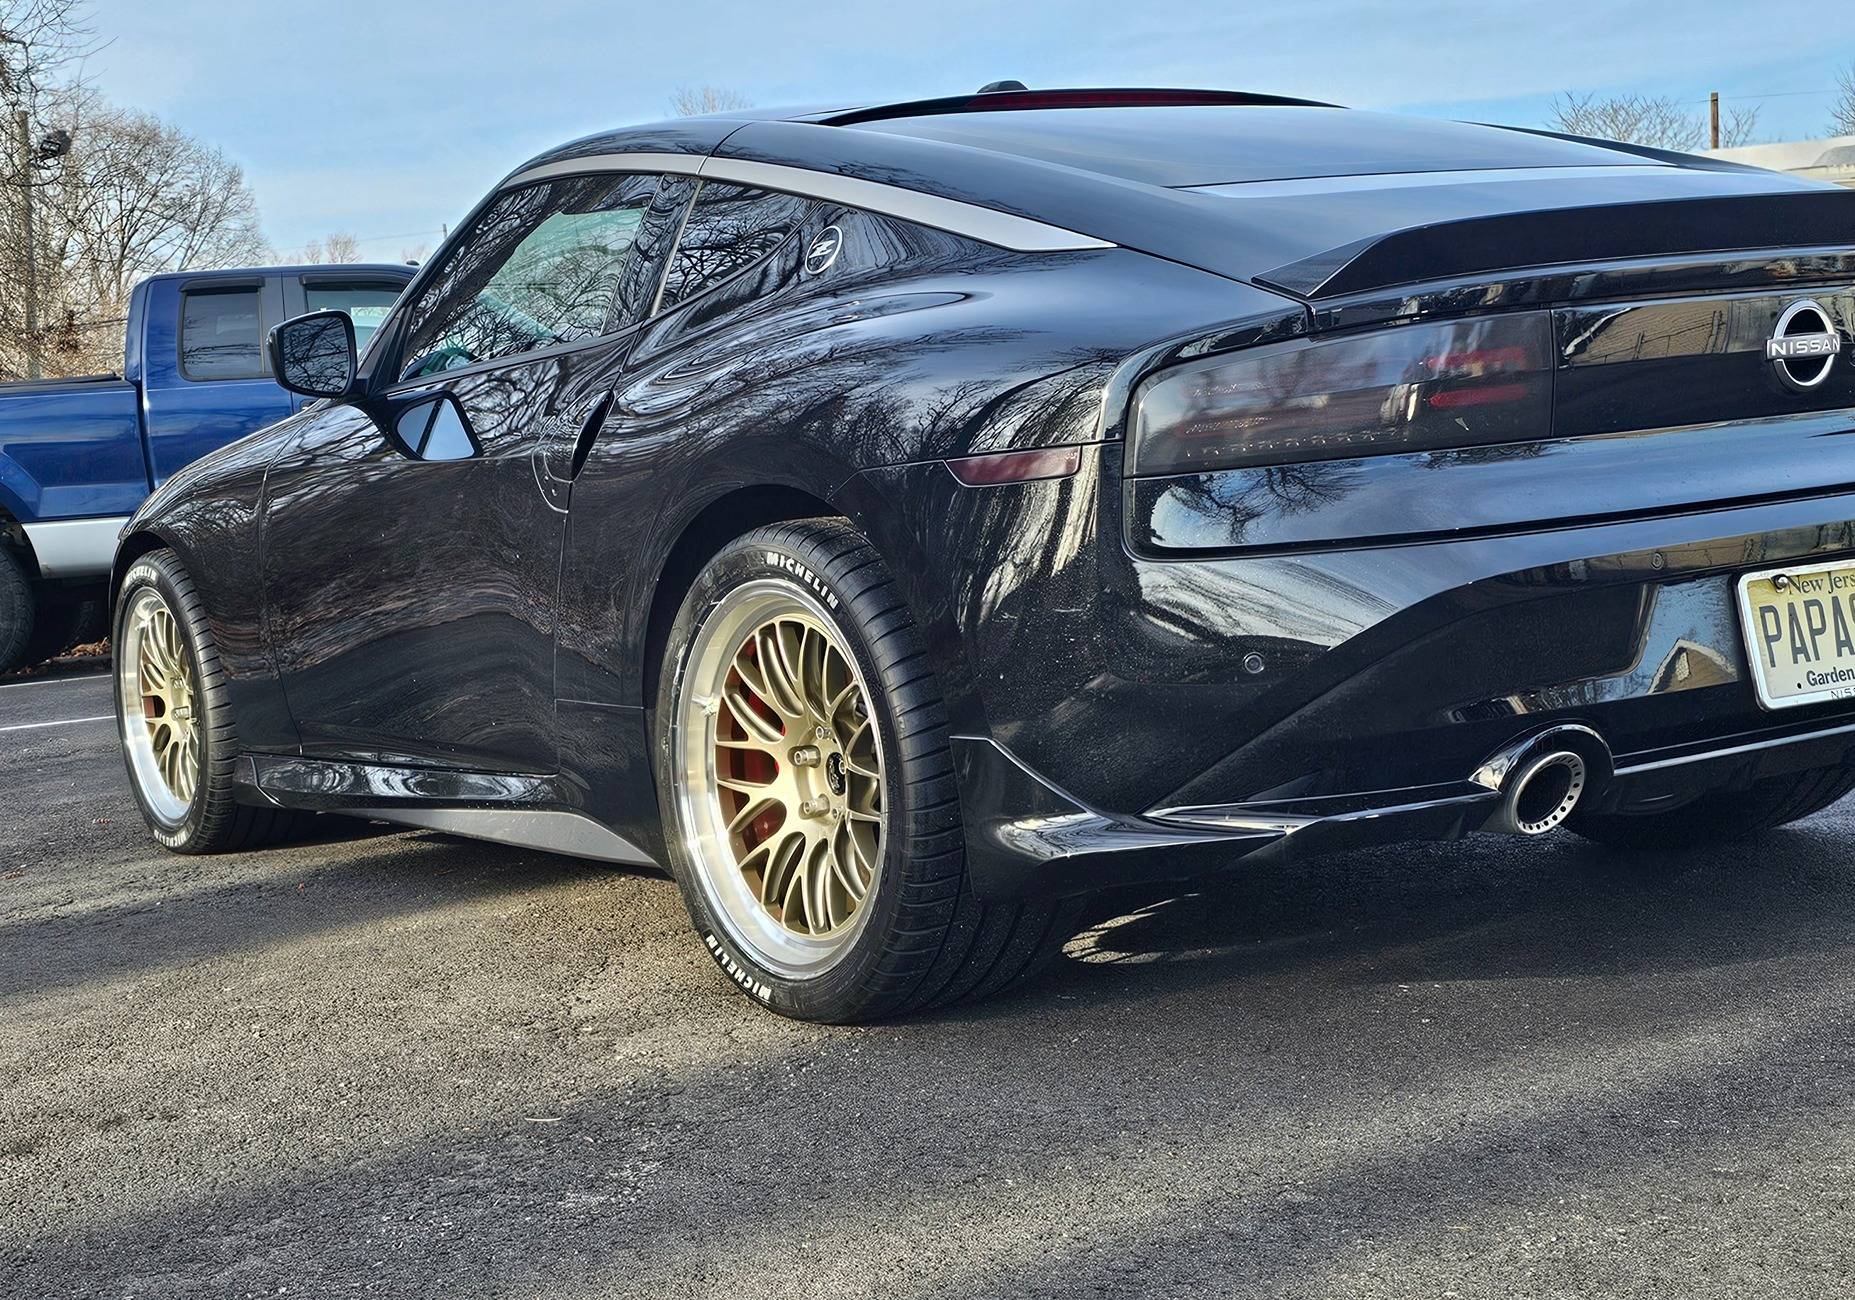
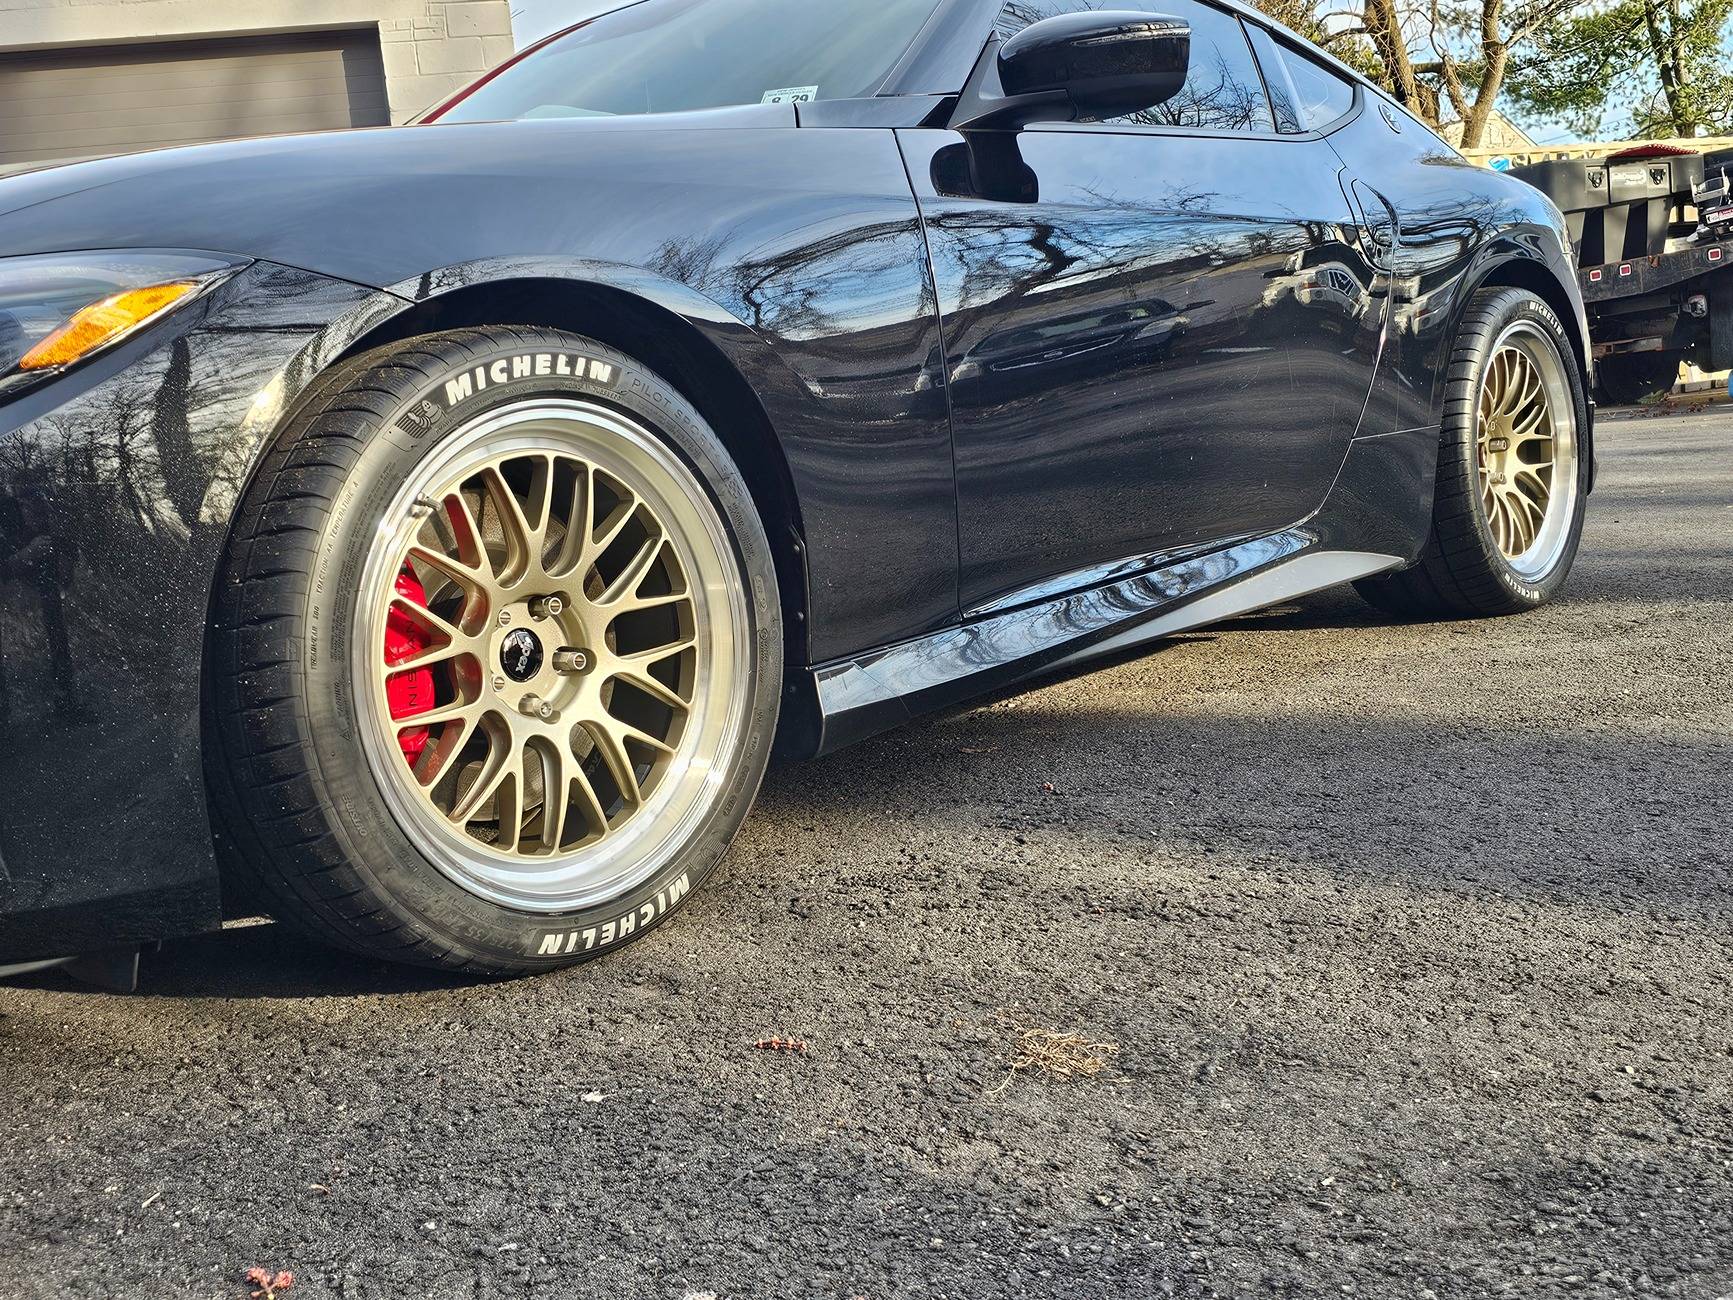
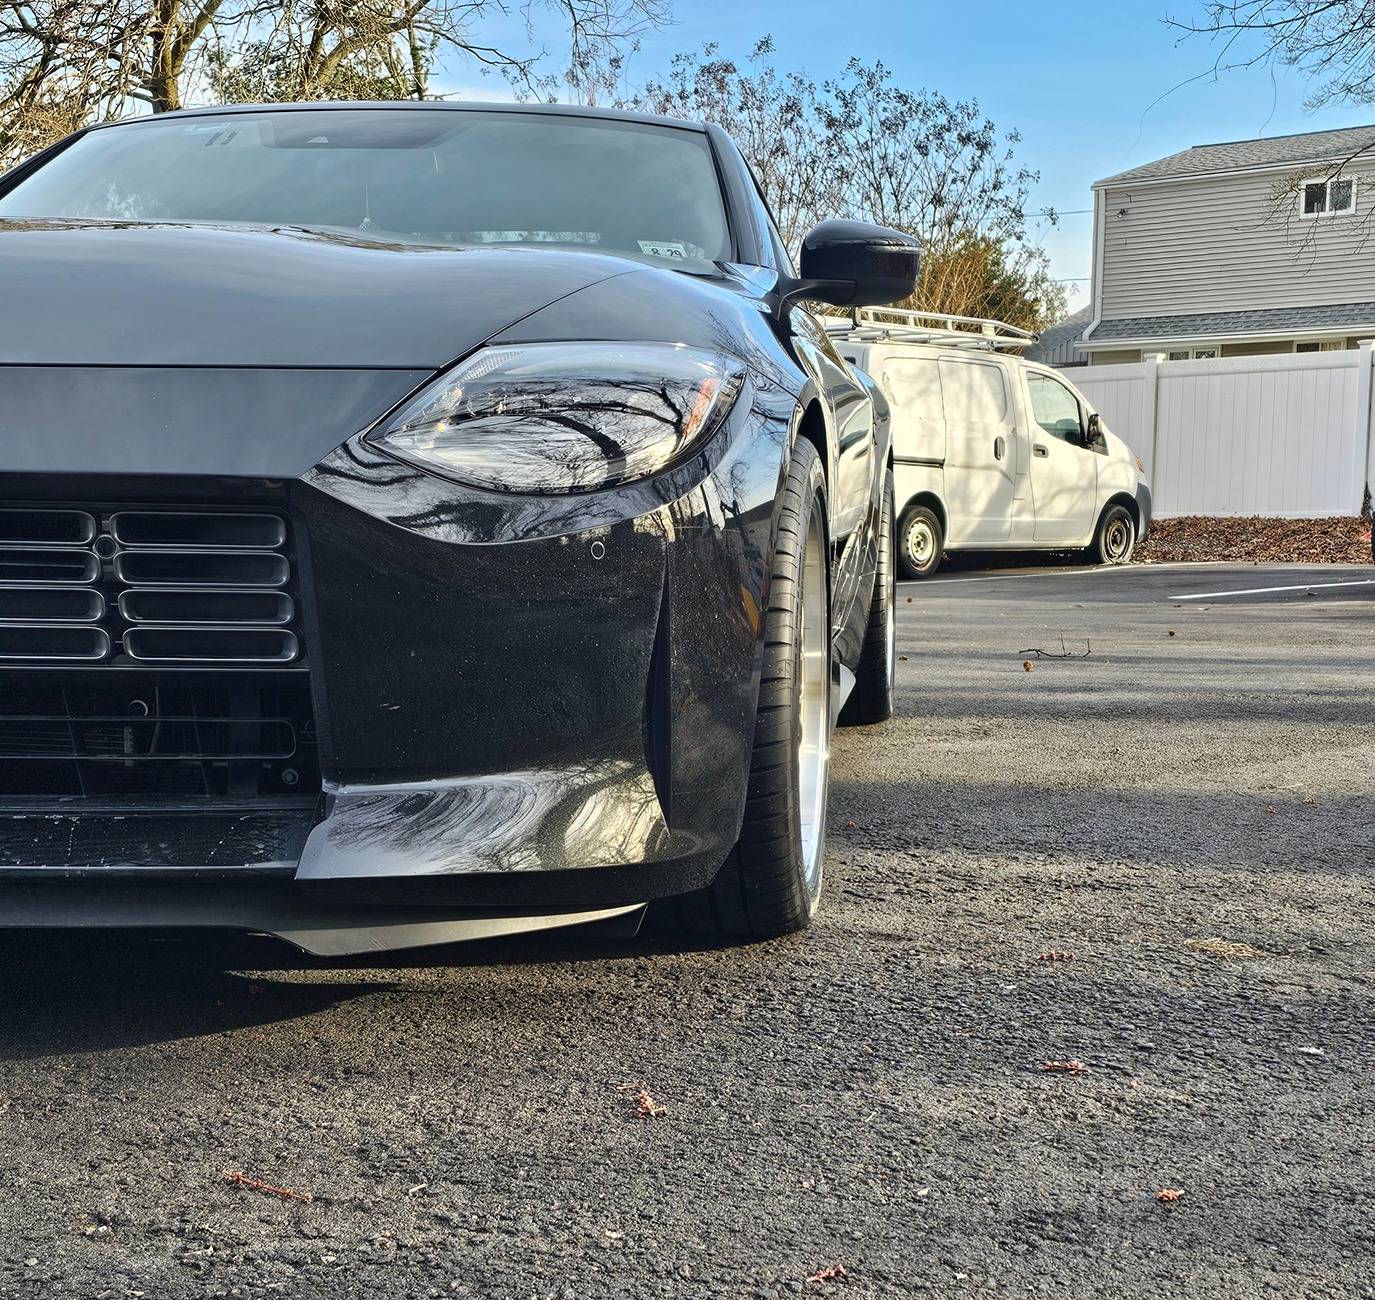
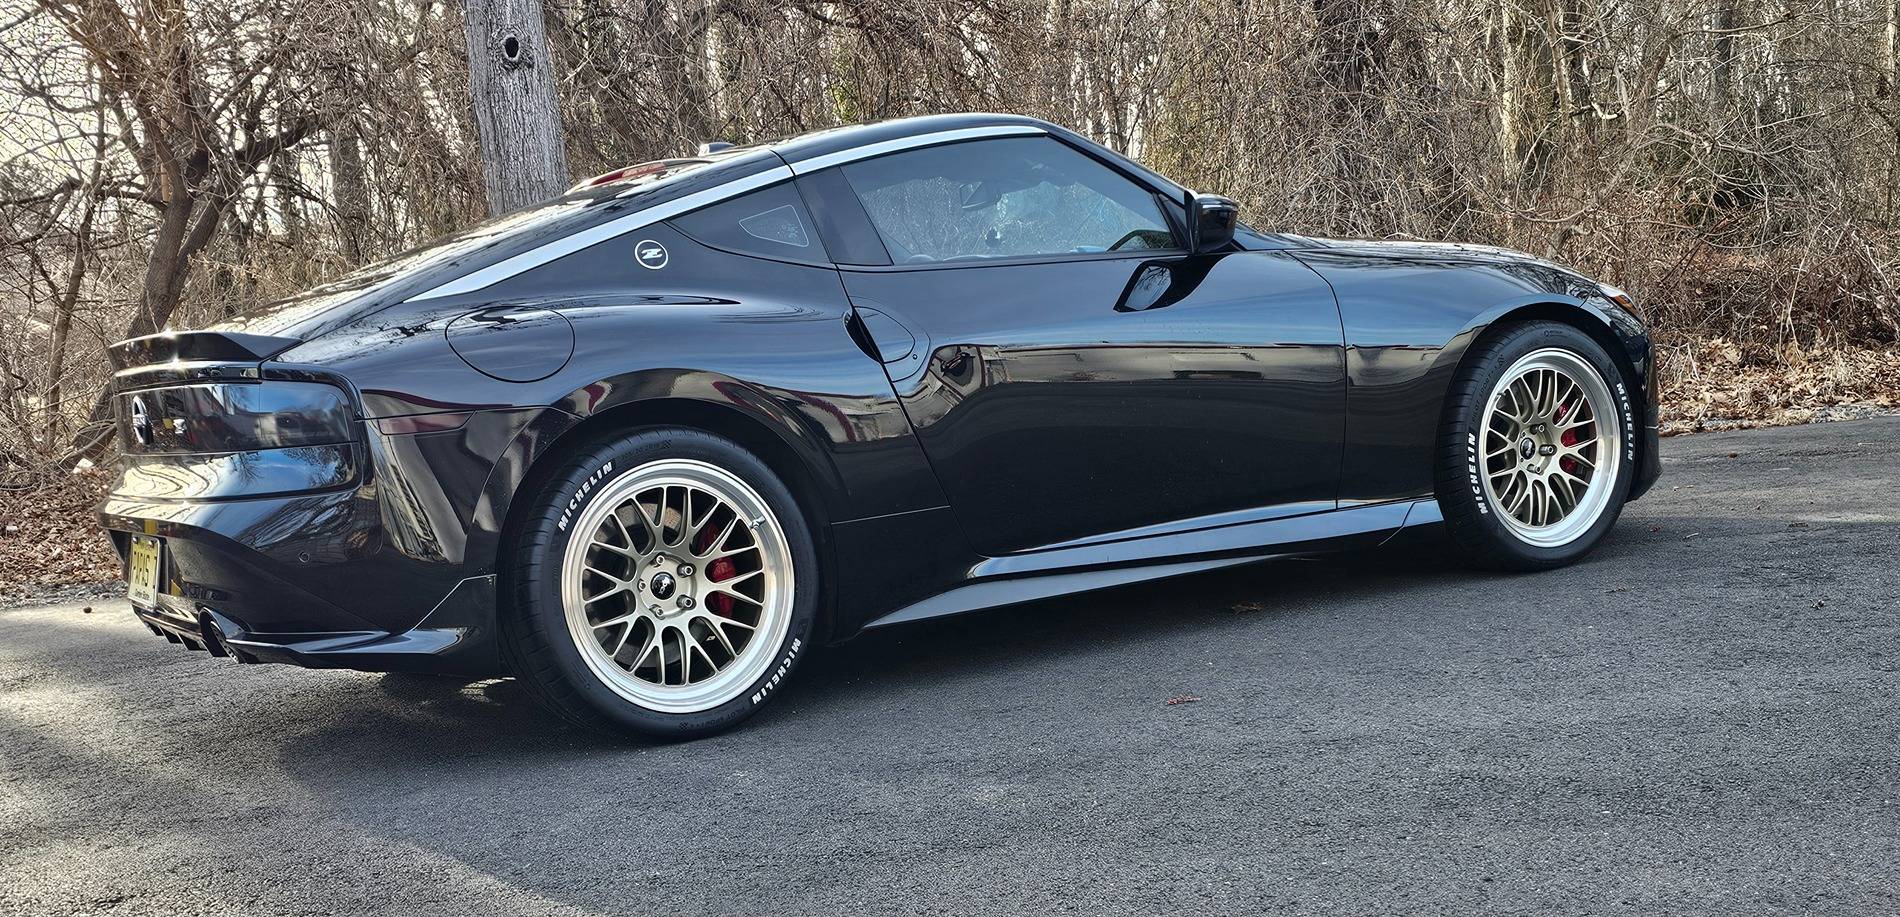
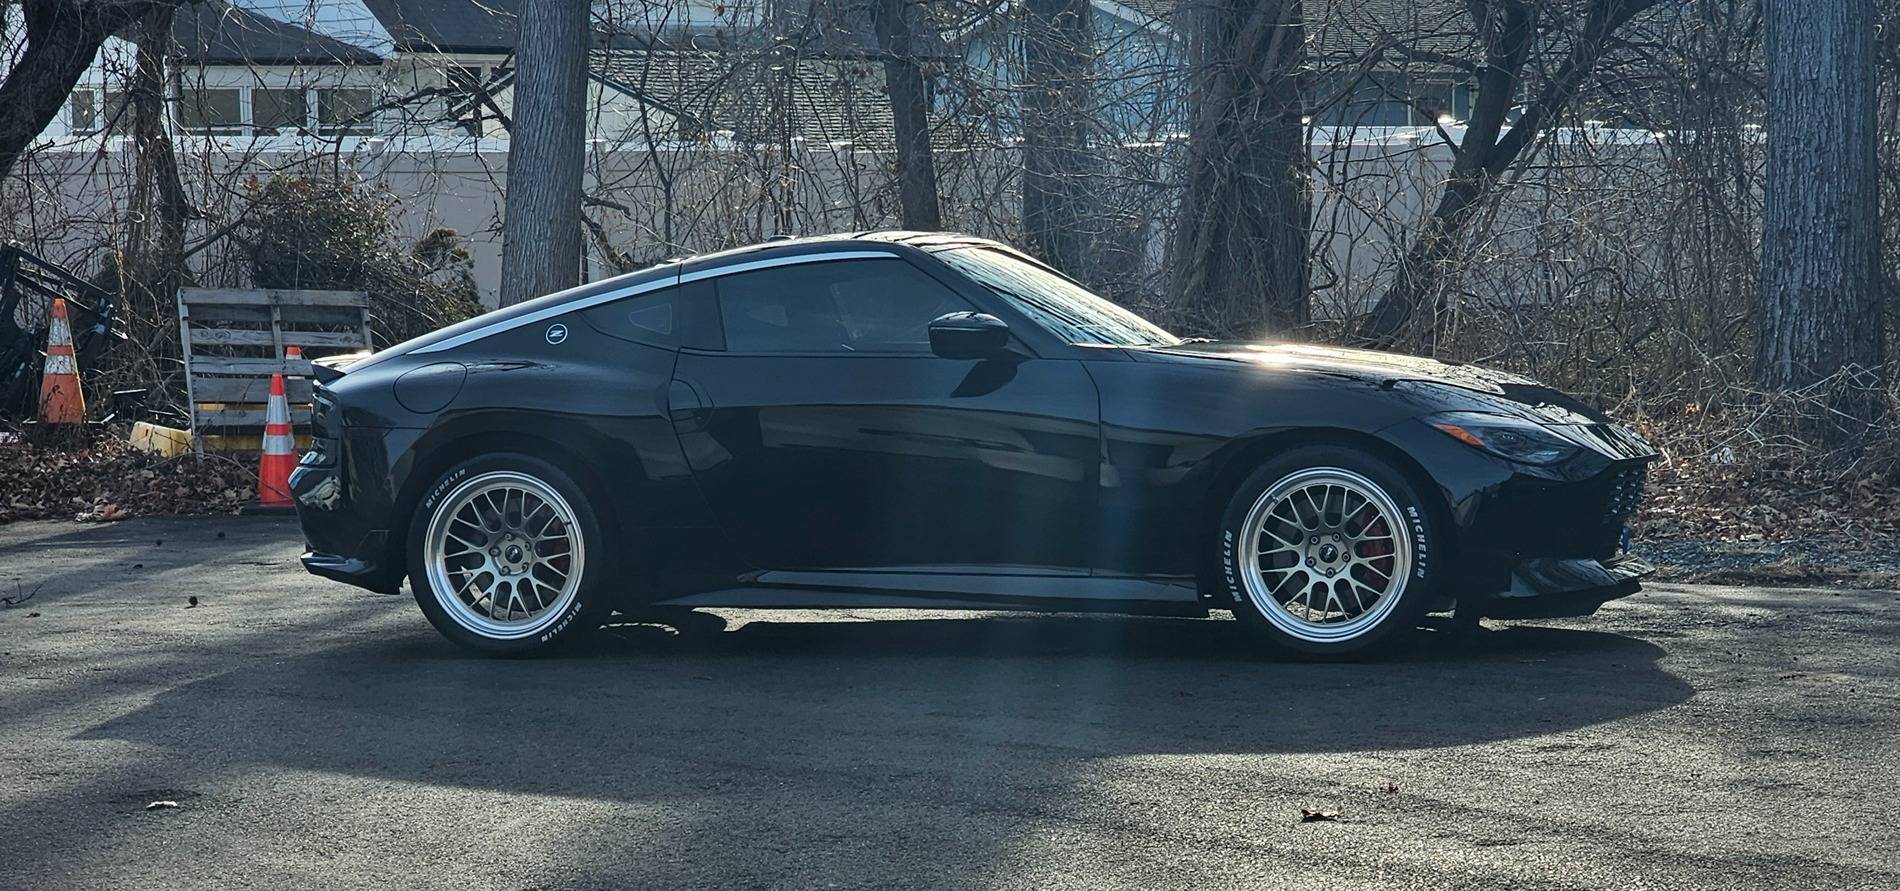
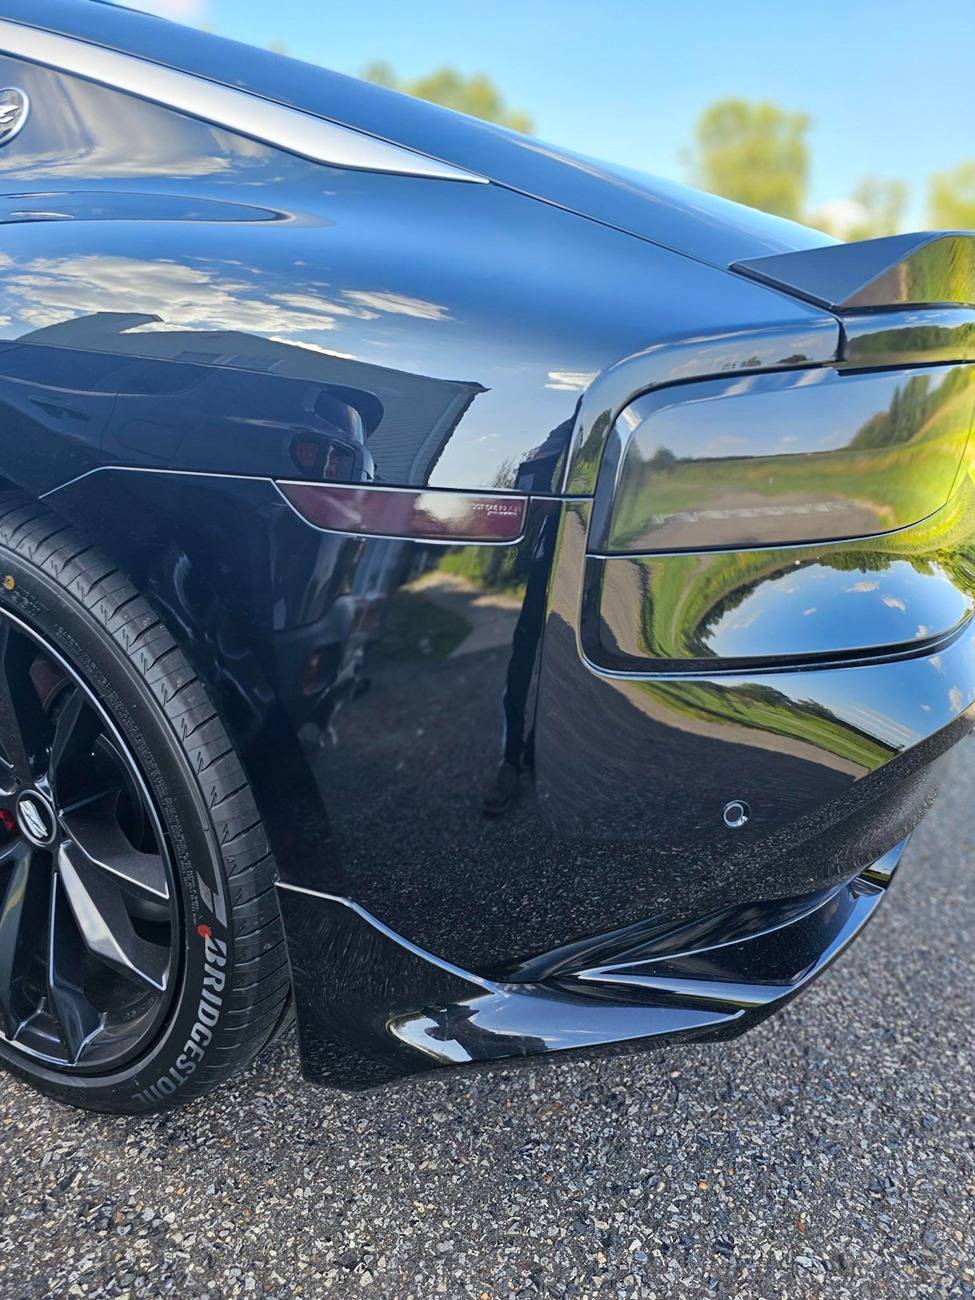
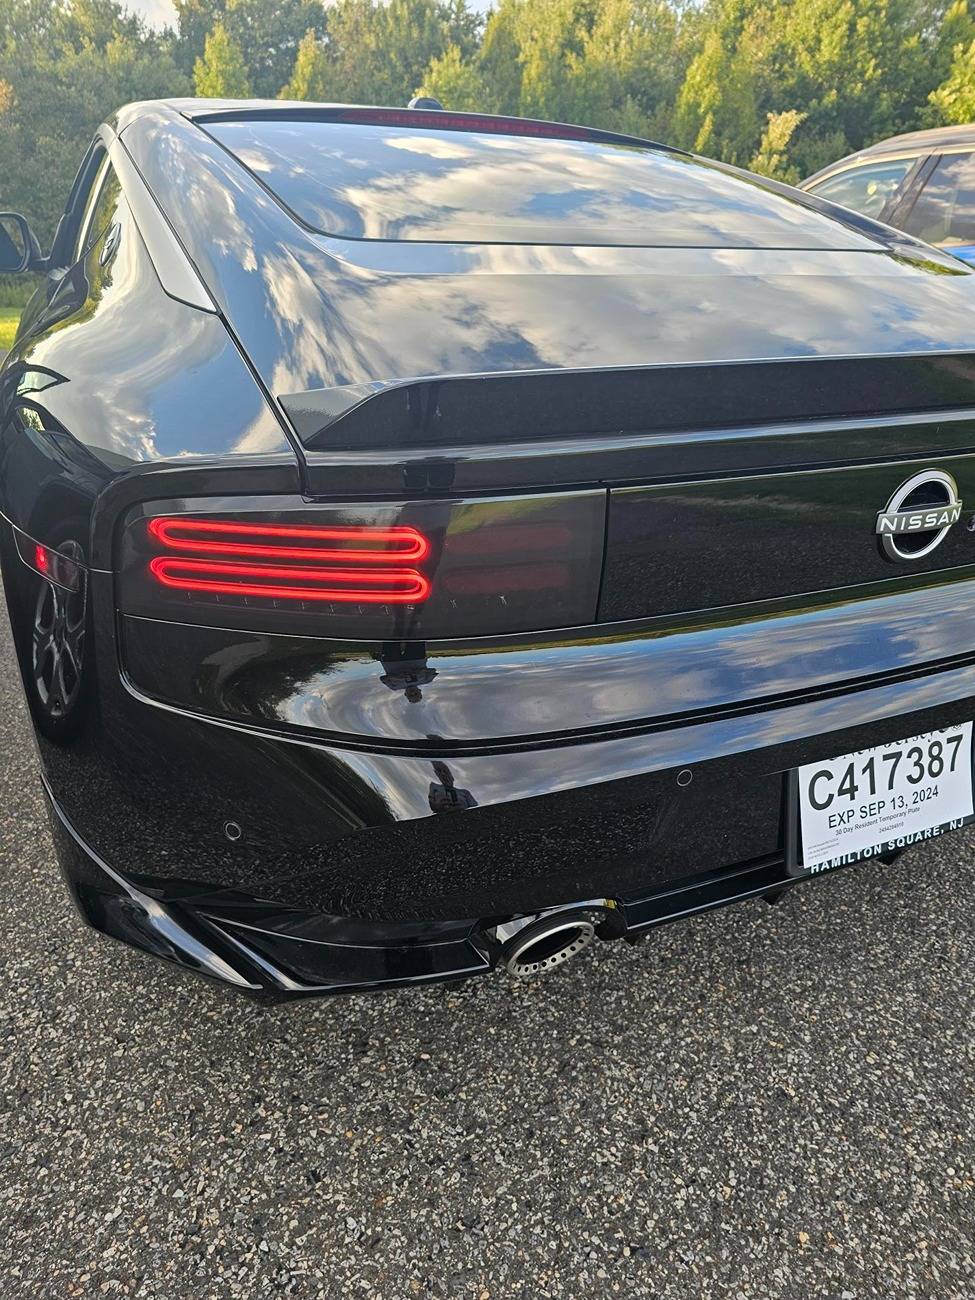
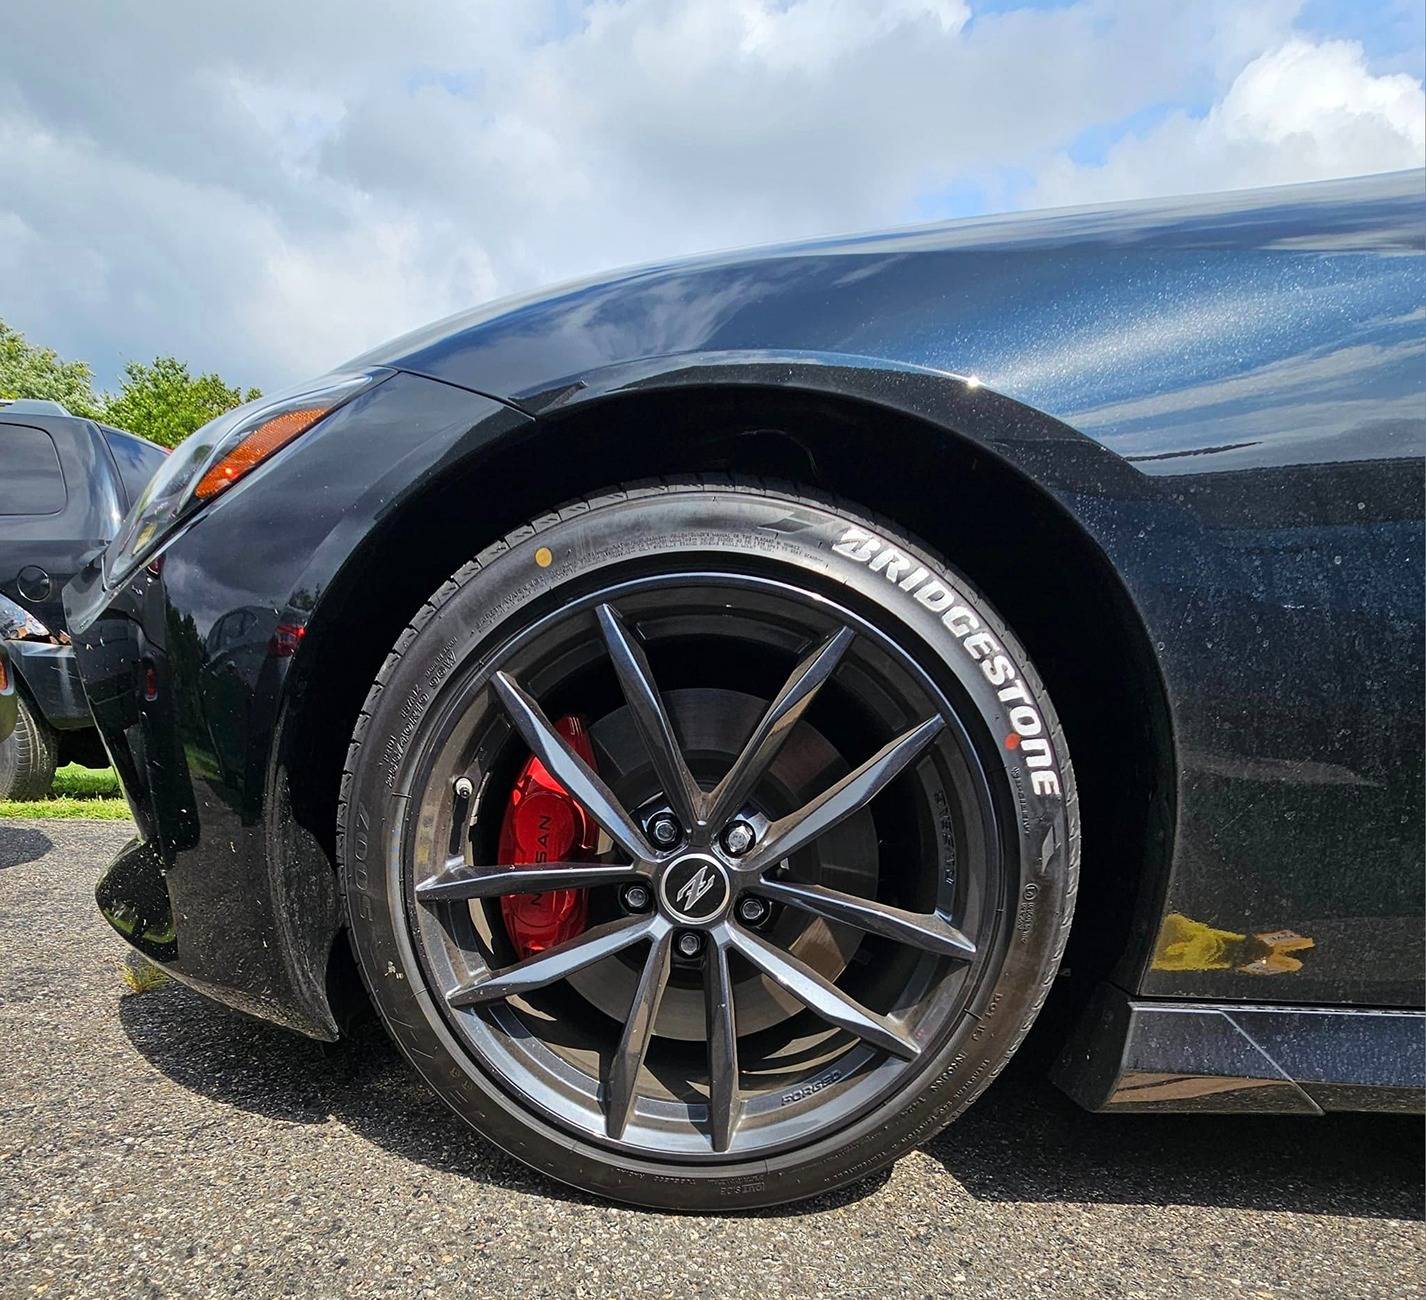
I installed them on mine as well despite numerous negative comments. I really like them and have zero regrets. They are going to tie in very nicely with the GReddy rear spoiler that I have coming.
Nice!! Cant wait to see it on your car. Did you go CF or you going to paint match?
 

Hernandooo

Well-Known Member
First Name
Hernan
Joined
Mar 4, 2024
Threads
11
Messages
335
Reaction score
438
Location
Straya
Car(s)
2024 Nissan Z, Trek Bicycle
Got my Seibon CF Front Lip and brake ducts delivered today. As soon as I had time, instantly installed them. The fit seems kind of off, the drivers side fit perfectly, while the passenger side has a bit of a gap. Going to retry the install later. Now I wait for the side skirts, and I'll have the rest of the aero bits installed.

20250225_204413.webp
 

JonnyG

Well-Known Member
First Name
Jonathan
Joined
Jan 11, 2023
Threads
12
Messages
257
Reaction score
295
Location
New Jersey
Car(s)
2015 M6 HellCat - 2024 Z Performance M6 Black/Blue Gut (Livery)
Put on today. ML-10 Motorsport Gold - 19x9.5+18F; 19x10.5+15R - Tires - 275x35F; 305x30R - PS4''s. Mishomito Auminum open end 60 degree conical lugs, aluminum TPS, getting new stem caps and center caps.

20250228_155027.jpg


20250228_160520.jpg


20250228_160534 (1).jpg


20250228_160545.jpg


20250228_160600.jpg


20250228_160553.jpg


20250228_160608.jpg


20250228_160621.jpg


20250228_160629.jpg


20250228_160659.jpg


20250228_160748.jpg
 

JonnyG

Well-Known Member
First Name
Jonathan
Joined
Jan 11, 2023
Threads
12
Messages
257
Reaction score
295
Location
New Jersey
Car(s)
2015 M6 HellCat - 2024 Z Performance M6 Black/Blue Gut (Livery)
I honestly really like the way they look! I would get them but I’m not sure it’s worth it on my black Z
Bro I ordered mine from factory - they make the rear and fronts clean up look. It was a throw in add and I loved them.

20240823_161822.jpg


20240823_184121.jpg


Tire2.jpg
 

5amp5on

Well-Known Member
First Name
EJ
Joined
Oct 13, 2024
Threads
10
Messages
477
Reaction score
893
Location
USA
Car(s)
2026 Pathfinder Platinum, 2024 Z Performance, 2023 Sentra SV
Occupation
Finance
1st oil change, 1,480 miles. Added Z1 magnetic oil drain bolt. Mobile1 filter. Z1 under shroud service panel is the best thing ever and the race ramps are nice and wide and make being under the vehicle worry free. Whoever Nissan tasked with tightening the oil filter really enjoys his job. The drain bolt was not bad at all. I had to use channel locks to break the filter free.

IMG_1663.jpeg


IMG_1667.webp


IMG_1669.webp


IMG_1671.webp


Top