wykdtr0n
Member
- First Name
- Roger
- Joined
- Apr 24, 2026
- Threads
- 2
- Messages
- 9
- Reaction score
- 18
- Location
- Pacific Northwest
- Car(s)
- 2024 Nissan Z Performance
- Thread starter
- #1
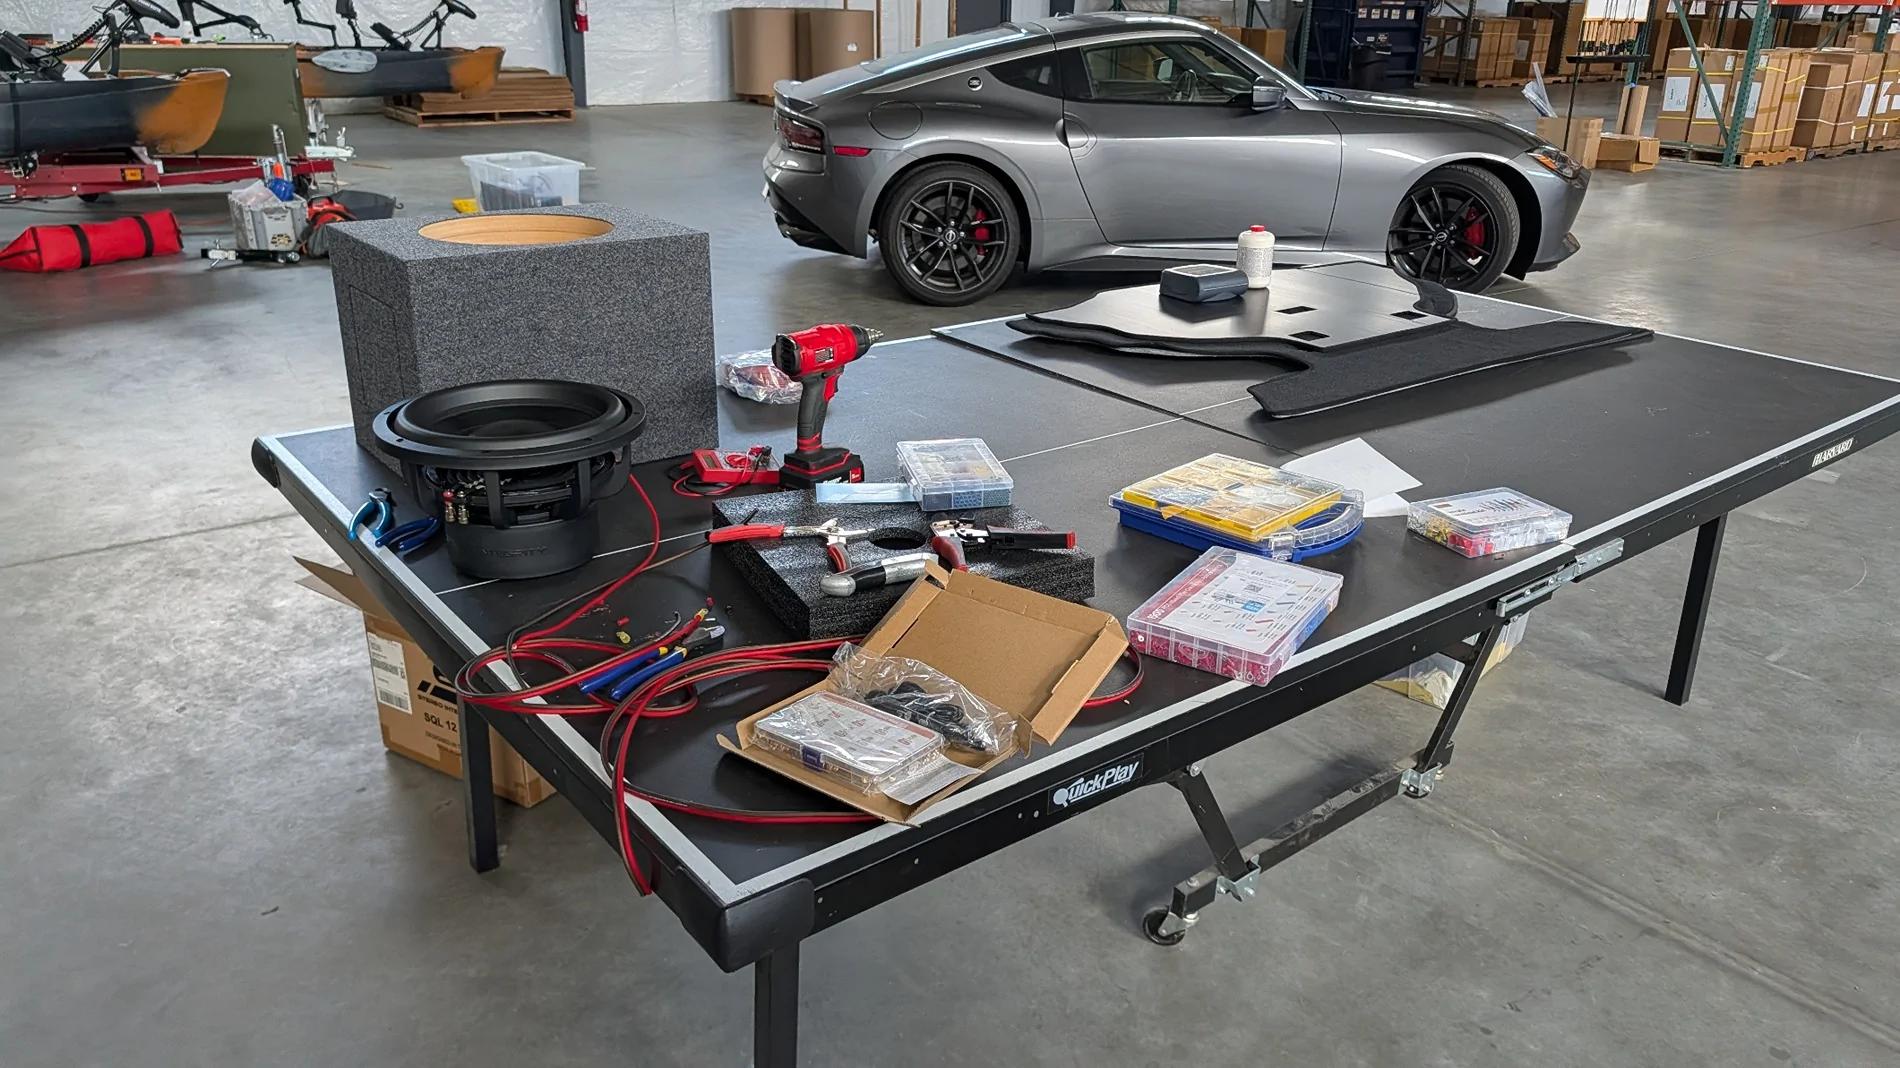
I spent the weekend pulling trim and running wires to replace the factory Bose system. I was originally going to wait a while to source some better components, but I have a 2 way system that was originally intended for my 99 4runner that I'm going to put in the Z for now until I decide what direction I ultimately want to go. Having the foundation flushed out will make future adaptions fairly easy, I hope. I want to thank everyone who has contributed to the knowledge base here in the various audio build threads.
My components:
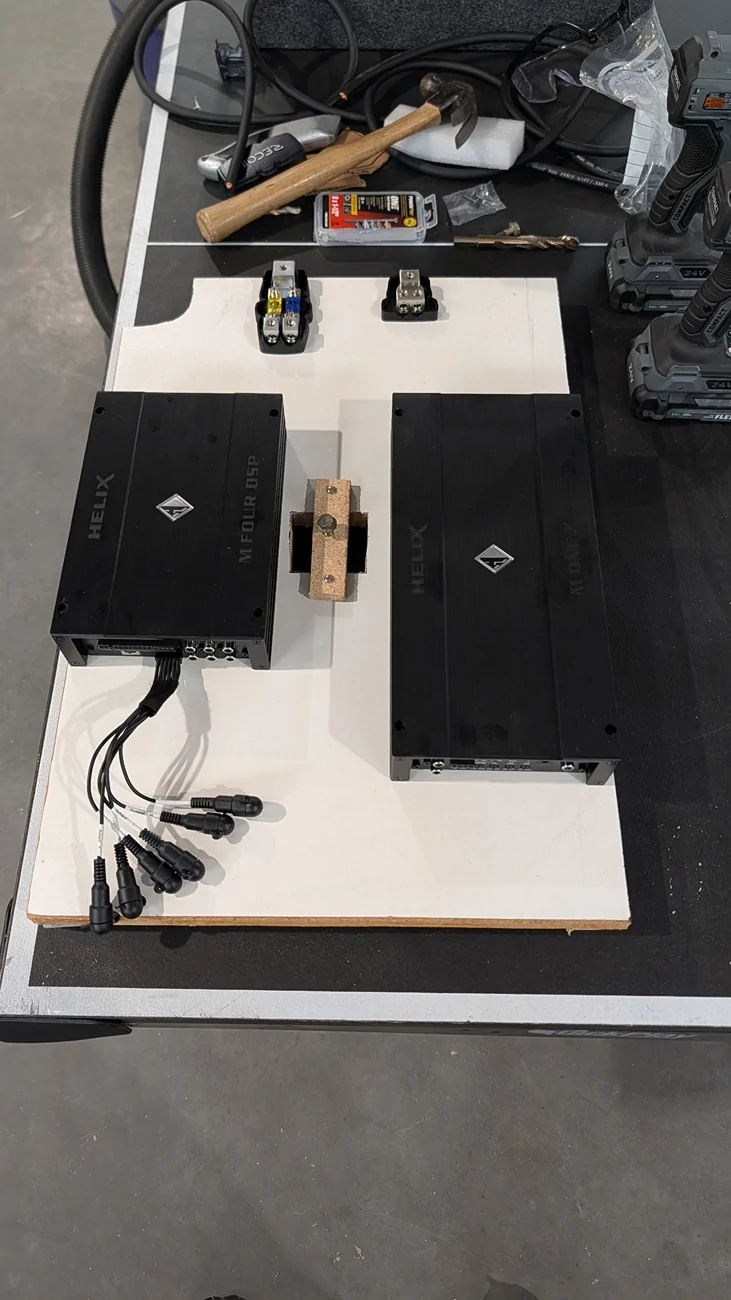
Helix M Four DSP 4x100w RMS Class D
Helix M One X 1030w RMS @1ohm
Morel Maximo Ultra 602 MKii 6.5" 90W RMS 2-Way Component Speakers
Stereo Integrity SQL 12 Series 2 1000w RMS
For now I plan on running the tweeters in the dash locations, although I'm certain in the future I'll opt for a 3 way setup with mids in the dash and tweeters at the a-pillar. I'm uncertain how well the Morel tweeters will perform off-axis, so I may end up replacing them sooner rather than later. I don't plan on running rear speakers, I'll disconnect the factory rears once everything else goes in.
The sub is in a 1 cubic foot sealed box for now. It fits in the trunk, eventually I'll opt for a hidden sub setup similar to what Mr. Mac has provided us with.
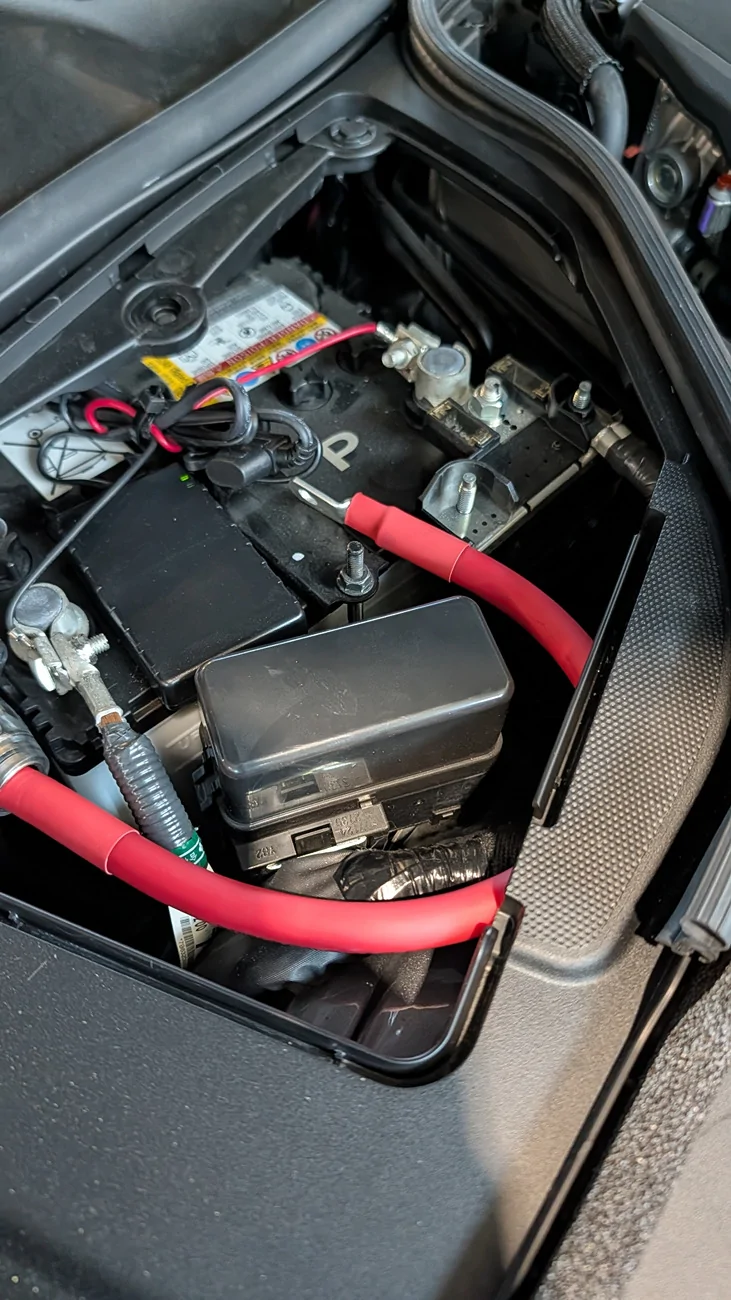
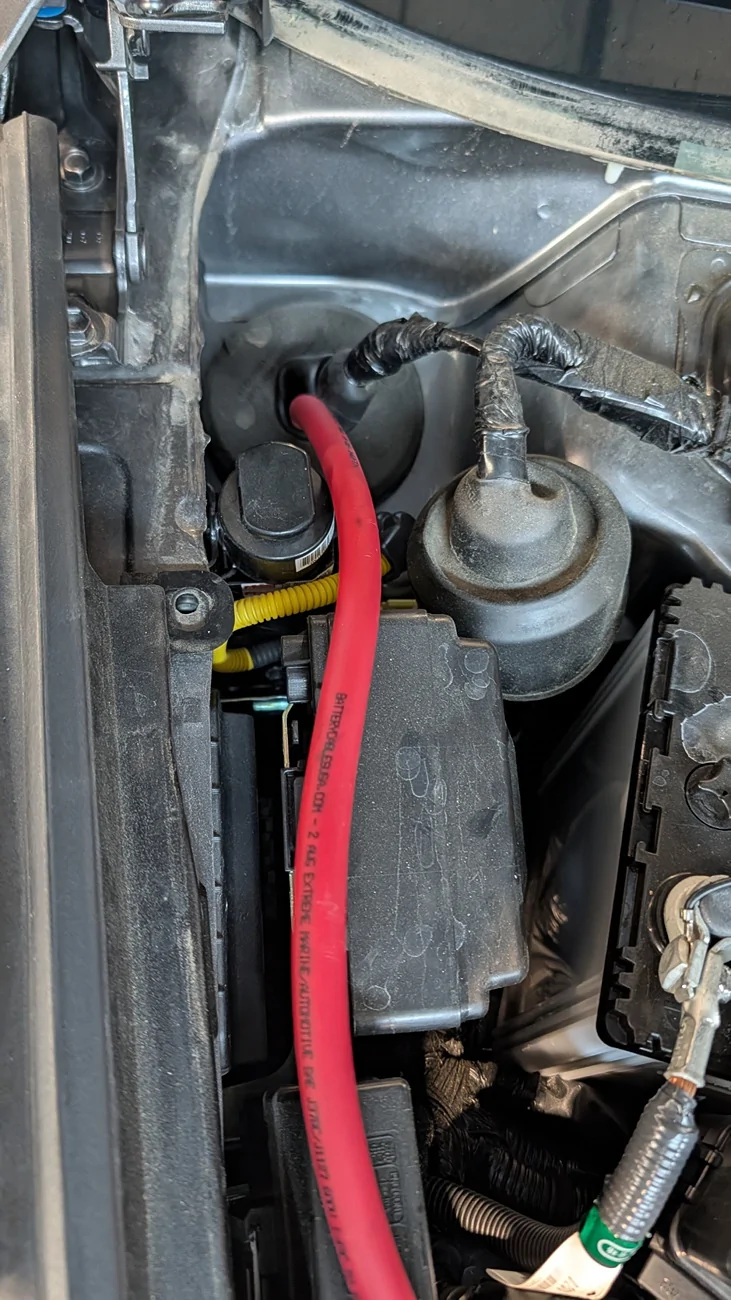
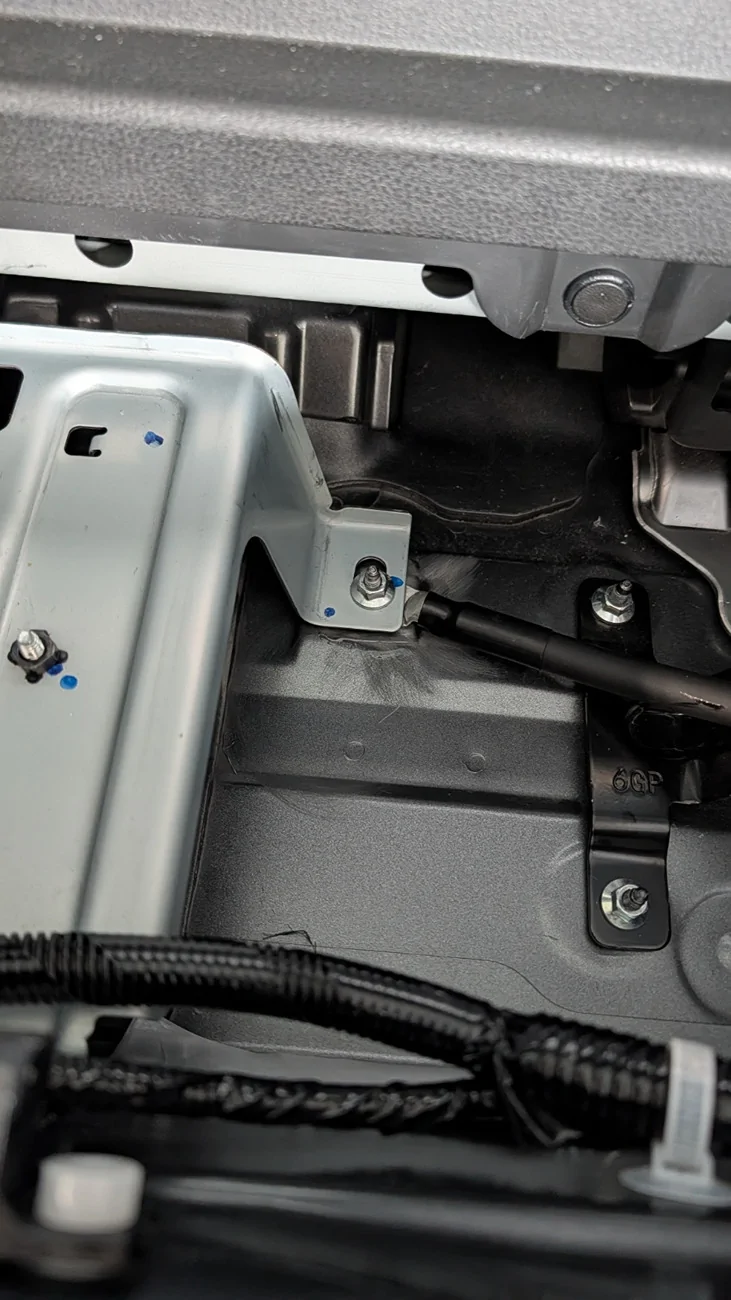
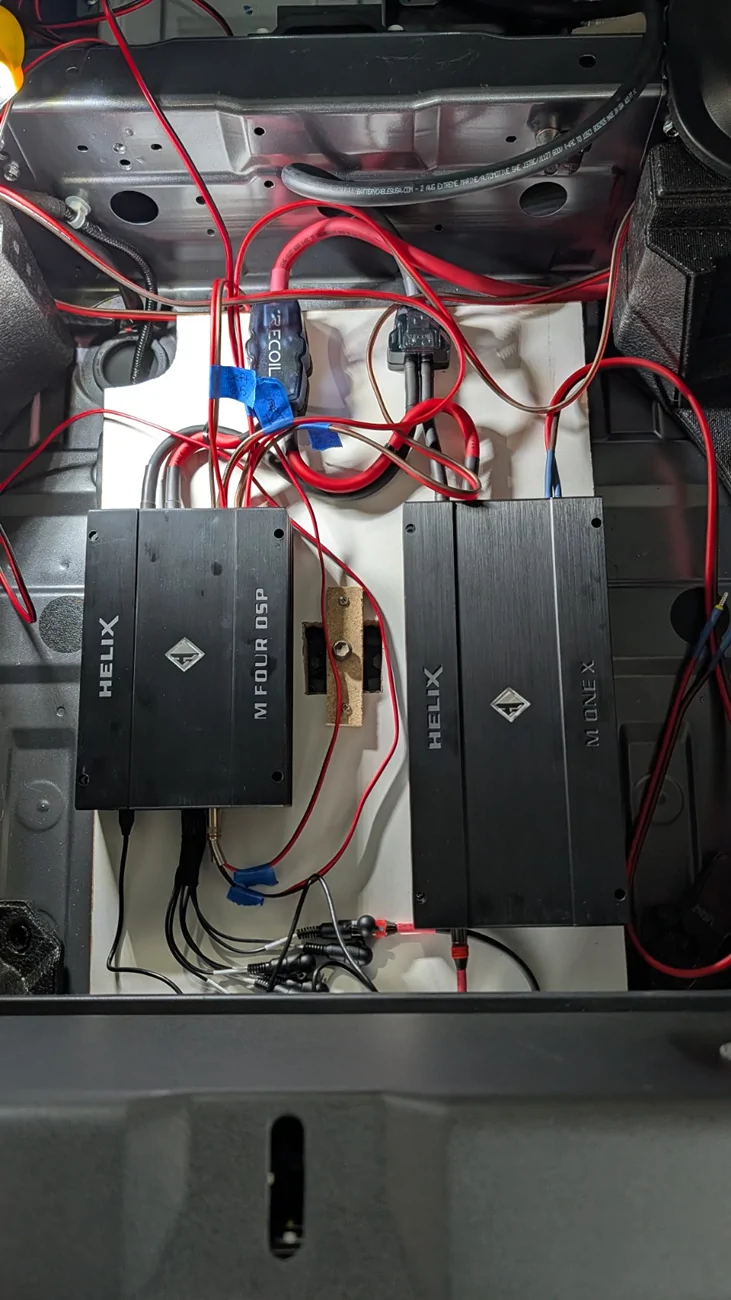
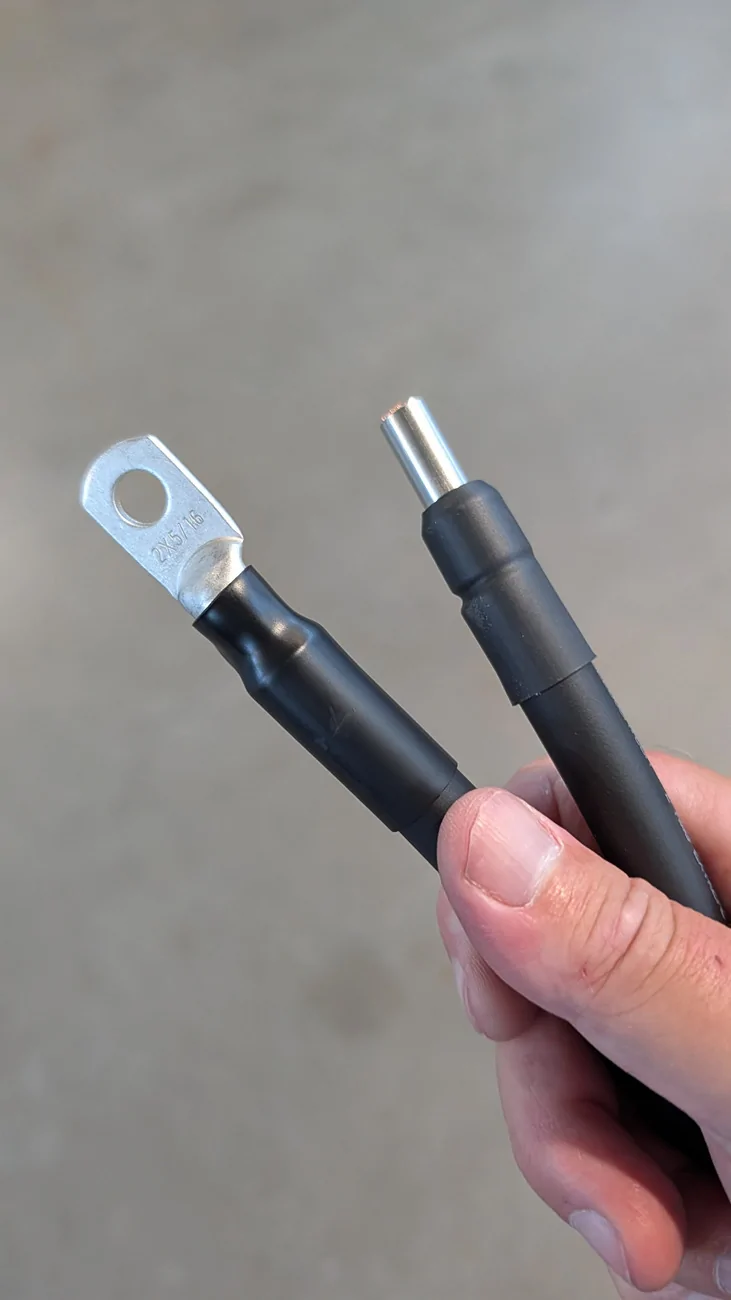
My main power wire is 2 gauge extreme from batterycablesusa. It's pretty beefy and I wasn't certain how easy it would be to run, but it fit easy enough with the trim pulled and the seats out. I was pleasantly surprised with how flexible it is. A 200amp ANL fuse set up next to the battery, run through the rubber grommet behind the battery. I haven't attached the power to the battery yet, Mr. Mac indicates he used the empty threaded stud on the positive fusible link block, but I'm not 100% certain that bolt is unfused and I want to insure I won't run the risk of blowing anything there since my system is running a little hotter than Mr. Mac's. For now the wire is safely zip tied away from the positive/negative terminals. Also the asshole that installed the gps tracker on the car absolutely destroyed the battery terminal connectors.
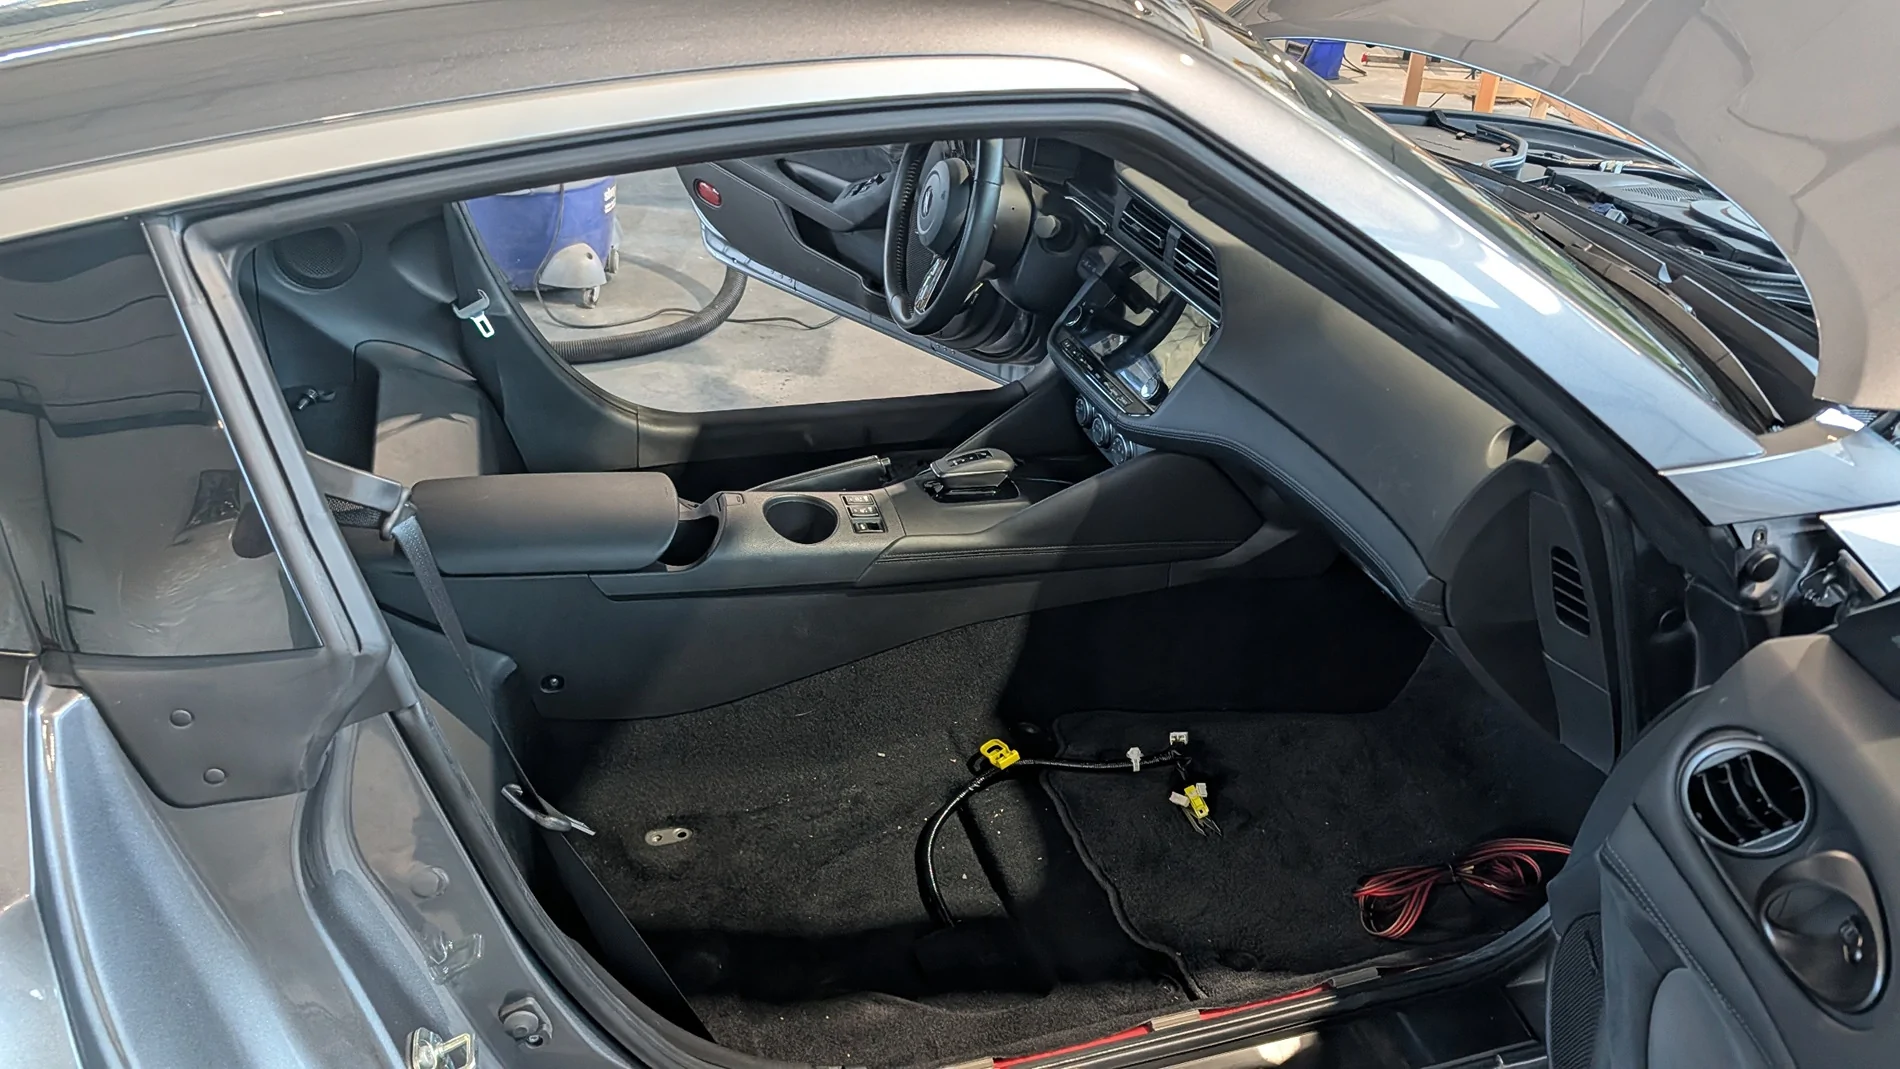
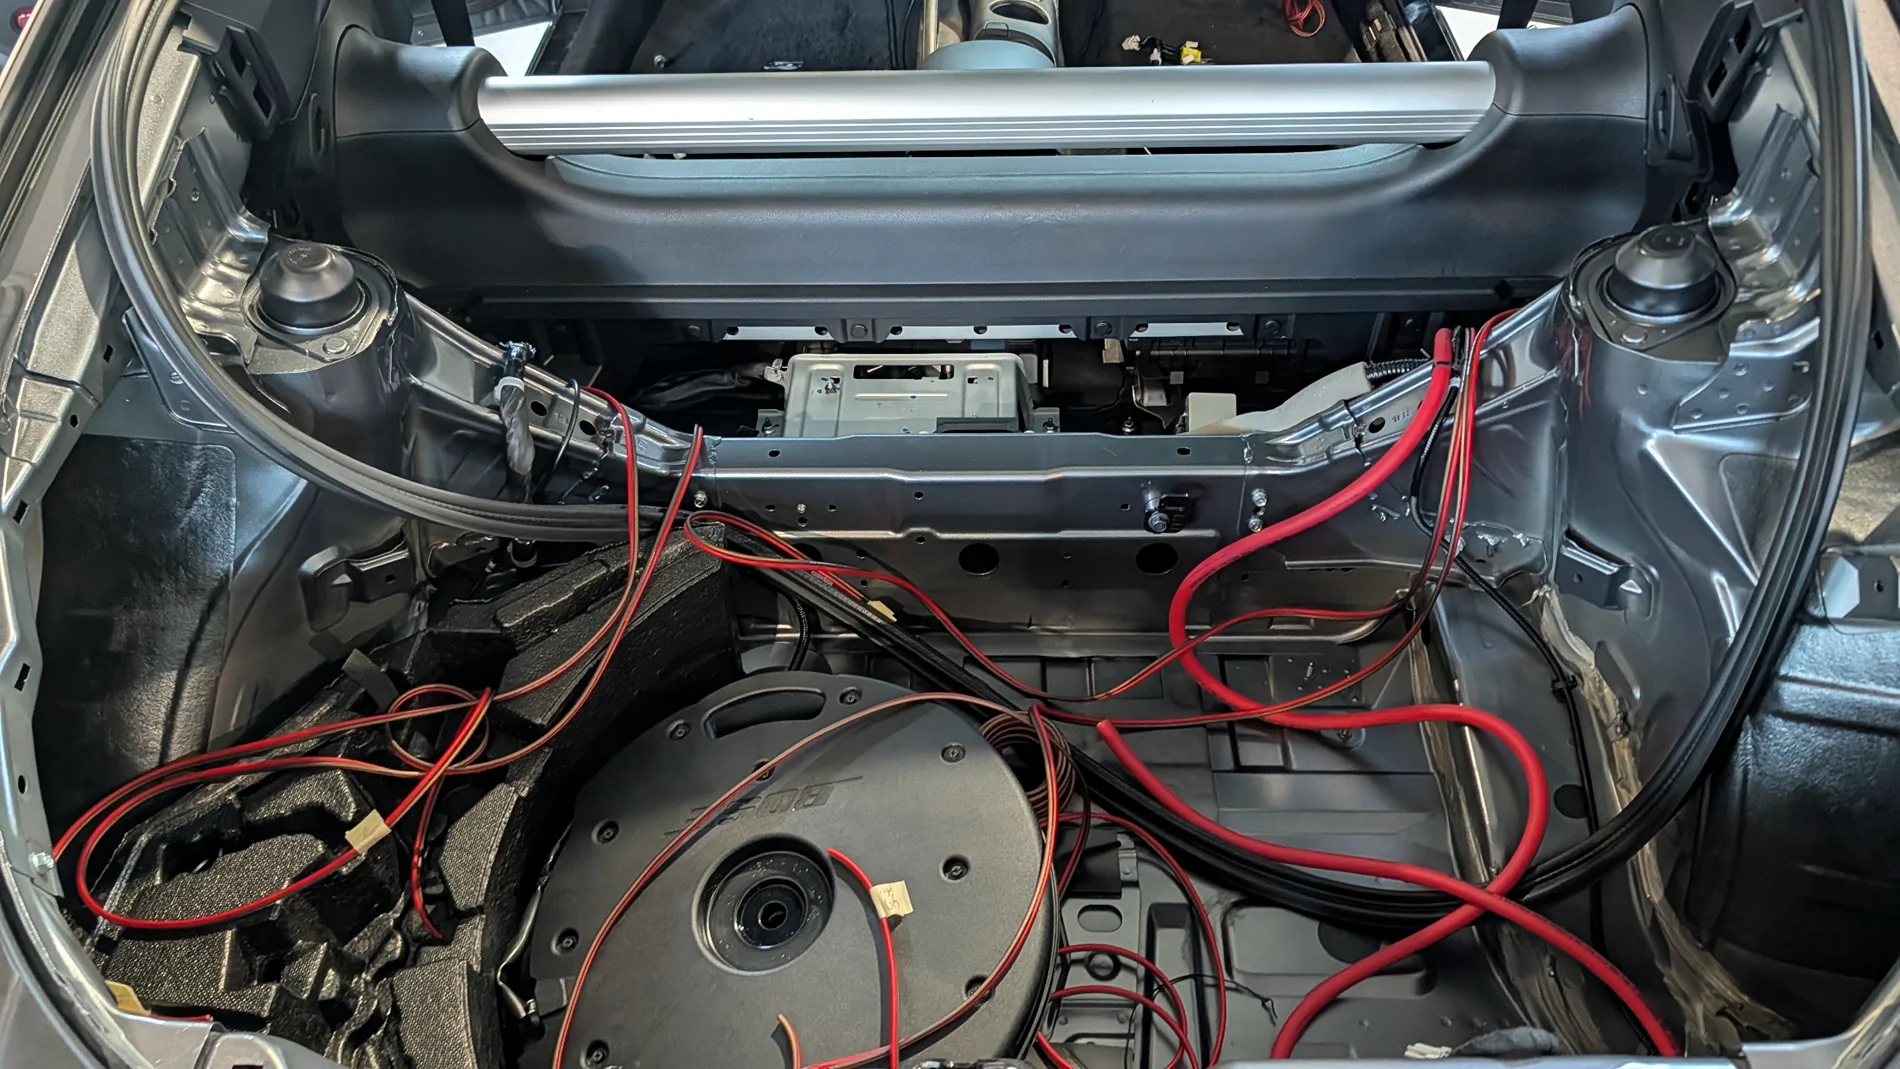
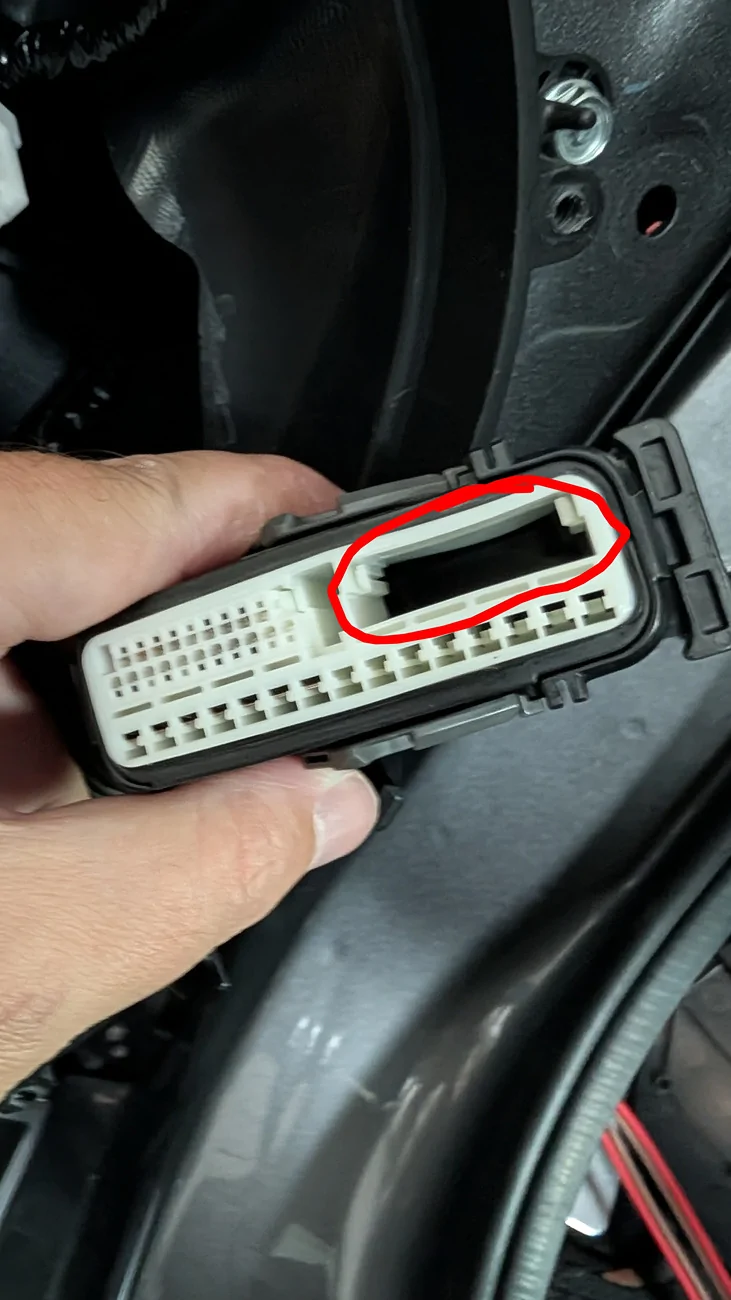
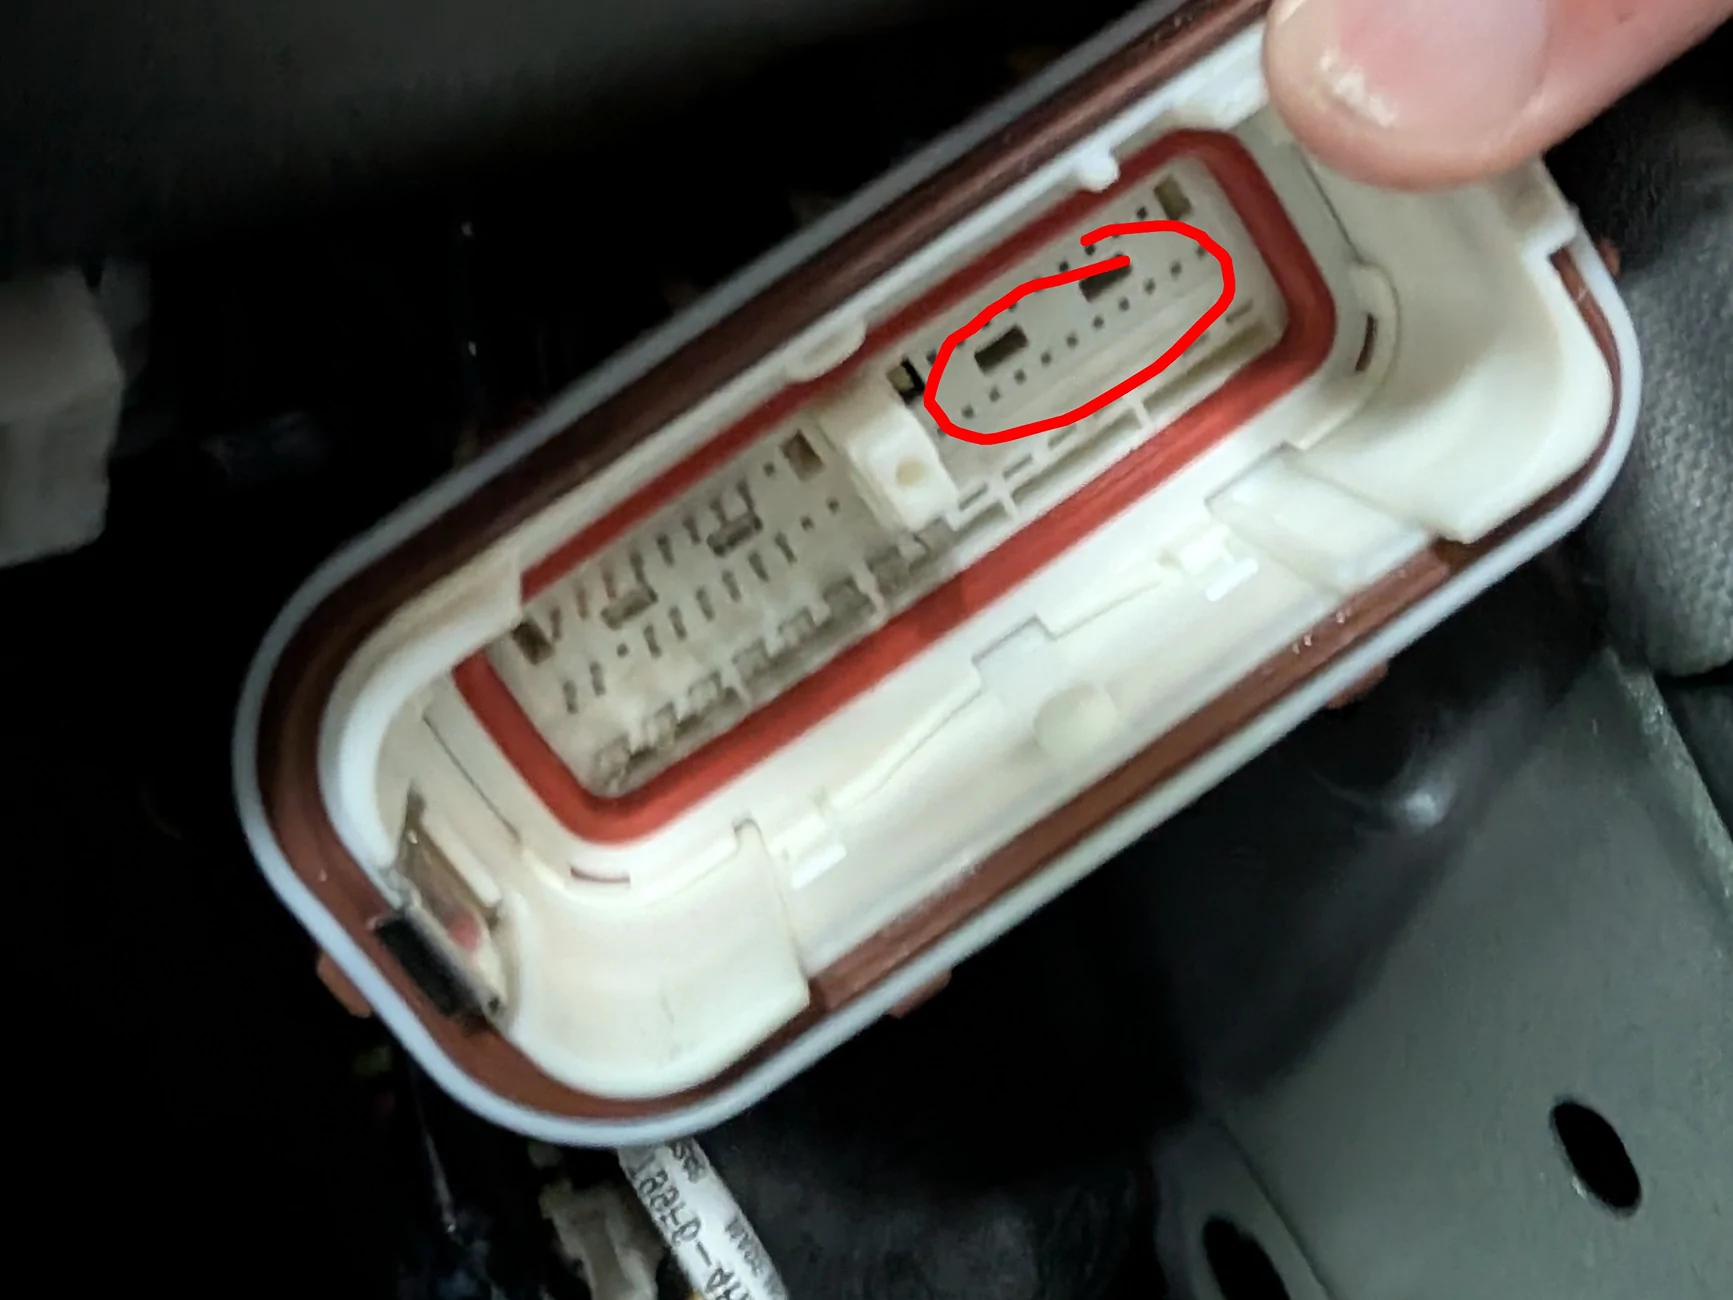
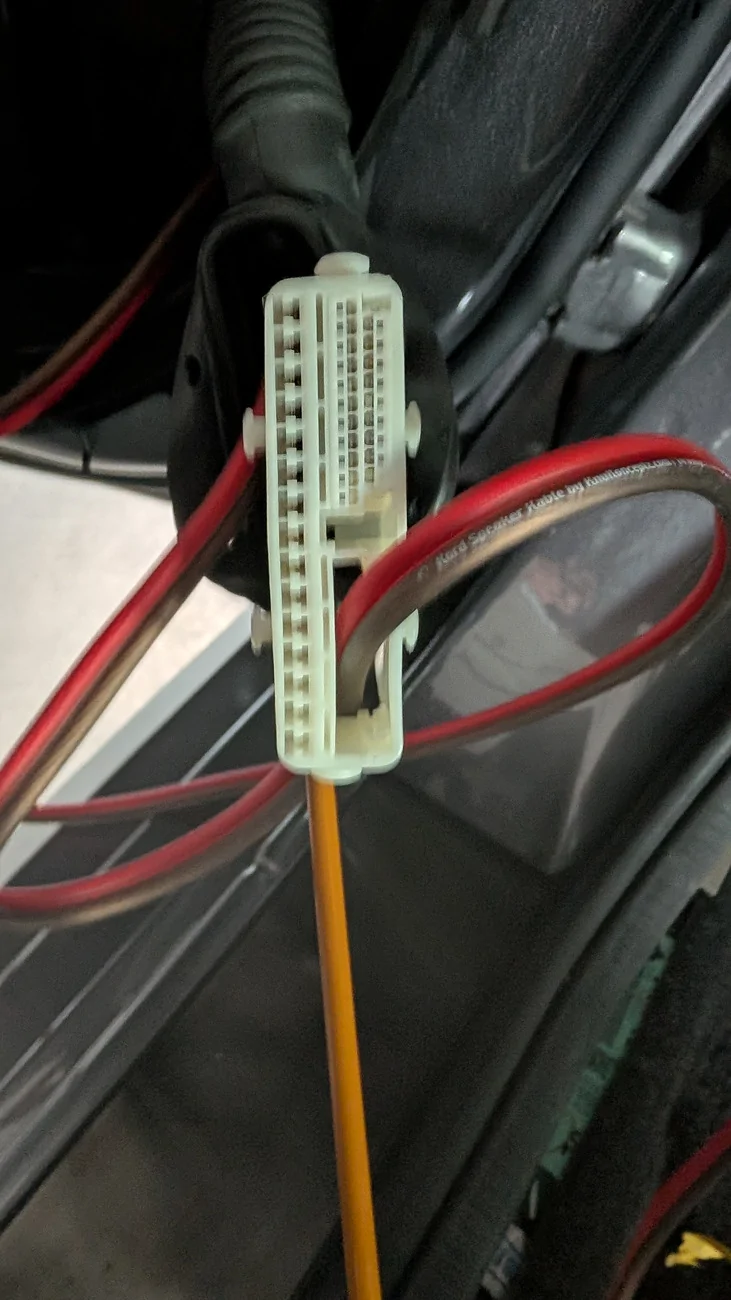
Speaker wires are 14 gauge to the components, 10 gauge for the subwoofer. All KnuKonceptz Ultra Flex. I'm one of those heathens who feels fine running the speaker wire right next to their power wire, so I have two sets of speaker wire running down each side of the vehicle. I probably should have run 3 in case I go to a 3 way active setup in the future, but I'll cross that bridge when I get there. For now, the wires are zip tied up under the foot well trim panel, I haven't run them through the dash or doors yet since the door will require drilling holes in the wire plugs and I was running out of time.
I haven't put any sound deadening materials in yet. I know that should be the first thing I do, but I'm undecided between using the Kilmat I have on hand or getting some resonix CLD squares.
Next step will be setting up my amp board, for now it'll just go under the trunk mat in the spare tire well, nothing fancy as it'll be temporary until I get a hidden sub box in place.
Videos I found useful:
Removing the Nissan Z seats -
Removing rear trunk trim -
Removing door panels -
Removing battery trim -


My components:
Helix M Four DSP 4x100w RMS Class D
Helix M One X 1030w RMS @1ohm
Morel Maximo Ultra 602 MKii 6.5" 90W RMS 2-Way Component Speakers
Stereo Integrity SQL 12 Series 2 1000w RMS
For now I plan on running the tweeters in the dash locations, although I'm certain in the future I'll opt for a 3 way setup with mids in the dash and tweeters at the a-pillar. I'm uncertain how well the Morel tweeters will perform off-axis, so I may end up replacing them sooner rather than later. I don't plan on running rear speakers, I'll disconnect the factory rears once everything else goes in.
The sub is in a 1 cubic foot sealed box for now. It fits in the trunk, eventually I'll opt for a hidden sub setup similar to what Mr. Mac has provided us with.
My main power wire is 2 gauge extreme from batterycablesusa. It's pretty beefy and I wasn't certain how easy it would be to run, but it fit easy enough with the trim pulled and the seats out. I was pleasantly surprised with how flexible it is. A 200amp ANL fuse set up next to the battery, run through the rubber grommet behind the battery. I haven't attached the power to the battery yet, Mr. Mac indicates he used the empty threaded stud on the positive fusible link block, but I'm not 100% certain that bolt is unfused and I want to insure I won't run the risk of blowing anything there since my system is running a little hotter than Mr. Mac's. For now the wire is safely zip tied away from the positive/negative terminals. Also the asshole that installed the gps tracker on the car absolutely destroyed the battery terminal connectors.
Speaker wires are 14 gauge to the components, 10 gauge for the subwoofer. All KnuKonceptz Ultra Flex. I'm one of those heathens who feels fine running the speaker wire right next to their power wire, so I have two sets of speaker wire running down each side of the vehicle. I probably should have run 3 in case I go to a 3 way active setup in the future, but I'll cross that bridge when I get there. For now, the wires are zip tied up under the foot well trim panel, I haven't run them through the dash or doors yet since the door will require drilling holes in the wire plugs and I was running out of time.
I haven't put any sound deadening materials in yet. I know that should be the first thing I do, but I'm undecided between using the Kilmat I have on hand or getting some resonix CLD squares.
Next step will be setting up my amp board, for now it'll just go under the trunk mat in the spare tire well, nothing fancy as it'll be temporary until I get a hidden sub box in place.
Videos I found useful:
Removing the Nissan Z seats -
Removing rear trunk trim -
Removing door panels -
Removing battery trim -