OP
OP
Kludos
Well-Known Member
- Thread starter
- #16
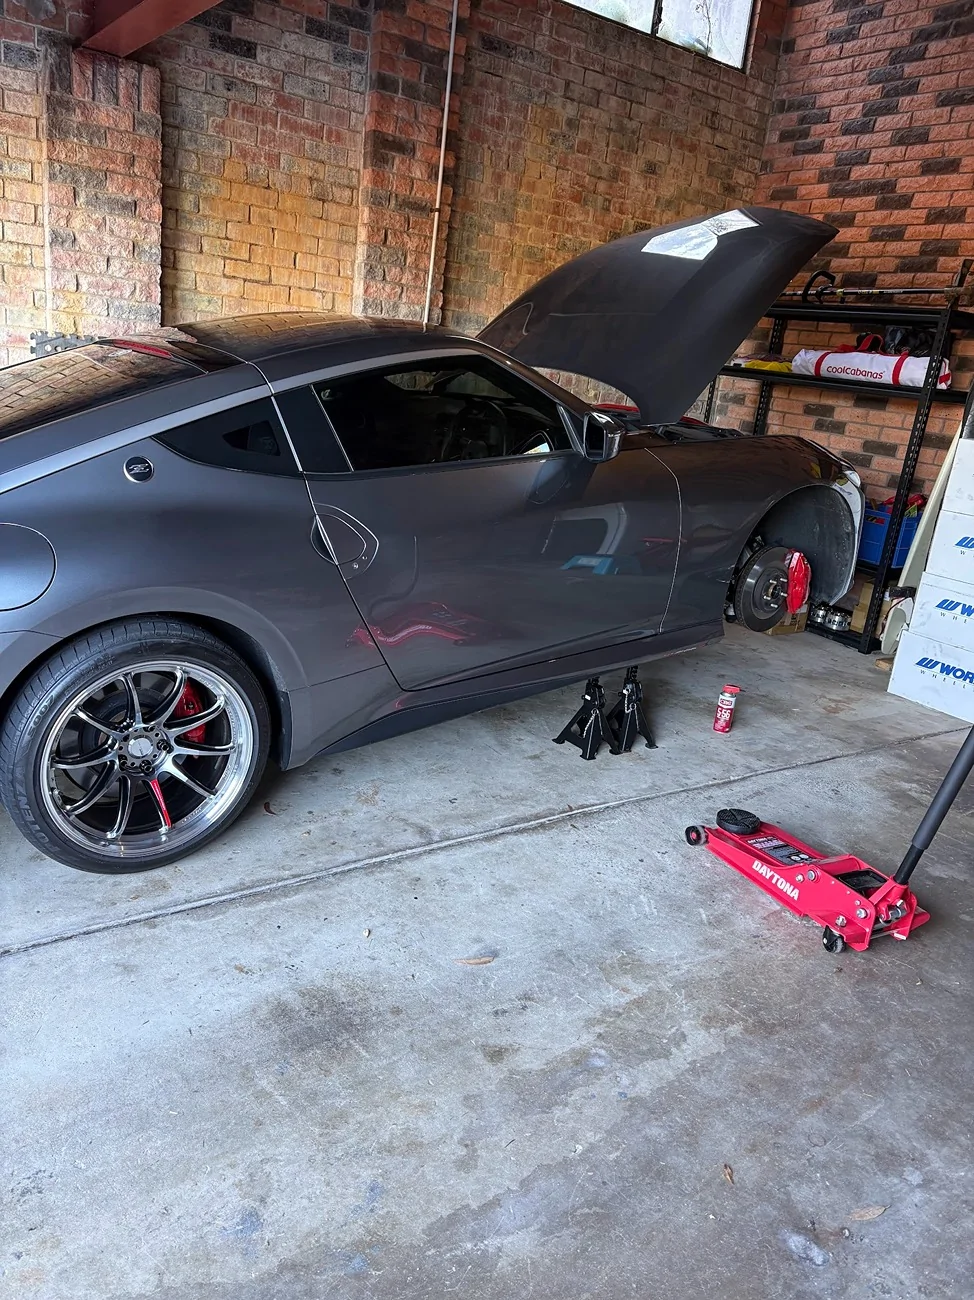
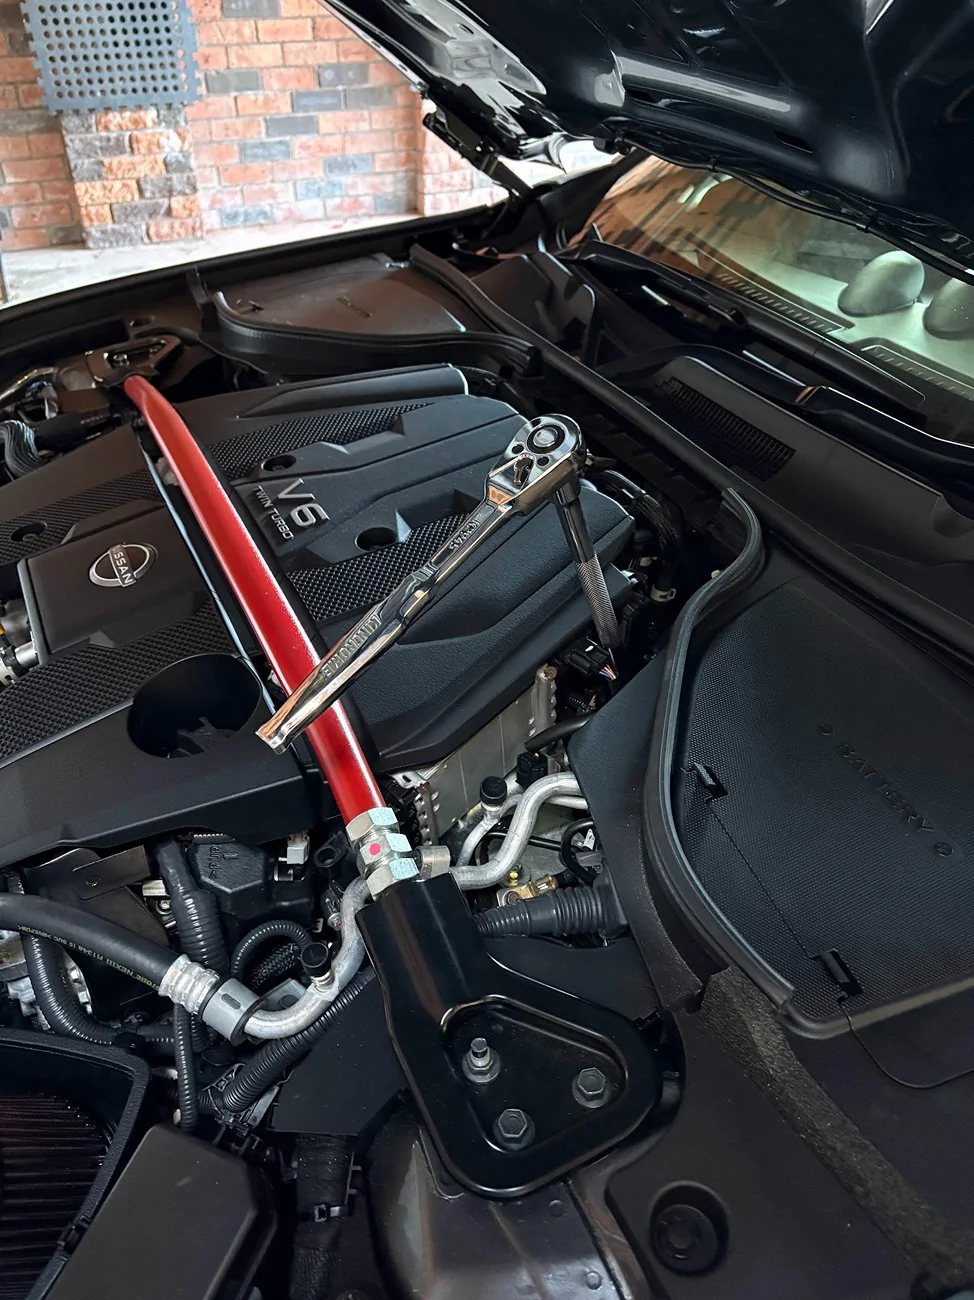
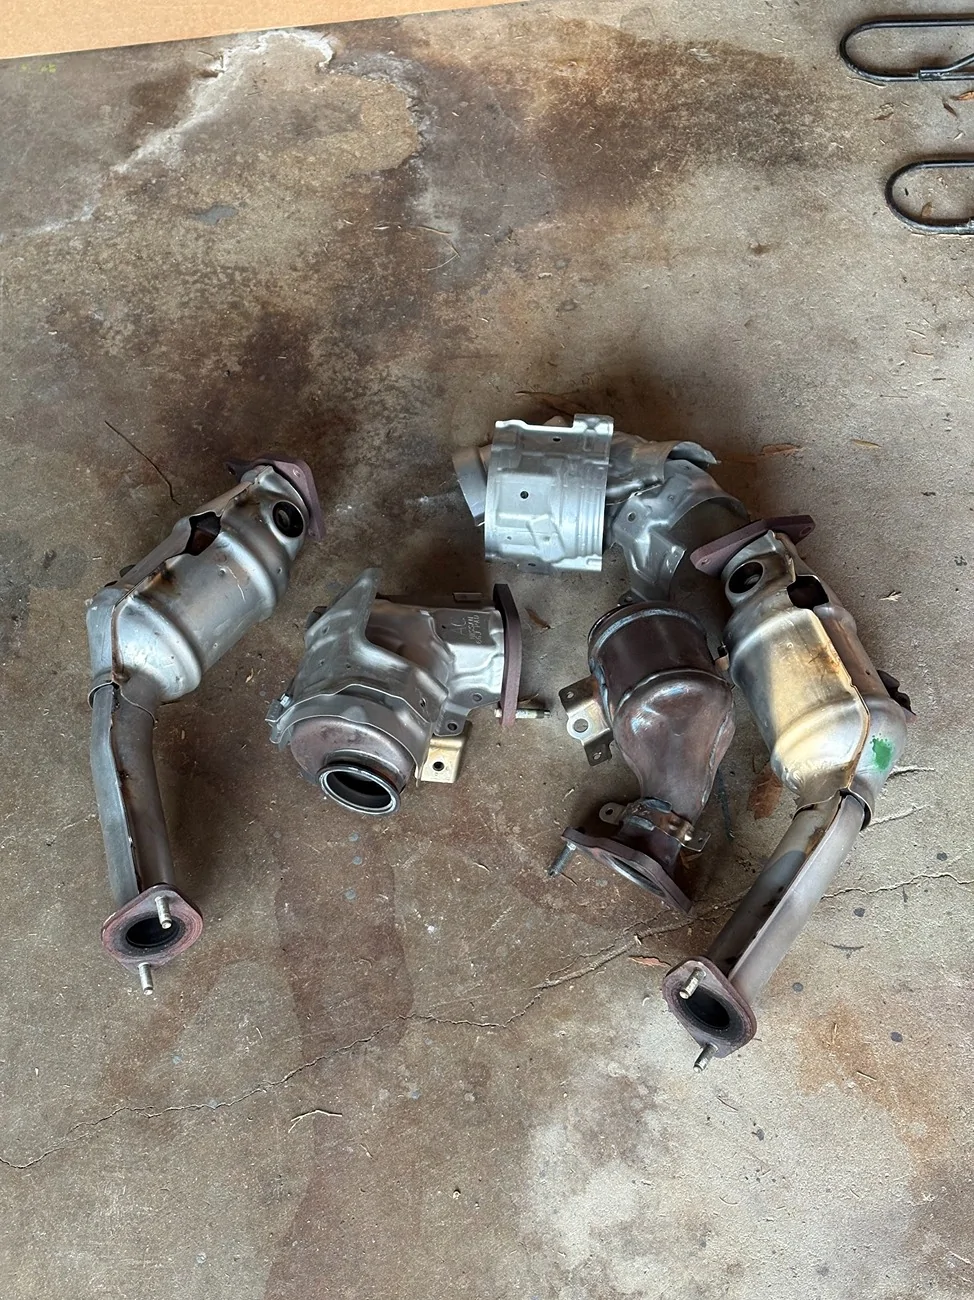
Today I locked horns with the full MAPerformance downpipe installation, and came away victorious. I was expecting this to be bad, and it was... but it wasn't impossible even on the garage floor.
A few tips if you attempt this yourself:
1. A lift would make life easier.
2. Spray your nuts - even on a pretty new car I needed a pry bar for the LDPs.
3. The heat shields are tedious, expect to lose some blood.
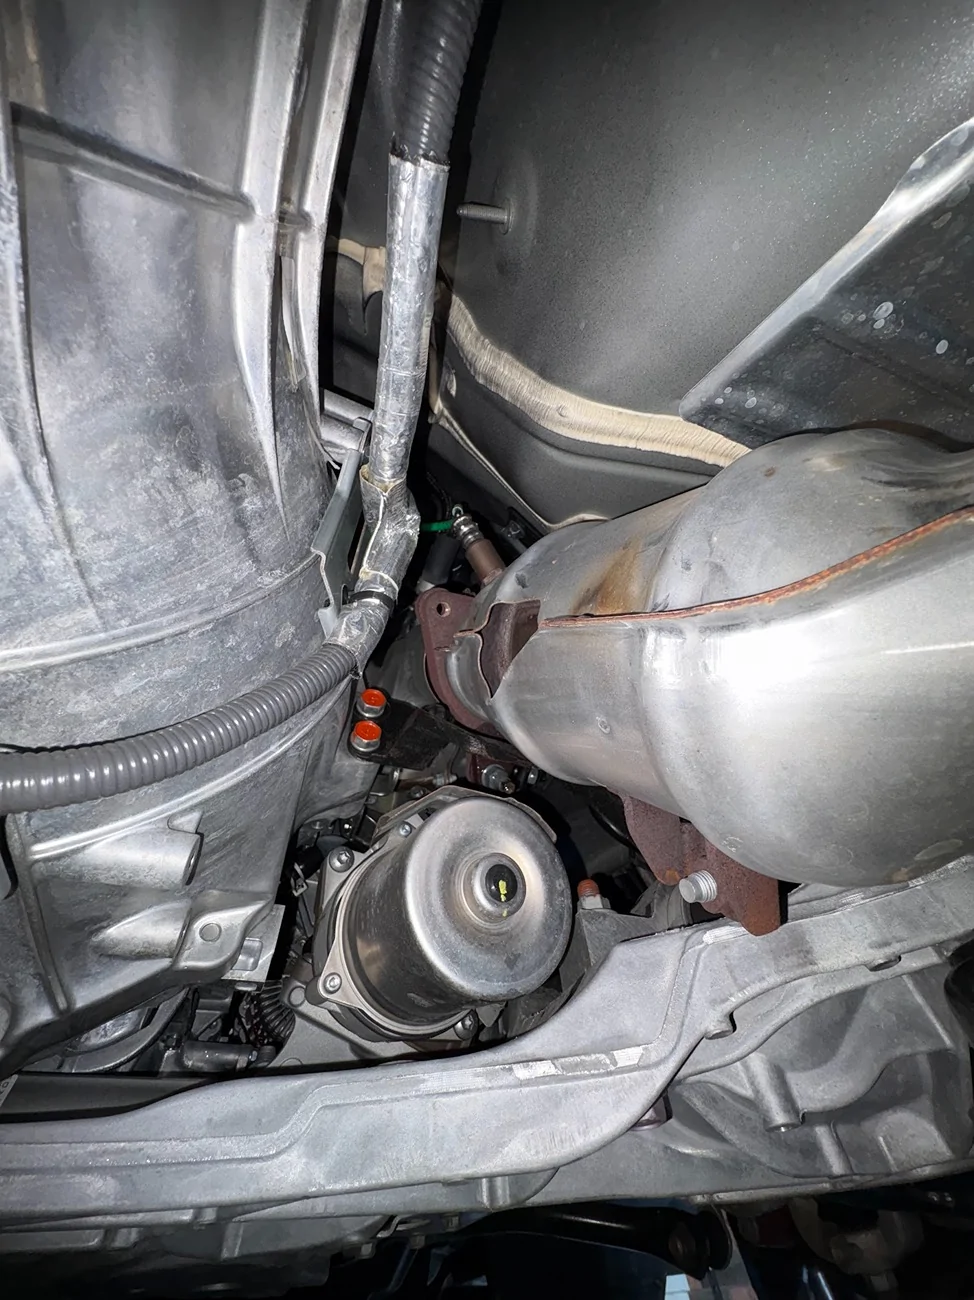
4. I used a 10mm ratcheting wrench on every heat shield nut apart from one that is recessed into the side of the turbo. I would not attempt this job without this tool.
5. For the other nut I used a tiny 1/4 ratchet, and for the v-band I used the same 1/4 inch ratchet with an extension and an elbow.
6. Just generally you need a big selection of extensions and elbows in every size.
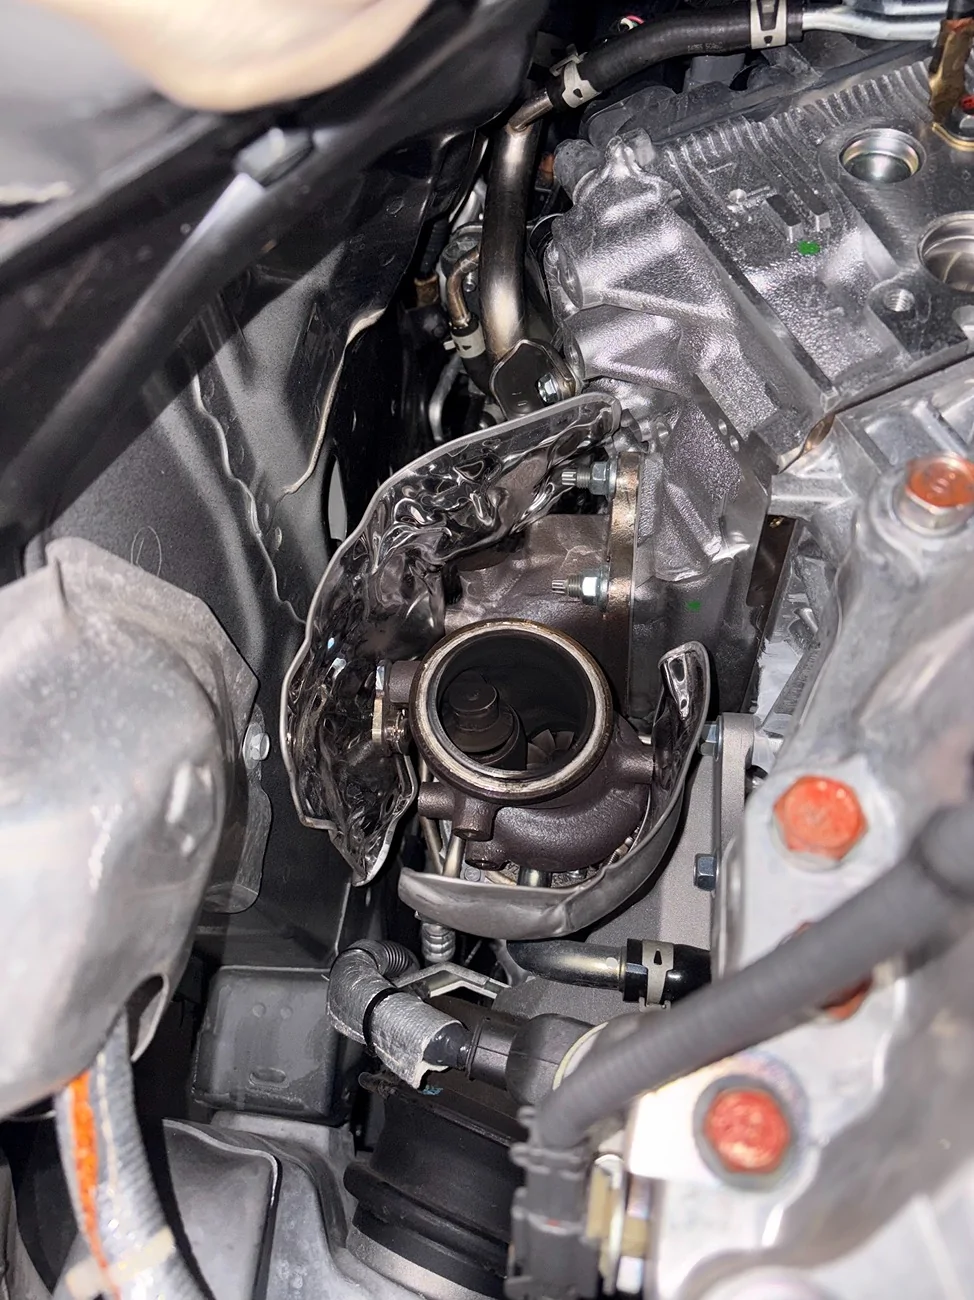
7. I took a few goes to get the v-bands installed correctly. I found the trick is to bolt the DP to the bracket and make sure it's seated on the turbo, then pop the v-band around the pipe and wiggle it into position. I then got a cable tie around it to hold it while I put the screw in - very fiddly.
8. I did this in my garage so I could take my time with it, whenever I got frustrated I just took a break.
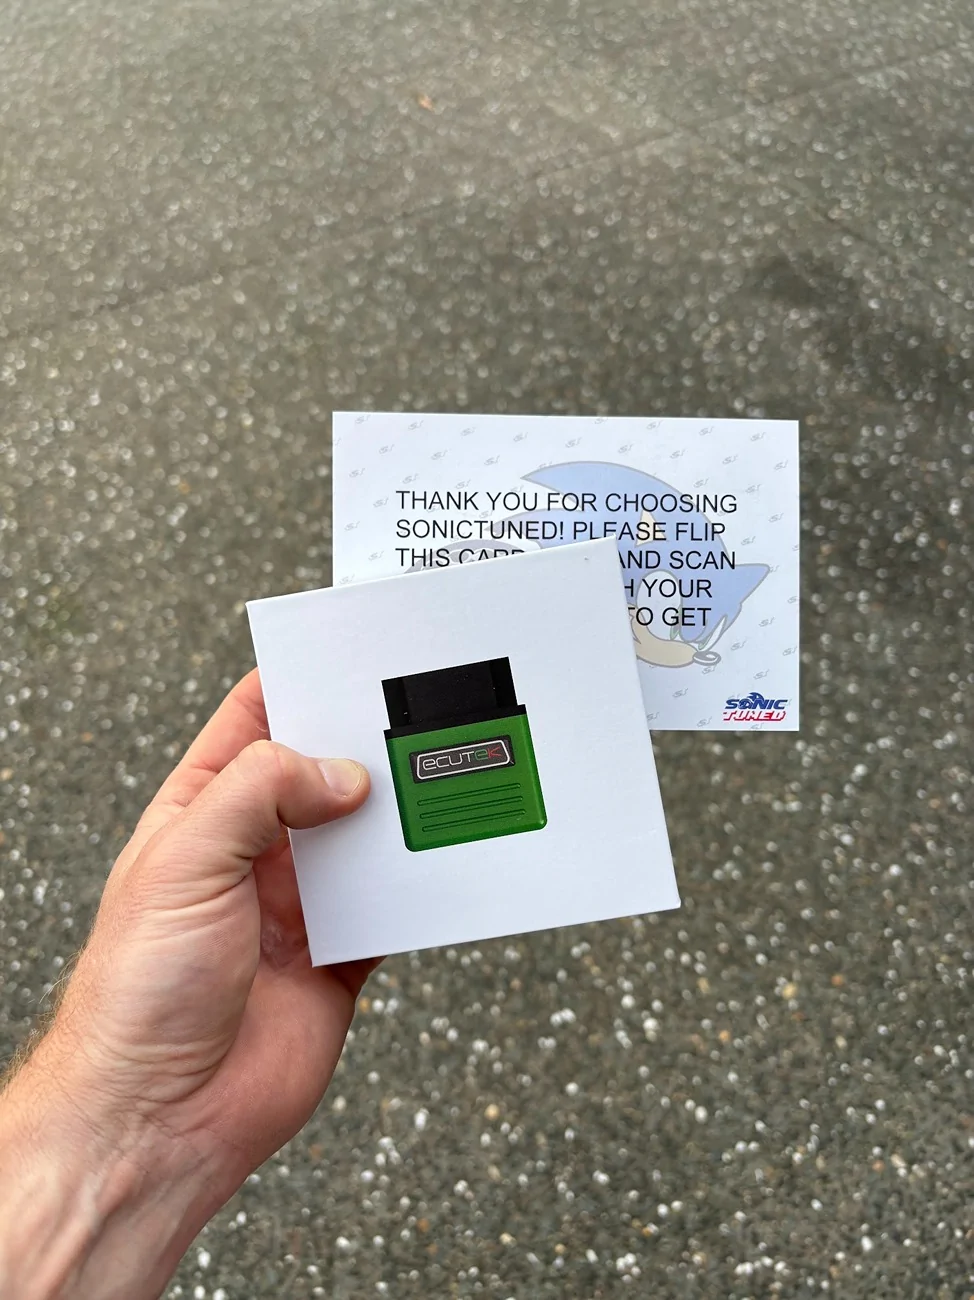
So now I'm ready for my Sonictune to arrive, which hopefully will be any day!
Getting this done has given me good confidence too so I'm probably going to attempt the heat exchanger myself as well.
Oh and the sound... it's actually a bit quiter than before at idle and low revs, but it's deeper and a lot less boomy. Then when you open it up it is loud and very nice sounding. I think it will get louder once the cats open up a bit, but I'm pleased with it even if I was hoping for a few more dB.

A few tips if you attempt this yourself:
1. A lift would make life easier.
2. Spray your nuts - even on a pretty new car I needed a pry bar for the LDPs.
3. The heat shields are tedious, expect to lose some blood.
4. I used a 10mm ratcheting wrench on every heat shield nut apart from one that is recessed into the side of the turbo. I would not attempt this job without this tool.
5. For the other nut I used a tiny 1/4 ratchet, and for the v-band I used the same 1/4 inch ratchet with an extension and an elbow.
6. Just generally you need a big selection of extensions and elbows in every size.
7. I took a few goes to get the v-bands installed correctly. I found the trick is to bolt the DP to the bracket and make sure it's seated on the turbo, then pop the v-band around the pipe and wiggle it into position. I then got a cable tie around it to hold it while I put the screw in - very fiddly.
8. I did this in my garage so I could take my time with it, whenever I got frustrated I just took a break.
So now I'm ready for my Sonictune to arrive, which hopefully will be any day!
Getting this done has given me good confidence too so I'm probably going to attempt the heat exchanger myself as well.
Oh and the sound... it's actually a bit quiter than before at idle and low revs, but it's deeper and a lot less boomy. Then when you open it up it is loud and very nice sounding. I think it will get louder once the cats open up a bit, but I'm pleased with it even if I was hoping for a few more dB.
Last edited: